Screen share | RS for Desktop
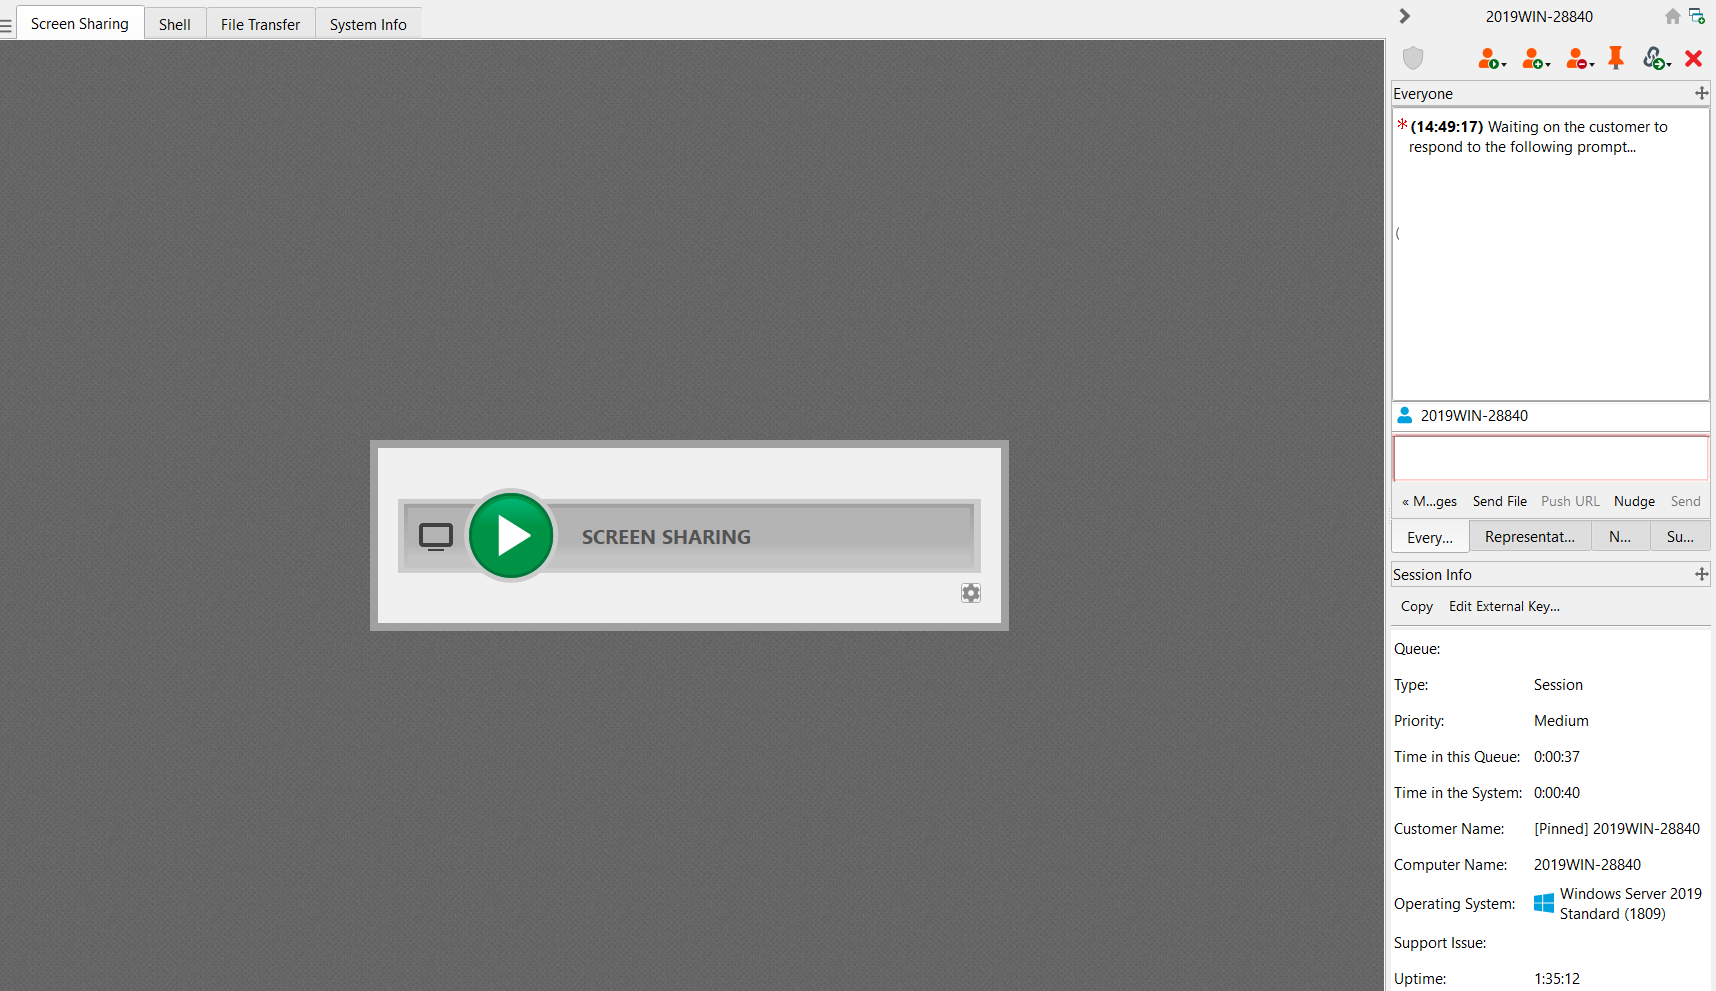
From the session window, click the Screen Sharing button to request control of the remote computer. Options may be available below the button depending on your account settings. Click the gear button to view options.
Screen sharing options
- Leaving all options unchecked requests full screen sharing, which grants view and control of the remote system's entire desktop and all applications.
- If you check Full Access, available only in a customer-initiated session, you will request both screen sharing and all other privileges at once.
- If you check View Only, you may see but not control the remote screen.
- Privacy Screen, available only when connecting, starts the session with the remote customer's view and control of the system disabled. Privacy screen is not available when supporting Windows 8.
- Customer Chooses Shared Applications, available only when supporting a Windows or Mac computer, allows the customer to limit which applications to share.
If your administrator has set your account to require that the customer select which applications to share, you will only be allowed to request limited screen sharing. Alternatively, you may only be allowed to request full screen sharing, or you may be allowed to choose which level of access to request.
A site-wide setting may allow your customer to limit applications after beginning screen sharing, regardless of the level of access requested.
For macOS Catalina (10.15)+ systems, if remote control is not enabled, click the banner at the top of the Screen Sharing tab to prompt the user for permissions.
The customer can now grant access when prompted in the customer client, and the representative is directed to the correct panes in Settings to update the permissions.
Once the customer has granted permission, the enabled applications of the remote desktop appear in your window. Your customer can choose to grant you view-only access or, if your permissions allow, full mouse and keyboard control, enabling you to work on the remote computer as if you were really there. You can request to elevate your permission level at any time during the session.
In a click-to-chat session, you can only chat with the customer and see basic session information. If you need to provide deeper support, request to elevate the session to the full customer client.
Screen sharing tools
-
 Stop screen sharing.
 -
 While viewing the remote computer, start or stop control of the remote keyboard and mouse. Representatives using a macOS system can send CTRL+Left-Click through the connected screen sharing session to the remote system by using CTRL+CMD+Left-Click.
 -
 If your permissions allow, you can disable the remote user's screen view and mouse and keyboard input. The customer's view of the privacy screen clearly explains that the representative has disabled the customer's view. The customer can regain control at any time by pressing Ctrl+Alt+Del. Alternatively, disable the customer's mouse and keyboard input while still allowing them to view the screen. When input is restricted, an orange border appears around the customer's monitors, and a message indicates that the representative has mouse and keyboard control. The customer can regain control at any time by pressing Ctrl+Alt+Del.Restricted customer interaction is available only when supporting macOS or Windows computers. In Windows Vista and above, the customer client must be elevated. On Windows 8, privacy screen is not available, and the representative can only disable the mouse and keyboard.
 -
 Annotation tools enable you to guide customers through more complex tasks and to train remote employees, reducing the number of call-backs and lowering training costs. A number of tools are available, including shapes and free drawing. BeyondTrust InSight allows annotations on the a live camera feed from an Android or iOS device. Note that annotations have special requirements for certain mobile platforms.
 -
 Reboot the remote system in either normal or safe mode with networking, or shut down the remote system. You can also request the end user to enter valid credentials so that after a reboot the representative can log back on with the provided credentials without requiring the customer to be present.
 -
 Send a Ctrl-Alt-Del command to the remote computer.
 -
 Perform a special action on the remote system. Based on remote operating system and configuration, available tasks will vary. When operating in elevated mode, some actions can be run in System context. Alternatively, provide an administrative user's credentials to perform a special action in that user context. Canned scripts available to the user appear in a fly-out menu. In a Remote Desktop Services or virtual desktop environment with an elevated session, you can switch between active sessions on the same machine using the Terminal Sessions option in the Special Actions dropdown during a screen sharing session. This option is available in any environment that uses Remote Desktop Services to manage virtual sessions, provided there are other active sessions and the representative has the permission to use elevated special actions.
 -
 If System Sound Sharing is enabled, use this button to mute and unmute sounds.
 -
 Access a dropdown of available smart card readers on your local system. Use the virtual smart card to perform administrative actions, running programs in another user context or even logging in as another user. To use smart card credentials on a remote system, you must start the session using an elevated Jump Client, a Gateway, or a local network Jump. The appropriate virtual smart card drivers must be installed on both your local system and the remote system, with their services running.
 -
 Begin iOS device screen sharing. When supporting an Apple OS X 10.10+ system attached to an Apple iOS 8.0.1+ mobile device, click this button to begin or end view-only screen sharing on the attached iOS device. Note that this button is not visible unless you are in a standard screen sharing support session with an Apple OS X Yosemite system, and that the button is not enabled unless an Apple iOS 8.0.1+ device is connected to the OS X Yosemite system being supported.
 -
 While screen sharing, capture a screenshot of the remote screen or screens at their full resolution, saved in PNG format. Save the image file to your local system or to your clipboard. The capture action is recorded in the chat log with a link to a locally saved image. The link remains active even after the customer has left the session, but it does not persist in the BeyondTrust session report. You can adjust the directory where screenshots are saved by going to the File > Settings > Support Tools menu in the representative console. This feature works on Mac, Windows, and Linux.
 -
 Manually send the contents of your clipboard to the remote computer. This tool icon is not visible if you are permitted to automatically send the contents of your clipboard or if you are disallowed to send clipboard information to the remote system.
 -
 Manually receive the contents of your clipboard from the remote computer. This tool icon is not visible if you are permitted to automatically receive the contents of your clipboard or if you are disallowed to receive clipboard information from the remote system.
 -
 Select an alternate remote monitor to display. The primary monitor is designated by a P.
 -
 View the remote screen at actual or scaled size.
 -
 Select the color optimization mode to view the remote screen. If you are going to be primarily sharing video, select Video Optimized; otherwise select between Black and White (uses less bandwidth), Few Colors, More Colors, or Full Color (uses more bandwidth). Both Video Optimized and Full Color modes allow you to view the actual desktop wallpaper.
The customer must be running the full customer client, not the web client, for the lossless option to be visible when in screen sharing.
 Switch to full-screen view.
Annotations
Use annotation tools to guide customers through complex tasks and to train remote employees, reducing the number of call-backs and lowering training costs. Representatives are offered an interactive way of dealing with customers, reducing potentially frustrating situations and increasing customer satisfaction.
While in annotation mode you can still use your mouse to move or control items on the remote desktop. Holding down the Shift key temporarily suspends annotation mode.
Enabling annotations
To start using Annotations, click on its icon.
Clicking on any of the dropdown menu items turns the Annotations mode on. You can select from a number of tools to help you guide a customer through a series of steps, or to enhance a training session. The following tools and functions are available:
- Virtual Pointer
- Pen
- Rectangle drawing tool
- Ellipse drawing tool
- Eraser
- Undo
- Clear
- Red, Black, or White colors
- Thin, Medium, or Thick line
You can select your tool from the Annotations dropdown menu or by right-clicking inside the remote screen area. If you click on the areas outside of the remote screen, the dropdown menu does not display.
Annotations appear on the remote screen to draw attention to specific points of interest or highlight areas as needed.
To turn off Annotations, select No Tool from the dropdown menu, or click Esc.
All annotations are deleted from the customer's screen when the session terminates.
View multiple monitors on the remote system
BeyondTrust supports remote desktops configured to use multiple monitors. When you first connect to a remote desktop, you will see the primary monitor in the Screen Sharing tab. If additional monitors are configured, a Display icon will appear active in the Screen Sharing toolbar, and a Displays tab will appear in the bottom right corner of the console.
Using the display icon
Select the Display icon to see all the displays attached to the remote computer. In this view, the remote monitors are represented by rectangles rather than thumbnail images. The position of each rectangle corresponds to the position configured for each monitor on the remote desktop.
The primary monitor appears in the Screen Sharing window by default. To change your view, click on the rectangle that represents the monitor you wish to see. You can also select View All to show all the displays attached to the remote computer in the Screen Sharing window.
If the remote computer has no additional monitors attached, the Display icon will be inactive.
RDP session multi-monitor support
An option allows you to open a Remote Support connection expanded across all the monitors on the client computer regardless of the client monitor configuration. With this feature, you can fully utilize all the monitors connected to the client computer, therefore being able to adjust screen sizing and scaling during an RDP session across multiple monitors.
If you are using full screen view while using this feature, the remote system is displayed across all of your monitors.
Using the displays tab
Select the Displays tab to see thumbnail images of all the displays attached to the remote computer. The position of each thumbnail image corresponds to the position configured for each display on the remote desktop.
The monitor currently displayed in the Screen Sharing tab will be highlighted.
The primary monitor appears in the Screen Sharing window by default. To change your view, click on the thumbnail of the monitor you wish to see. You can also select View All to show all the displays attached to the remote computer in the Screen Sharing window.
If the session is in grayscale mode, the remote monitors are represented by rectangles rather than thumbnail images. The position of each rectangle corresponds to the position configured for each monitor on the remote desktop.
The refresh cycle of the thumbnail image is about three seconds in ideal conditions but can lag depending on connection speed and data transfer.
Connectivity issues with Peer to Peer enabled
If Peer‑to‑Peer (P2P) is enabled for a shared session, firewalls may sometimes cause connection issues. To help troubleshoot, open the hamburger menu in the top‑left corner of the screen ( ). Hold down the Shift key and click the menu, then select RTC Diagnostics… to view P2P and WebRTC connectivity details.
Updated 2 months ago
