
Identify risky and sensitive users | Entitle Pathfinder
An identity with too much access is one of the easiest ways for an attacker to move through your environment. Risk and sensitivity scores show you which users hold dangerous access before someone abuses it. This workflow shows you how to find those users in Entitle and review the detections behind their scores in Identity Security Insights.
Scope of this guide
This workflow covers finding risky and sensitive users in the Permissions page in Entitle on the Pathfinder platform, and opening a detection in Identity Security Insights to see the full detail.
Prerequisites
- Your organization has a license for both Entitle and Identity Security Insights on the Pathfinder platform.
- The Identity Security Insights integration is set up, so Entitle receives detection and privilege data.
- You can sign in to Entitle and open the Permissions page.
Risk and sensitivity tiers
Entitle shows a risk label and a sensitivity label on each user. The labels come from the data that Insights collects.
| Label | What it means |
|---|---|
| Risk: Risky | The user has at least one open security detection in Insights at critical (4) or high (3) severity. |
| Risk: Caution | The user's highest open security detection in Insights is moderate (2) or low (1) severity. |
| Sensitivity: High | The highest privilege level across the user's accounts is highest (4) or high (3). |
| Sensitivity: Medium | The highest privilege level across the user's accounts is moderate (2) or low (1). |
Approval workflows do not use the Risky and Caution tiers. They match on the underlying severity levels instead: No risk, Low, Moderate, High, and Critical. A rule set to High or Critical matches the users labeled Risky on this page, and a rule set to Low or Moderate matches the users labeled Caution.
Steps
Step 1: Review risk and sensitivity in the graph view
-
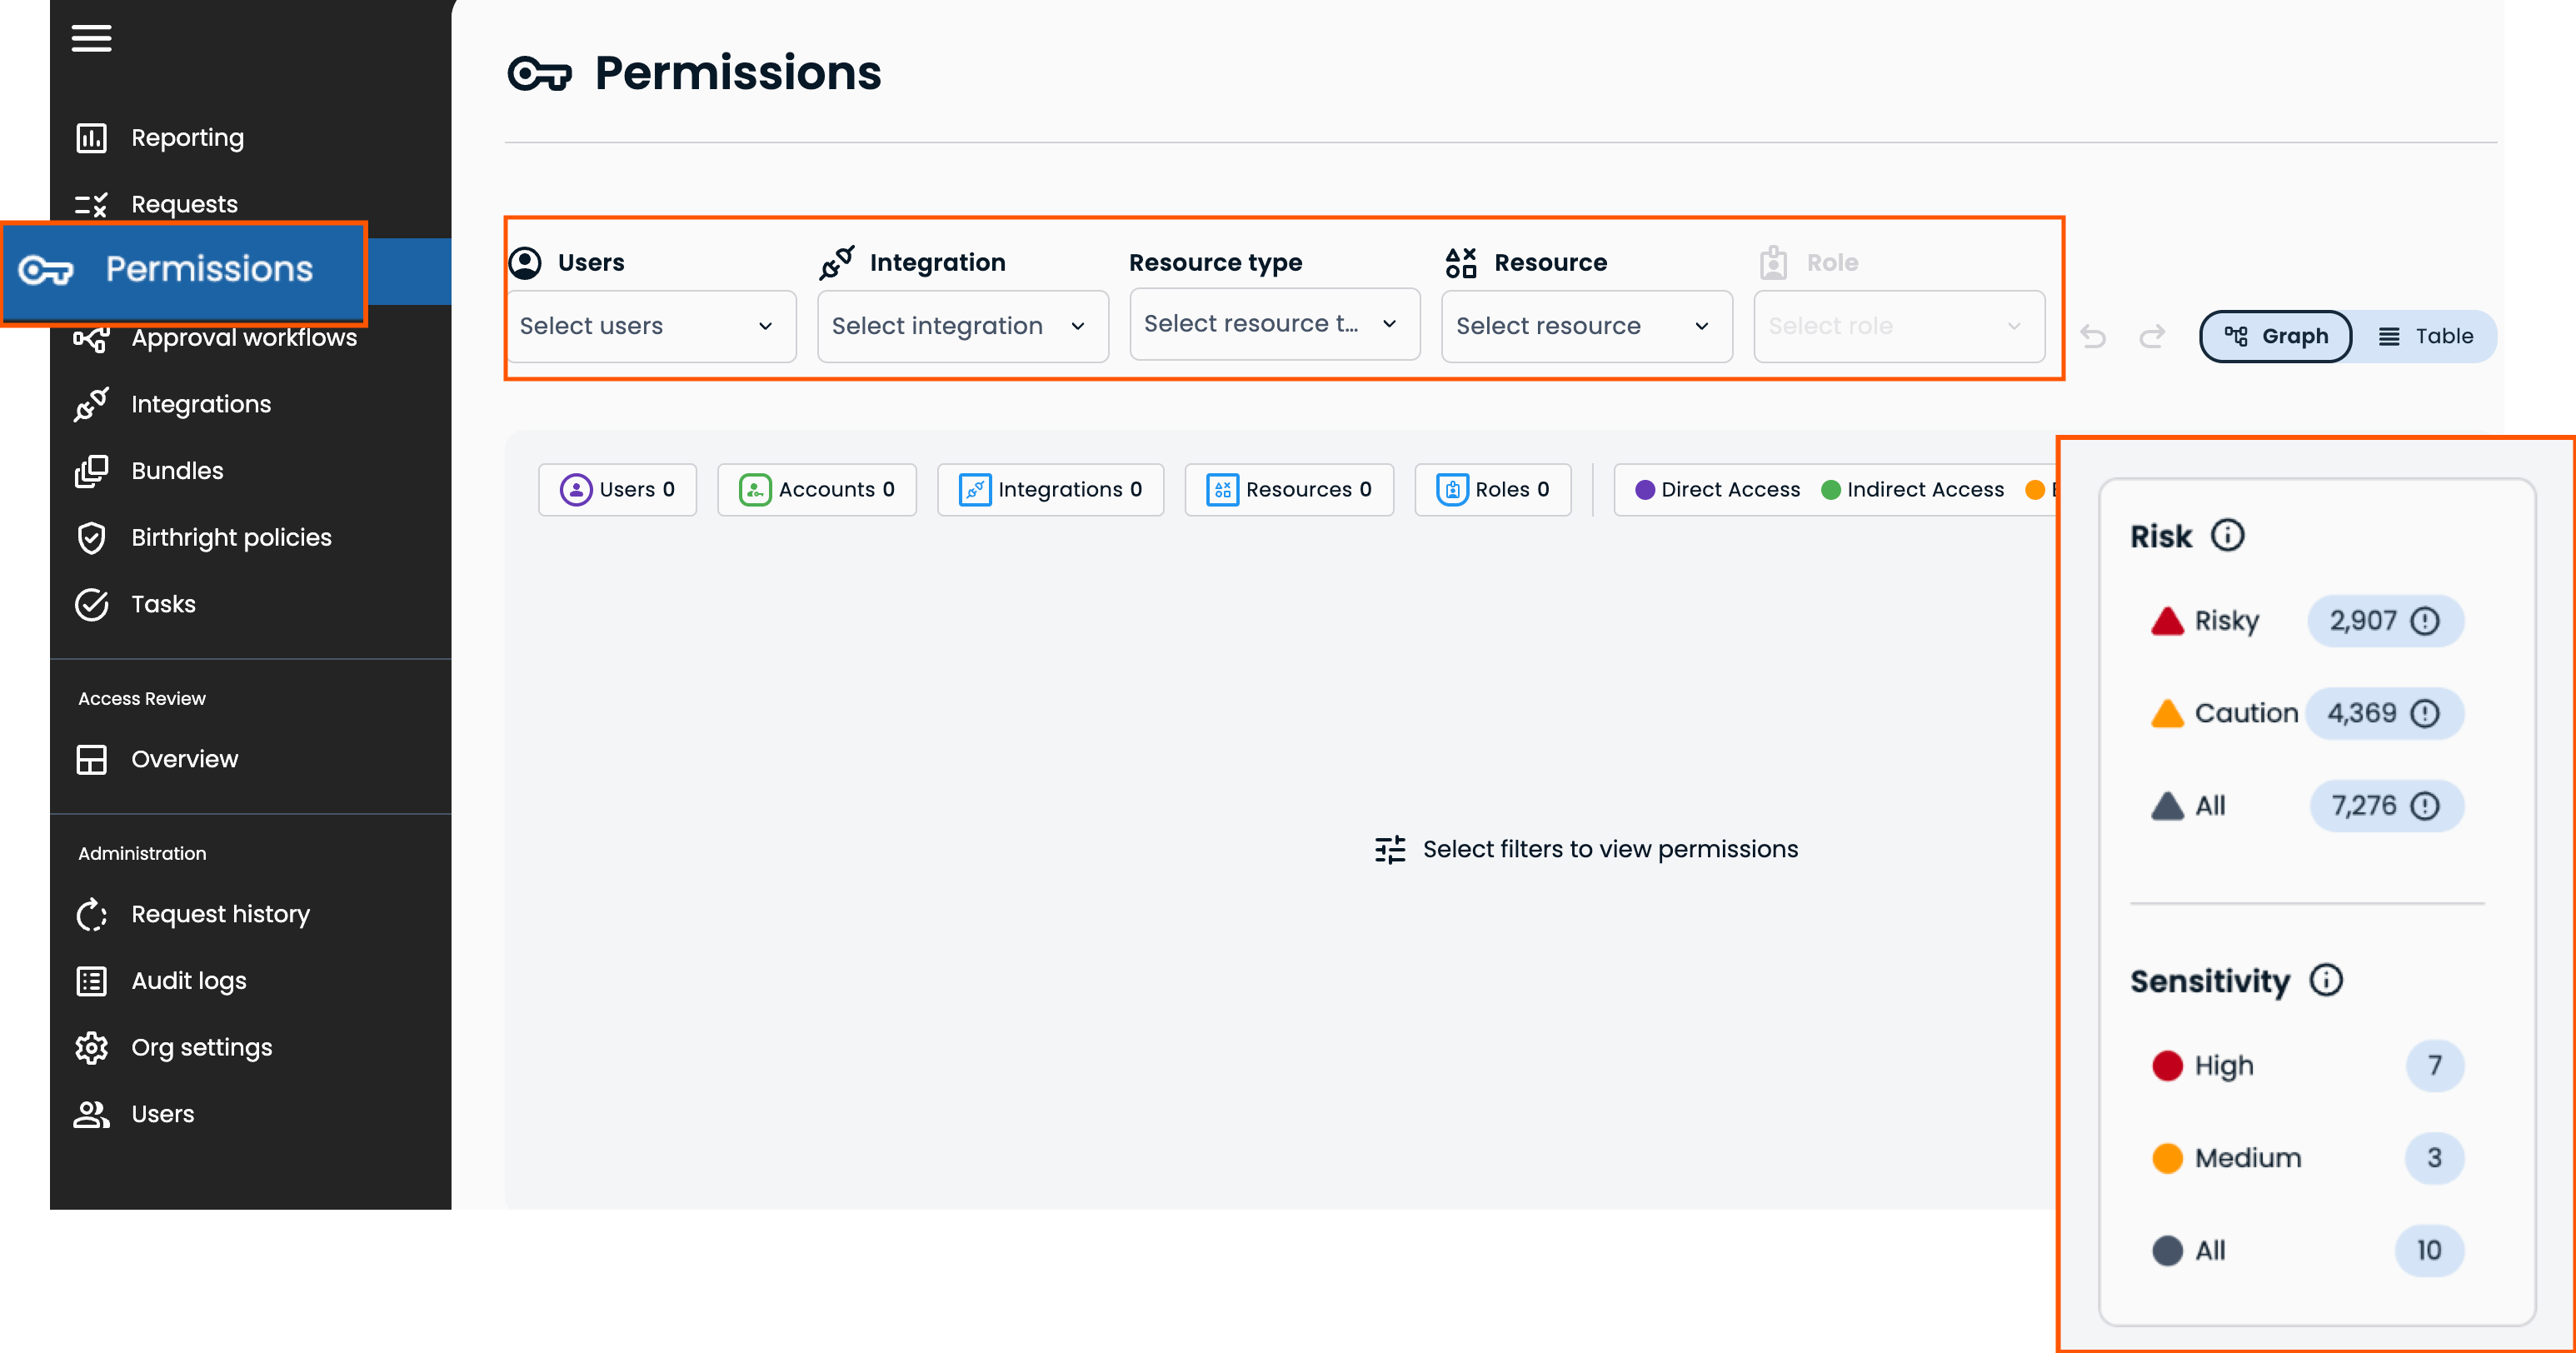
Sign in to Entitle and navigate to Permissions.
-
Select a risk or sensitivity tier to see the users in that tier. Entitle displays up to 250 users at a time, so filter the graph to narrow your search.
-
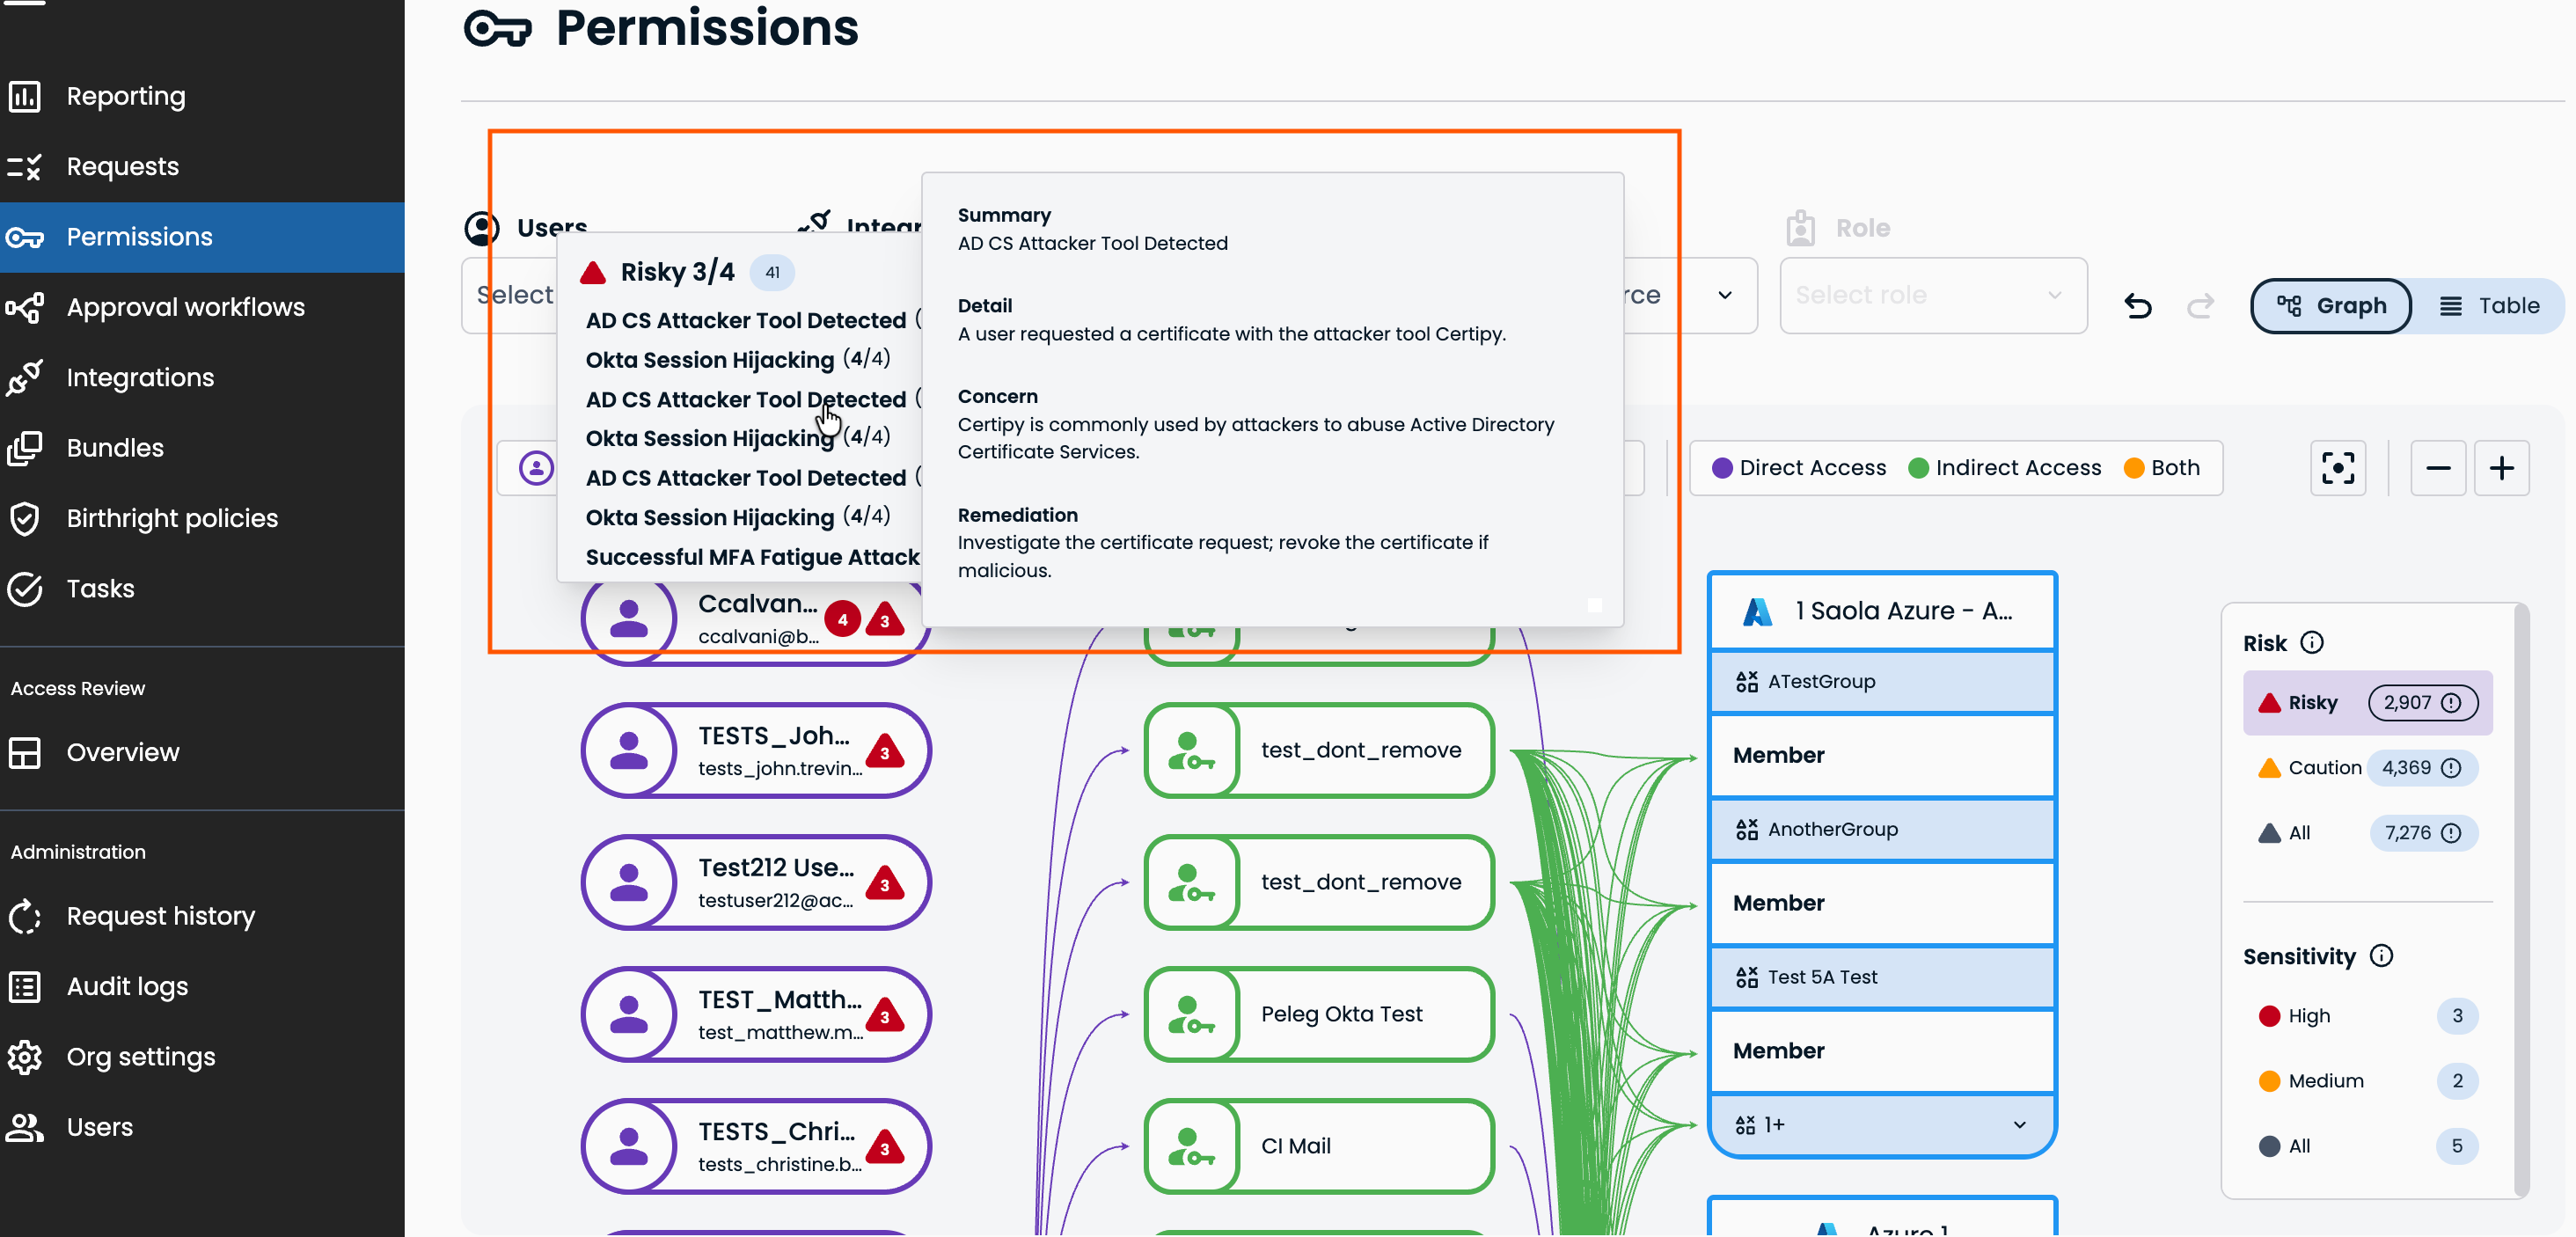
Hover over the risk and sensitivity indicators on a user to see the details.
Step 2: Open the detail in Insights
-
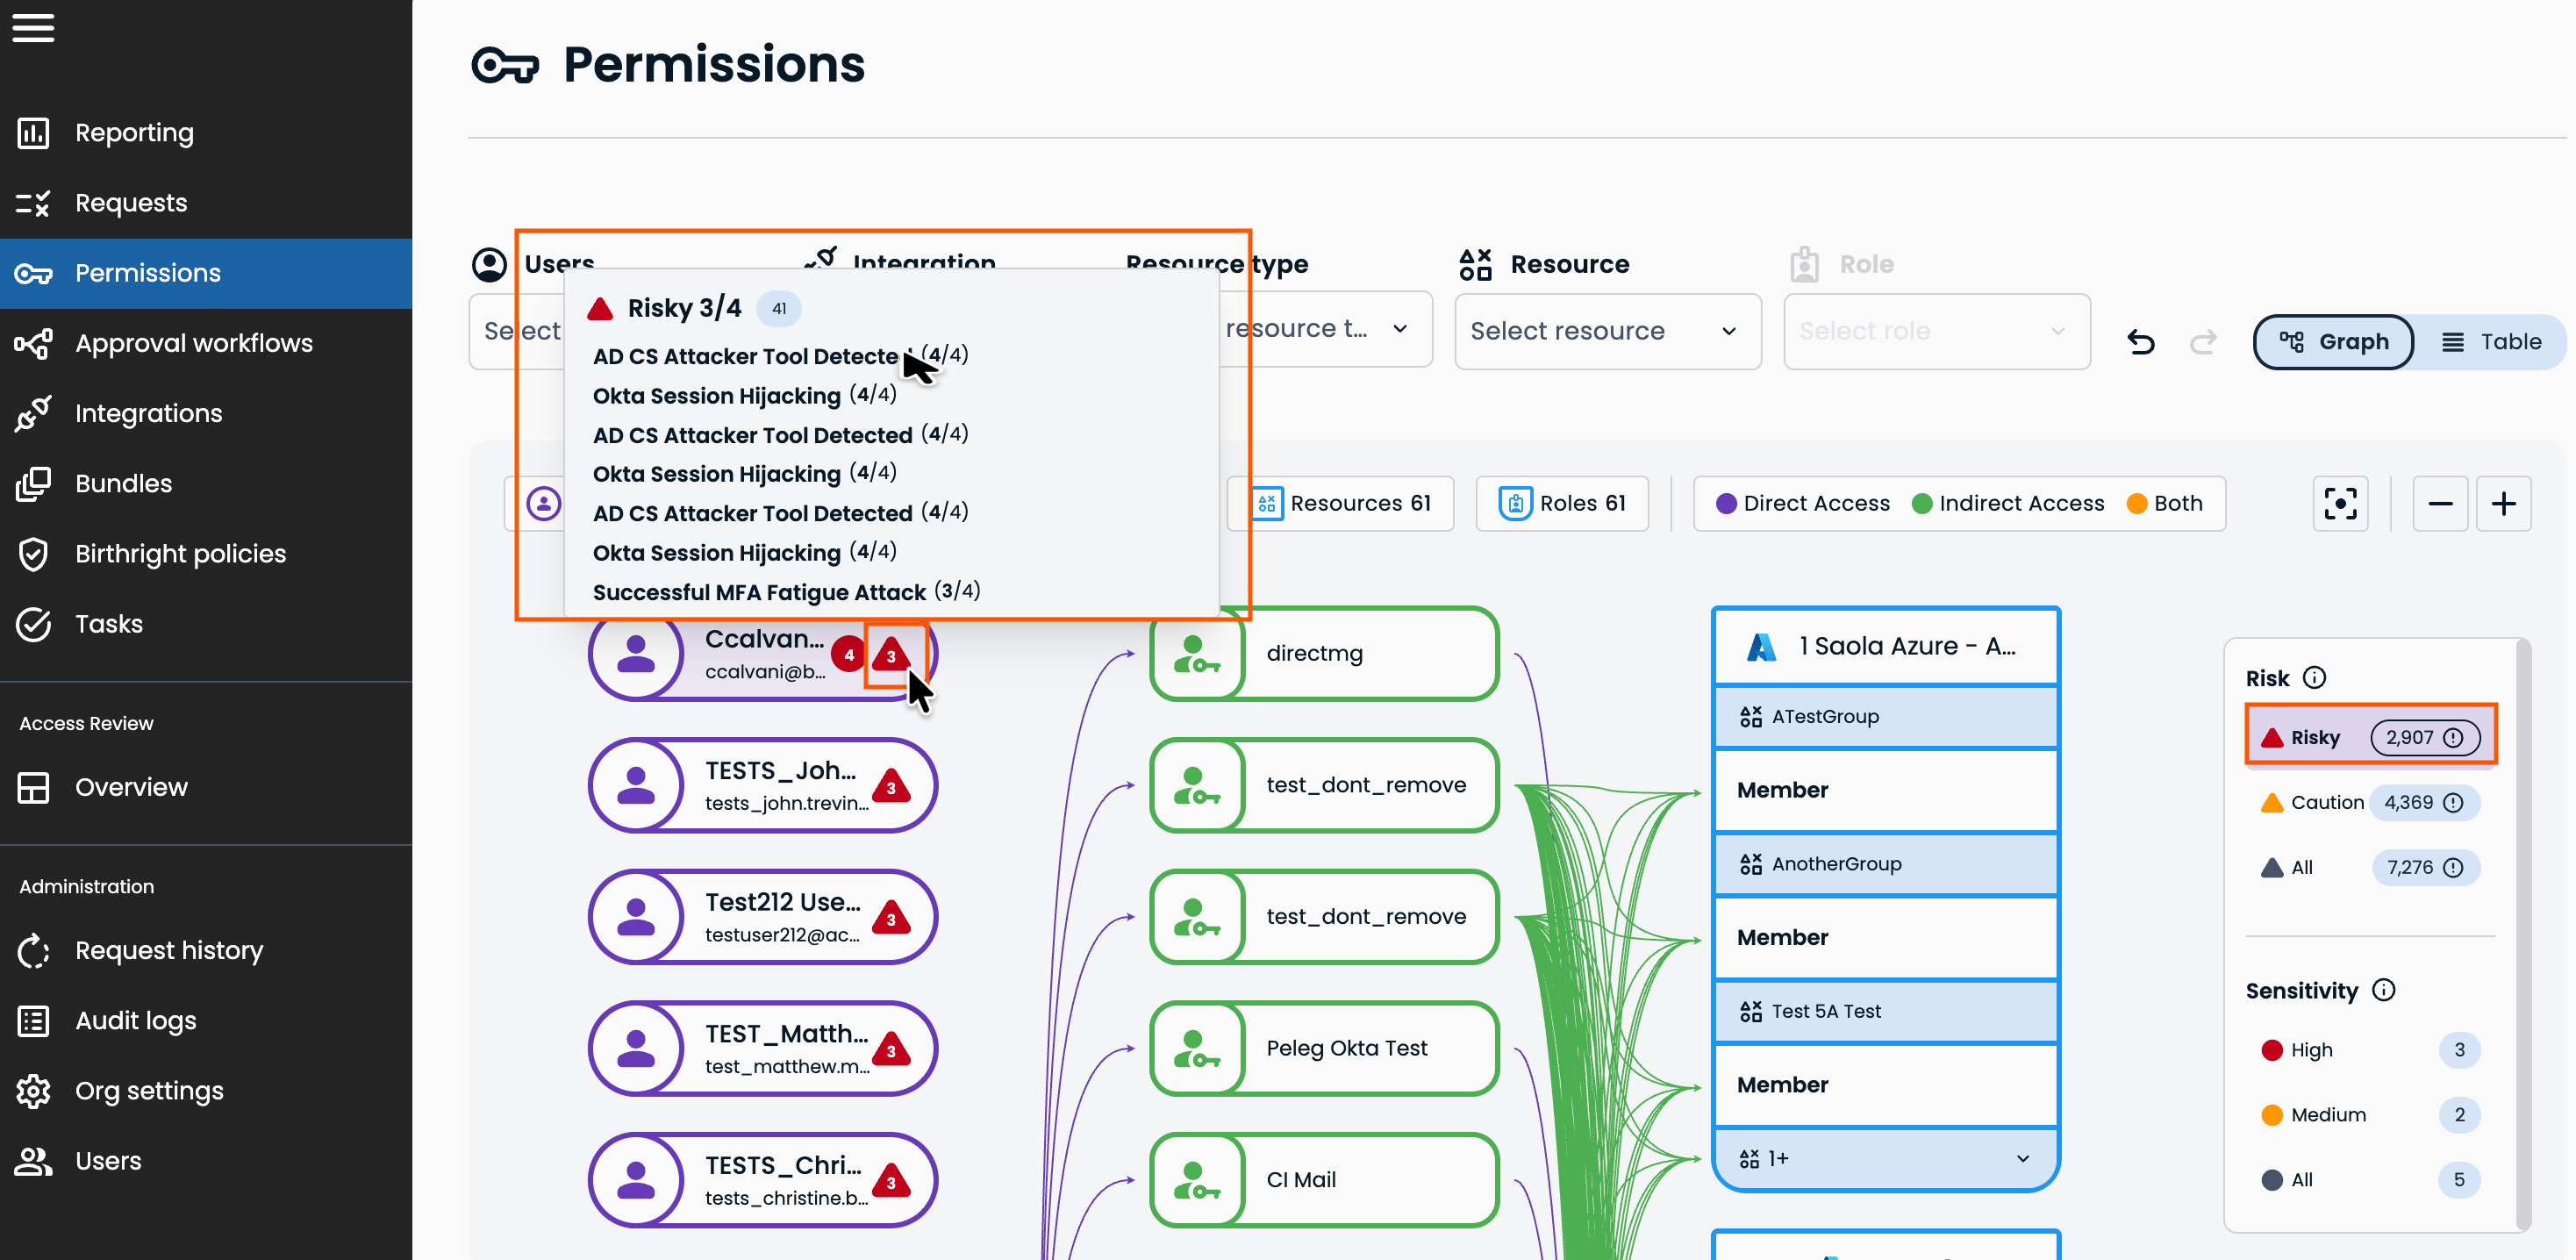
Select a risk detection to review it in Insights.
-
Select the sensitivity indicator to open the identity's profile in Insights.
Step 3: Filter the table view
Use the table view when you want a filtered list of users rather than a graph.
-
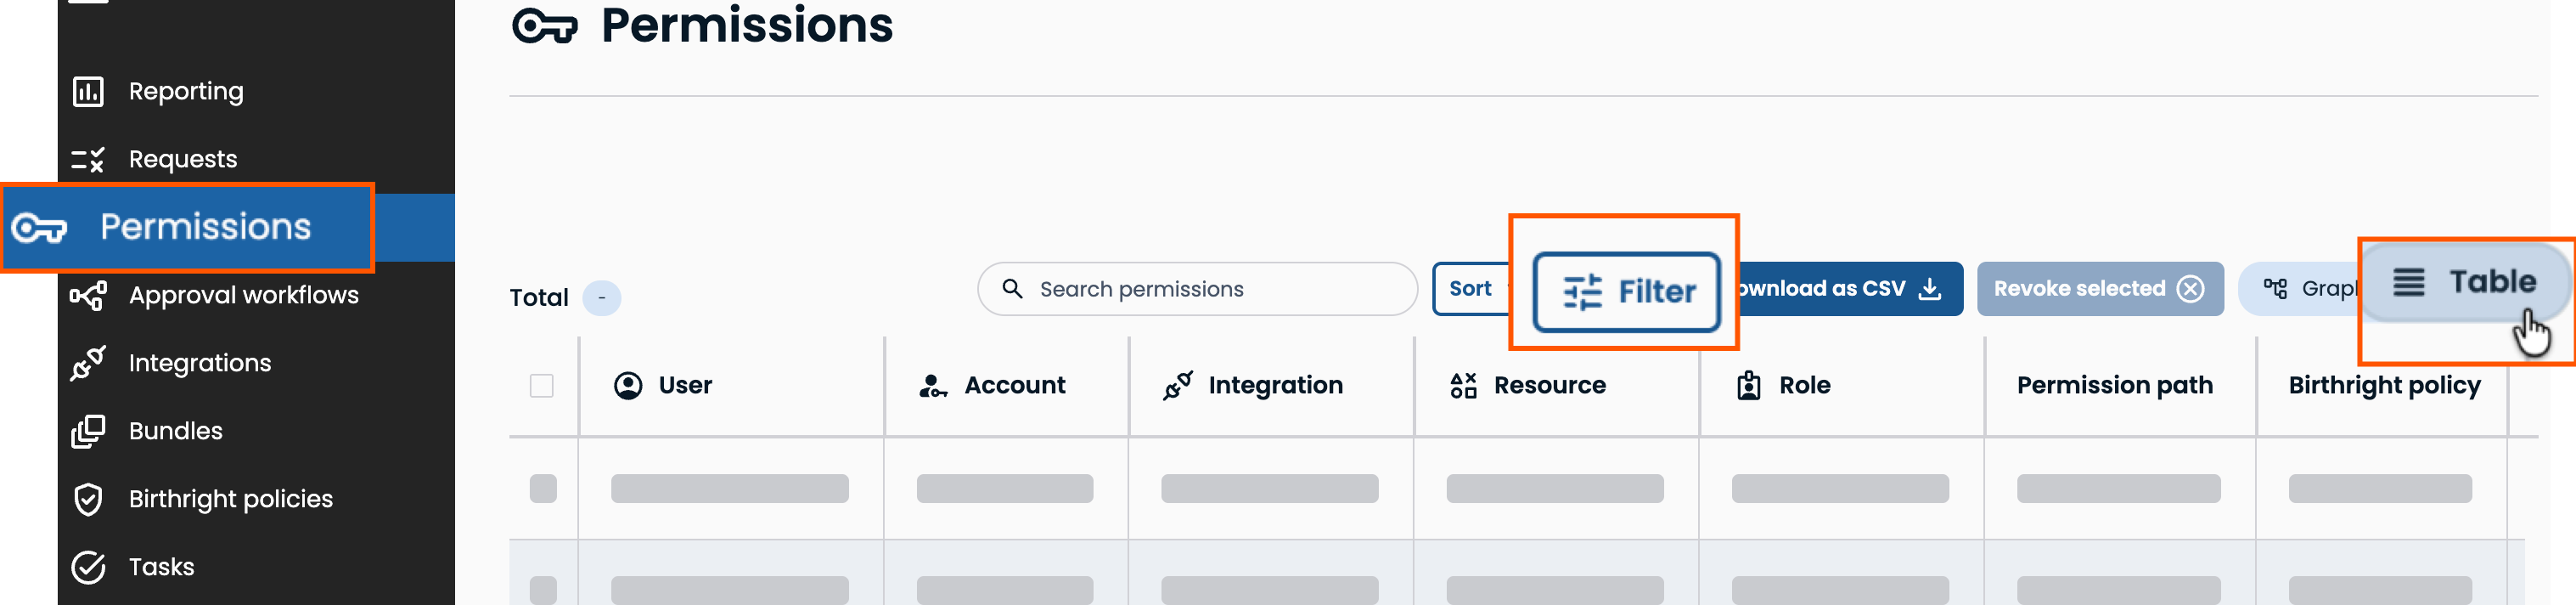
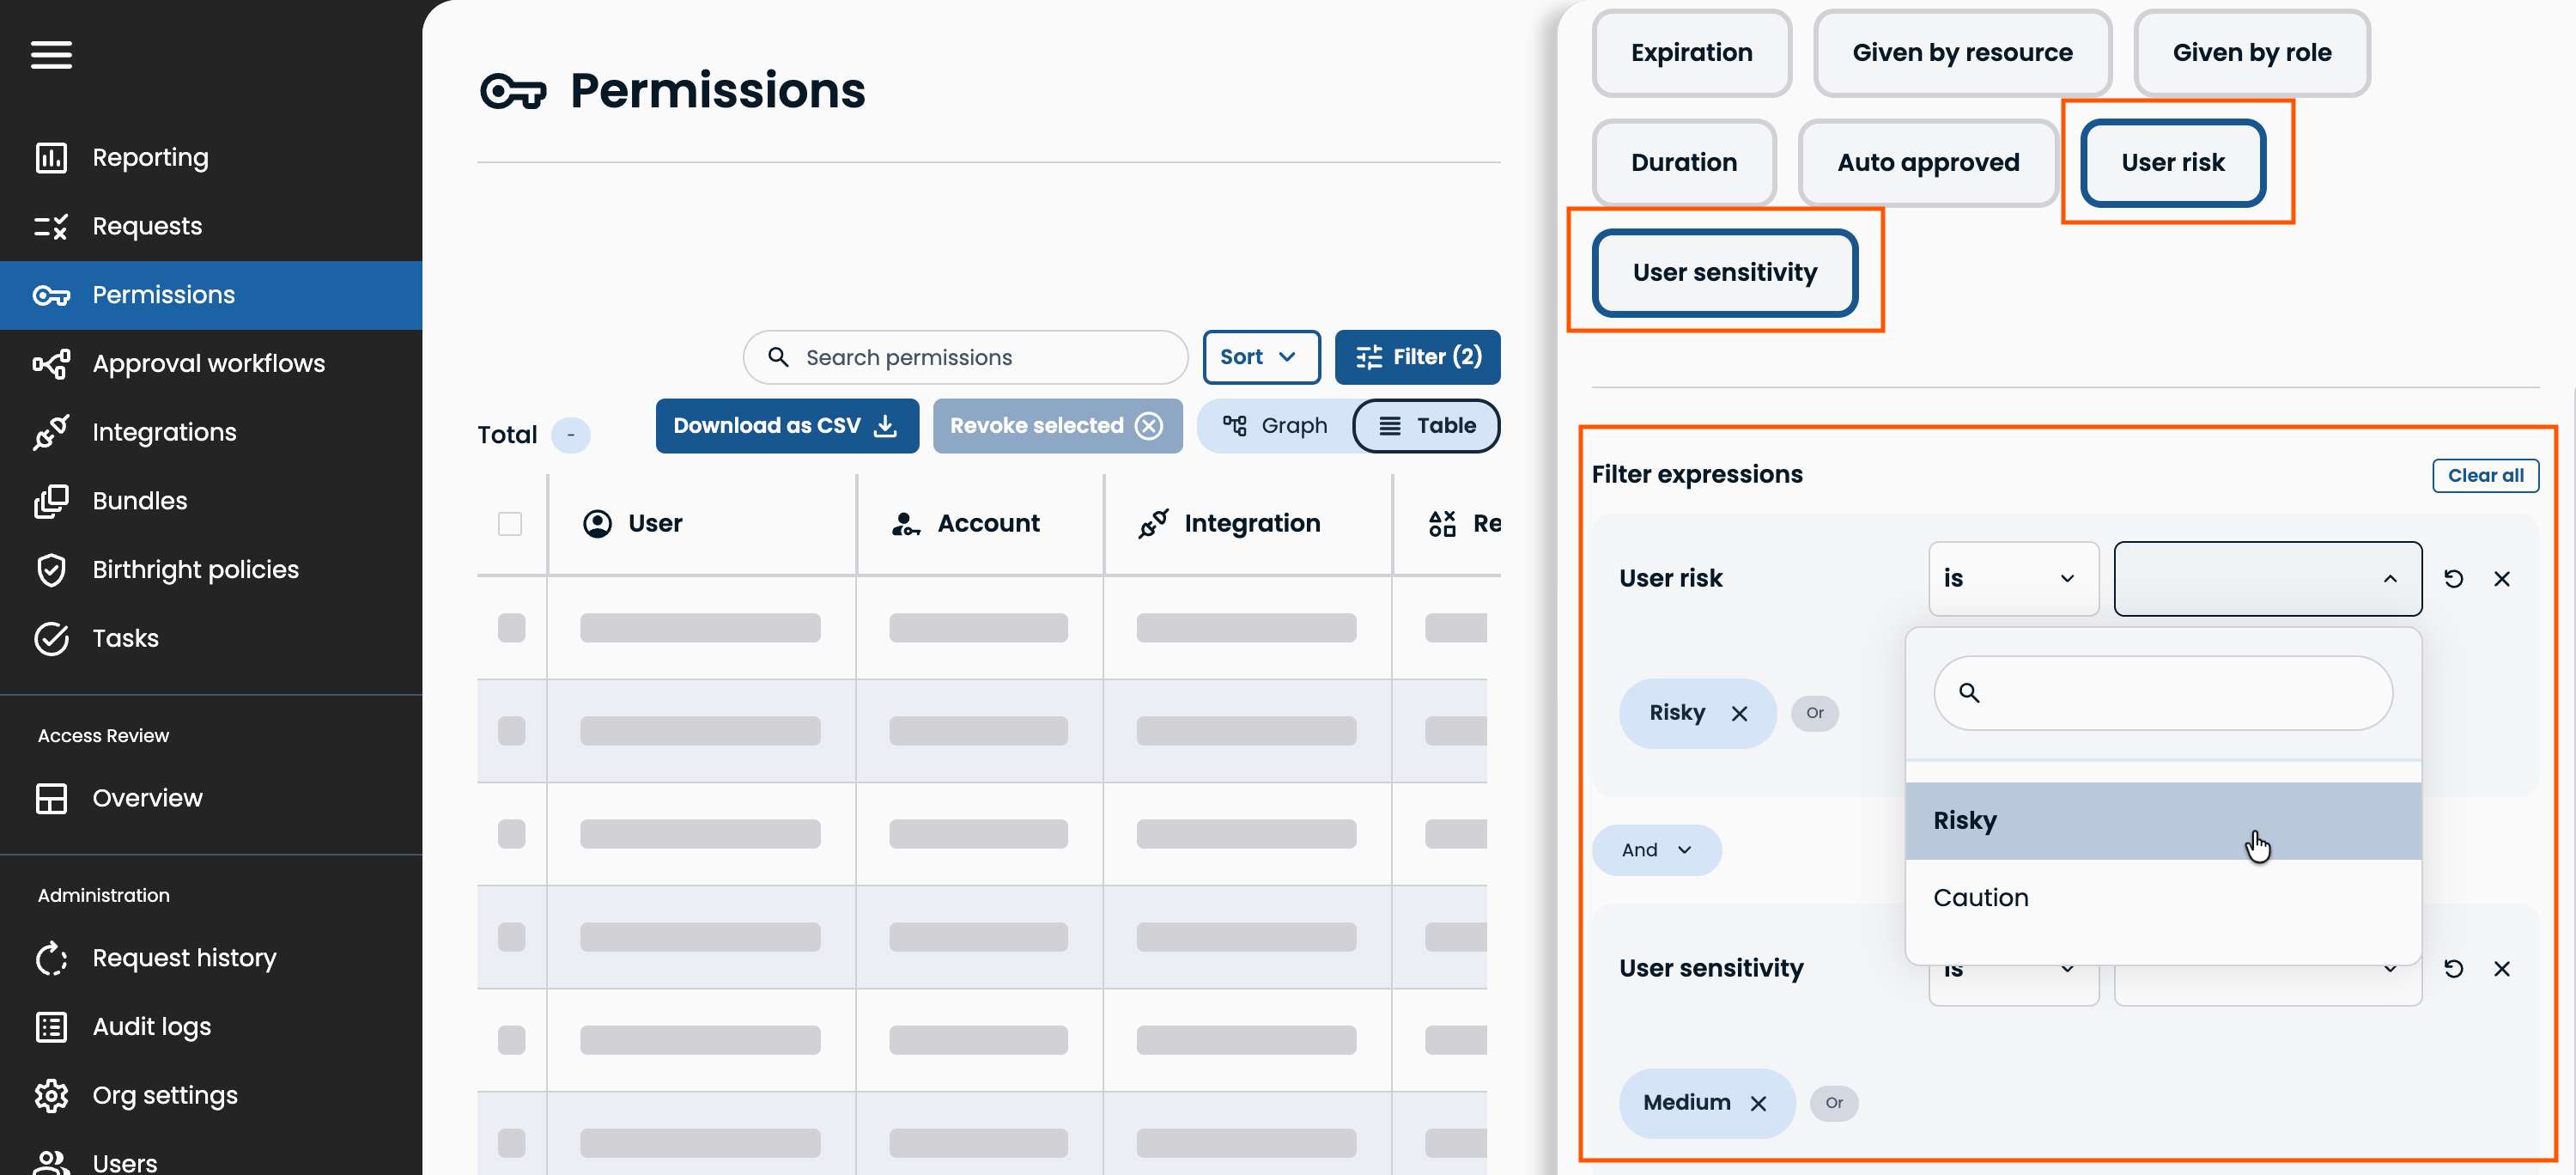
In Entitle, navigate to Permissions, then select Table and Filter.
-
Select User risk or User sensitivity, then complete the filter expression.
Verify the results
Confirm that the Permissions page shows a risk or sensitivity label on the users you filtered for. Confirm that selecting a risk detection opens the matching detection in Insights. If no labels appear on any user, check that the Insights integration is connected.
Next steps
- Review the access that a risky user holds, then remove what they no longer need.
- Run an access review for the resources that your sensitive users can reach.
- Require extra approval for requests from risky users, by using the user's risk level as a condition in an approval workflow. See Use user risk as a condition.
Updated 24 days ago
