Docusign | Entitle
What is Docusign?
Docusign (DS) is an electronic signature platform enabling users to sign, send, and manage digital documents securely. It provides a legally binding and efficient alternative to physical signatures.
How is this integration useful?
DS enables seamless resource management, streamlines administrative tasks, and ensures secure, compliant handling of digital agreements. Through this integration, Entitle can manage the following resource types in DS:
- Groups
- signing groups
- permission profiles
Prerequisites
- You must have an Admin account in Entitle**.**
- You must have a DS developer account, as this is the only account type that can create an application to integrate with Entitle.
- Access to your DS User ID, Account ID, Client ID, Authorization server, and Private key.
Should you need to allowlist this integration, these are the IP addresses from which Entitle's service reaches the integration:
- Entitle EU (Cloud deployment)
- 34.243.199.171
- 54.216.133.226
- Entitle US (Pathfinder deployment)
- 52.45.229.219
- 54.88.235.213
- 3.224.15.134
- Entitle CA (Pathfinder deployment)
- 35.182.218.208
- 15.156.179.153
Create a new application in DS
-
In the DS development environment, locate Admin at the top navigation menu.

The Admin page displays.
-
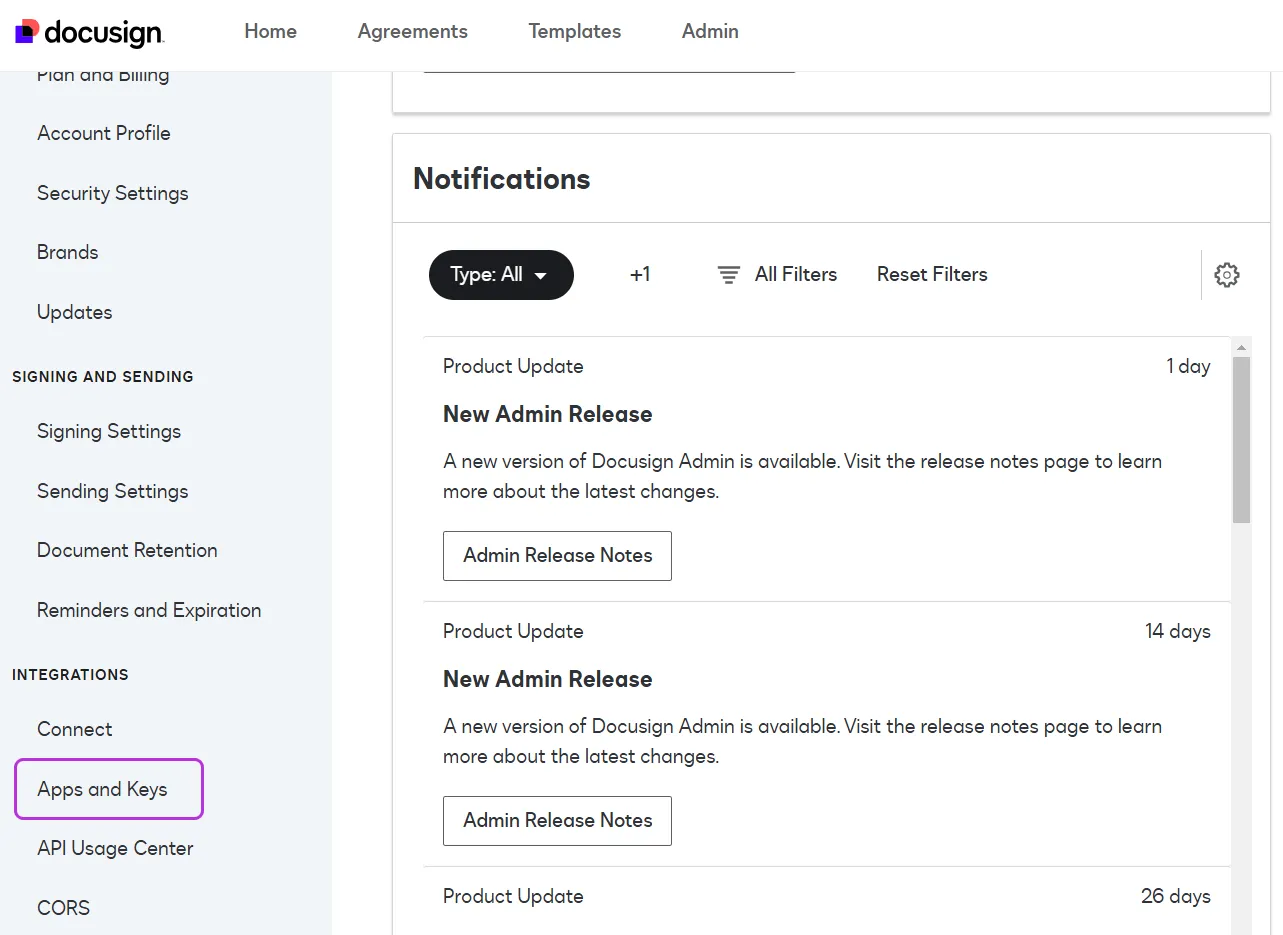
In the Admin page’s left-side navigation click Accounts, then select Apps and Keys under Integrations.
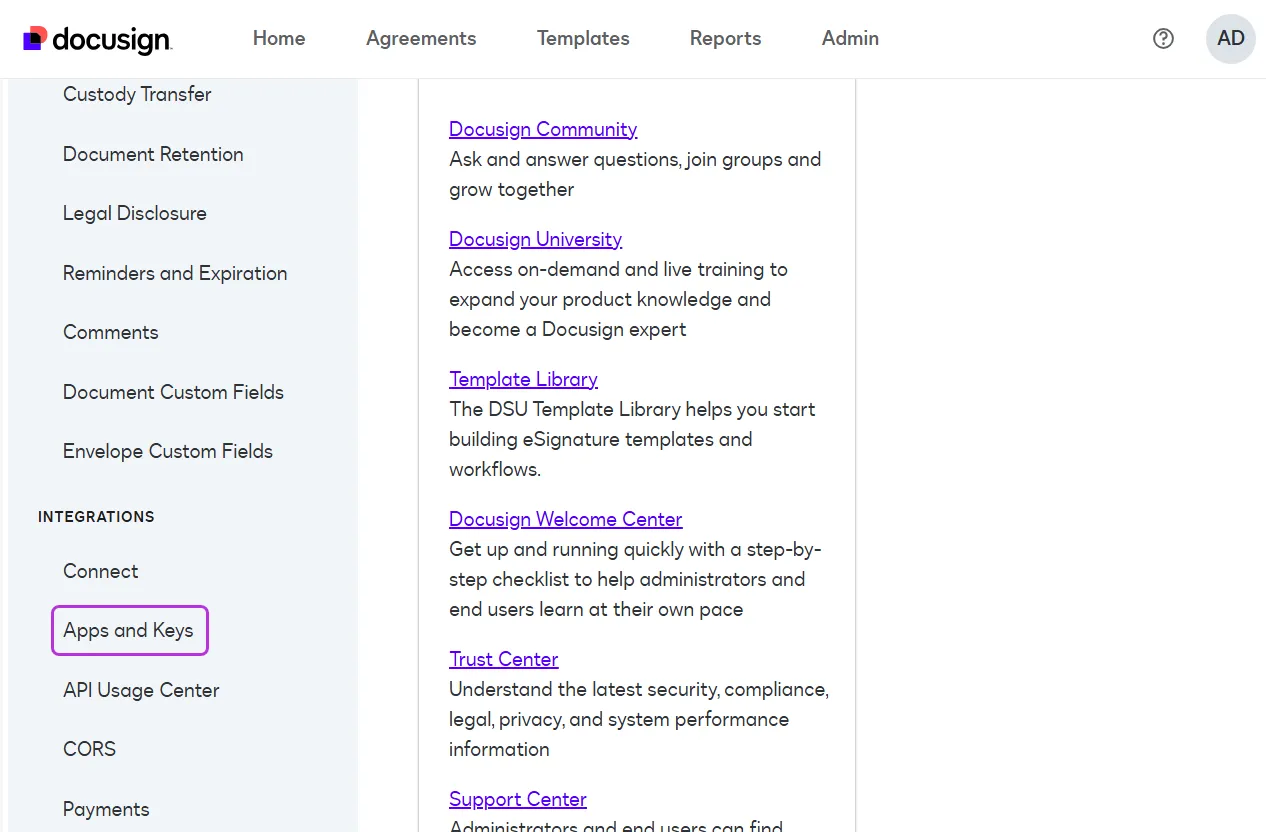
The Apps and Keys page displays.
-
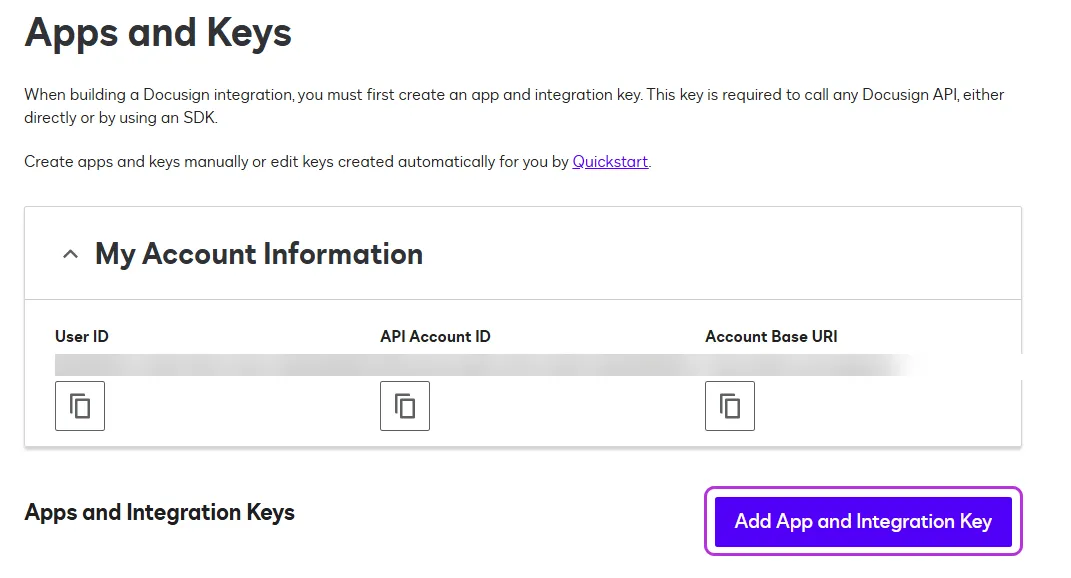
On the Apps and Keys page, click Add App and Integration Key.
-
Choose a name for your app and click Create App.
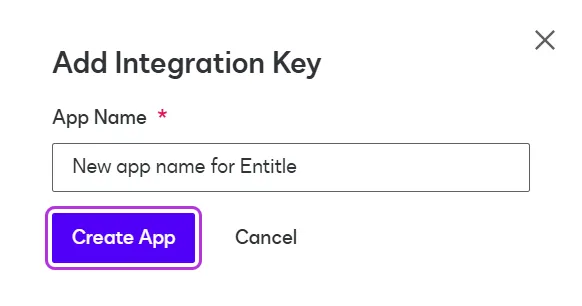
The new app’s settings page displays.
Obtain your User ID
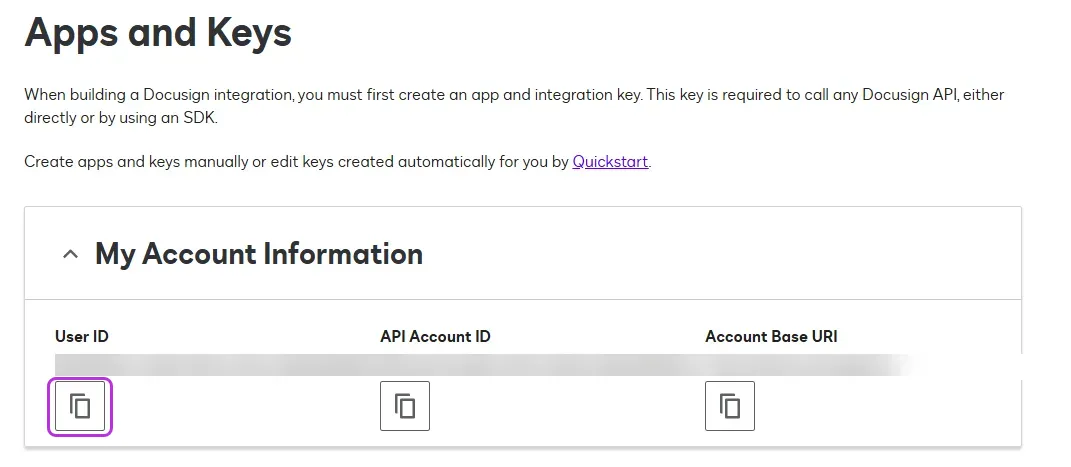
This step is needed for creating a JWT token later in this guide.
On the Apps and Keys page, copy your User ID details and save them for later.
Obtain your integration key (Client ID) in DS
-
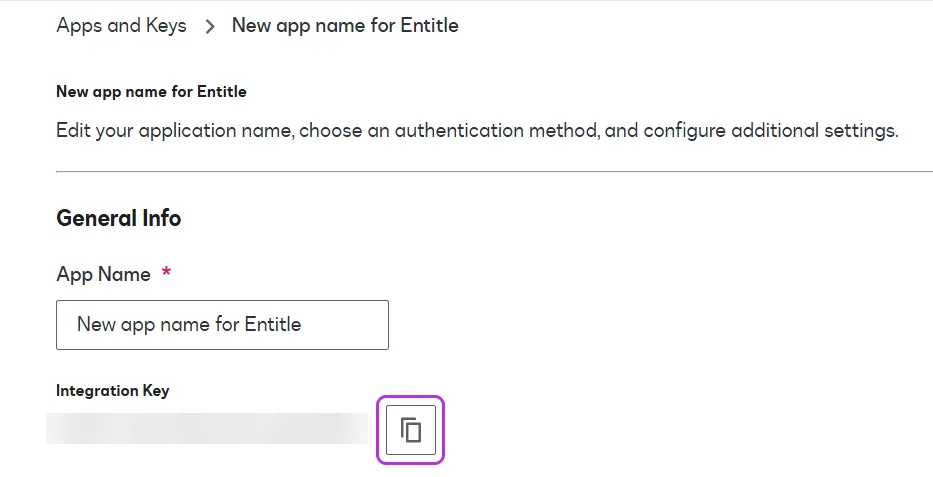
Locate Integration Key under General Info, in the new app’s settings page.
-
Copy the Integration Key details and save it for later.
Obtain your private key in DS
-
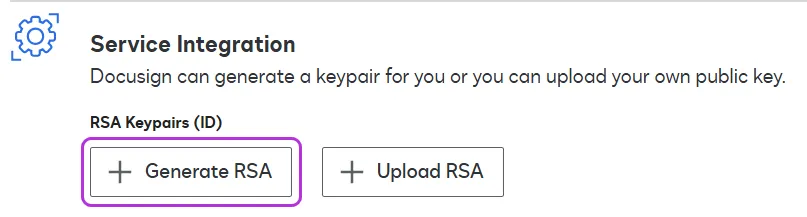
Locate Service Integration in the new app’s settings page.
-
Click Generate RSA.
The RSA Keypair page displays.
-
On the RSA Keypair page, locate the Private Key.
-
Copy the Private Key details and save it for later. Exit the RSA Keypair page.
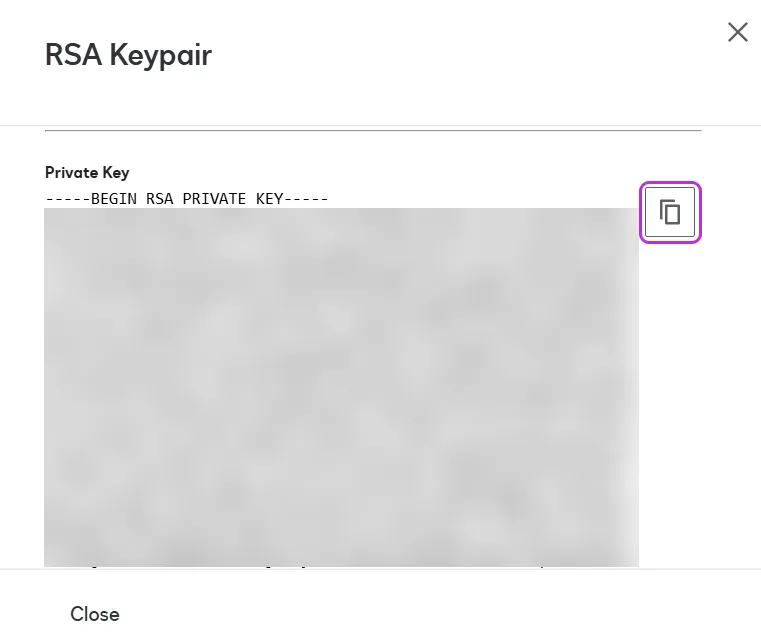
After you close this screen, RSA key pairs are masked for security reasons and cannot be revealed again. If you don’t copy it first, your only option will be to delete the RSA key pair and add a new one.
Set up a redirect URI
-
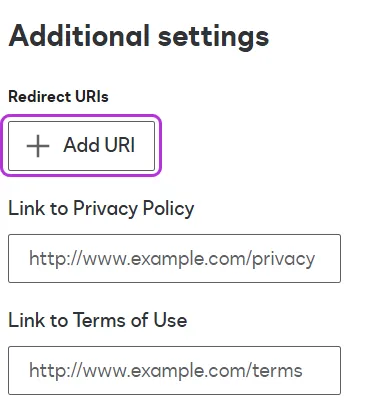
On the app’s settings page, locate Redirect URIs under Additional settings, and click Add URI.
-
Add
http://localhostto the list of redirect URIs.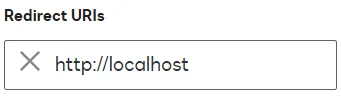
-
Click Save. You will be redirected to the Apps and Keys page. It may take a couple of minutes for your changes to be fully stored in DS.
Allow access to Entitle in the development environment
-
In the following URL, locate the client ID value and replace it with the integration key you previously copied for your new app. Do not remove the "&" values before and after the client ID value.
https://account-d.docusign.com/oauth/auth?response_type=code&client_id=910c7d1d-e607-48b2-b788-4e0c9477cf79&redirect_uri=http://localhost&scope=signature%20organization_read%20group_read%20permission_read%20user_read%20user_write%20account_read%20domain_read%20identity_provider_read%20impersonation -
In your current DS tab, paste your new URL in the URL bar and click enter.

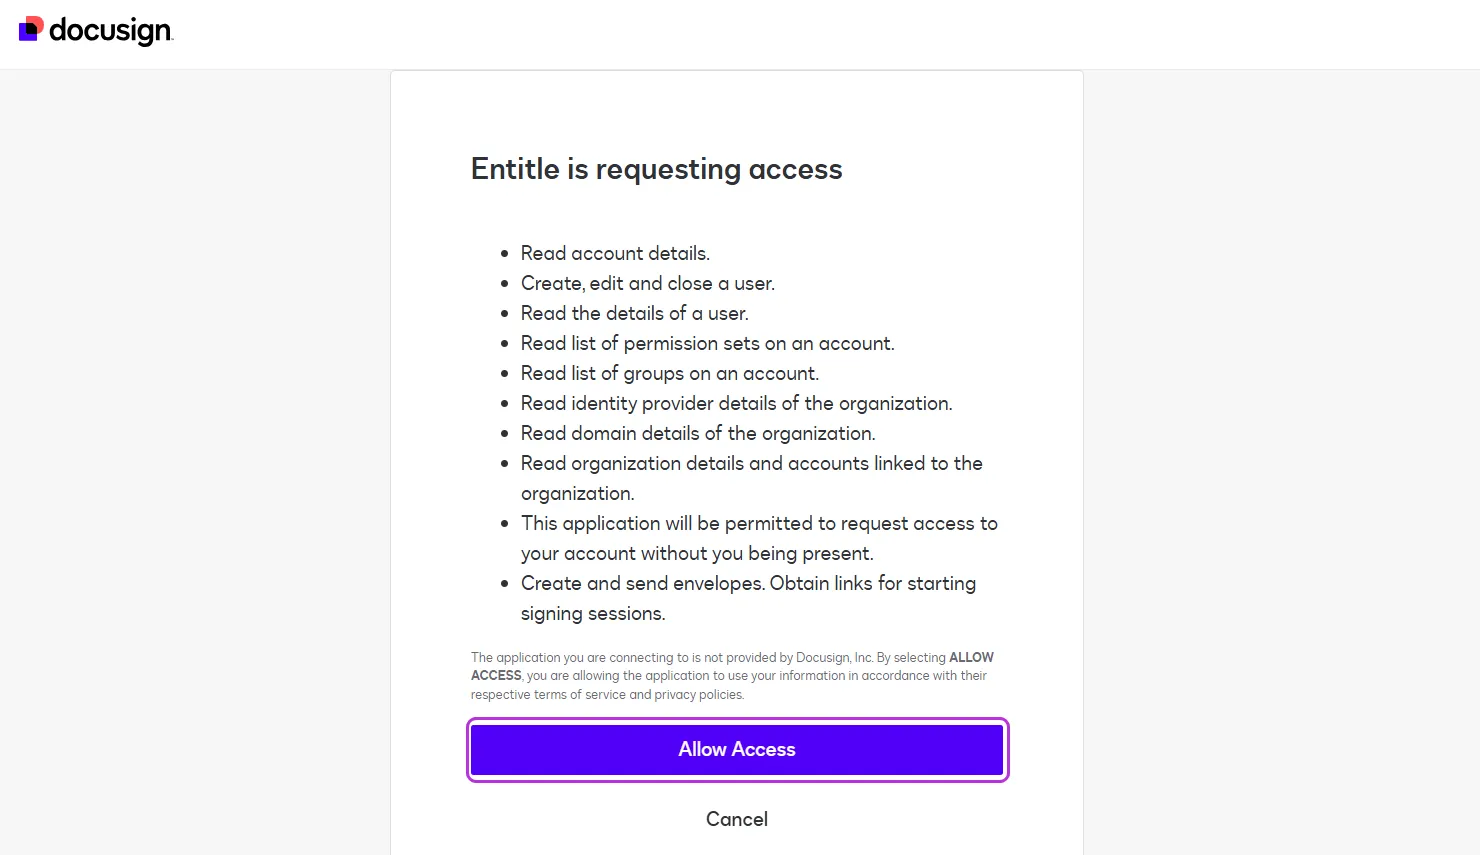
An Entitle is requesting access screen displays.
-
Click Allow Access. The browser will display an error message saying "localhost refused to connect", you can safely ignore this page and close the tab.

Create a JWT token
You can watch a walkthrough video of how to get an access token using the JWT Grant. Otherwise, find below the steps to create a JWT token.
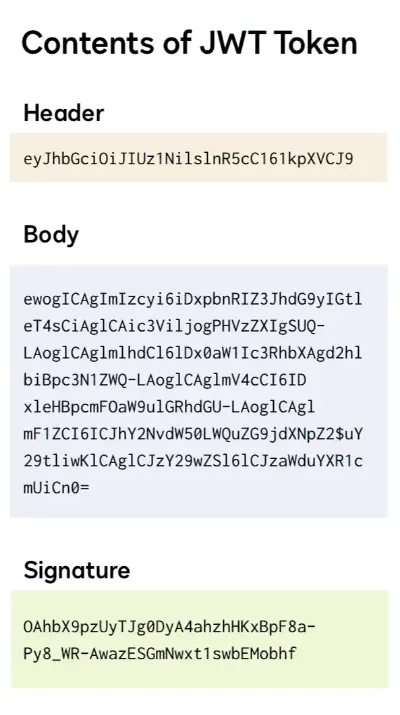
A Docusign JWT contains three JSON blocks that are encoded and separated by period characters. You will need three pieces of information to create a JWT for authenticating a user:
- Consent from the user or the admin of their organization is obtained through this step.
- The Integration Key (also called the client ID), is obtained through this step.
- The User ID is obtained through this step.
Although this information is required to create a JWT, it is not necessarily encoded within the created JWT.
You can create a sample JWT by using an online JWT tool like jwt.io and adding the following fields for the header, body, and signature sections:
Header
{
"alg": "RS256",
"typ": "JWT"
}
Body
{
  "iss": "<your_integration_key>",
  "sub": "<your_user_ID>",
  "aud": "account-d.docusign.com",
  "iat": <current_unix_epoch_time>,
  "exp": <current_unix_epoch_time+6000>,
  "scope": "signature impersonation"
}
Signature
RSASHA256(
  base64UrlEncode(header) + "." +
  base64UrlEncode(body),
  "<your_public_RSA_key>",
  "<your_private_RSA_key>"
)
The result should look similar to the following example:
Obtain the access token
To request an access token, send a POST request containing the JWT to the Docusign authentication service.
- For the developer environment, the URI is
https://account-d.docusign.com/oauth/token
Example requestcurl --data "grant_type=urn:ietf:params:oauth:grant-type:jwt-bearer& assertion=eyJhbGciO.....00V-pTPzg" --request POST https://account-d.docusign.com/oauth/tokenThe response to a successful request will include your access token value:
{
    "access_token": "ISSUED_ACCESS_TOKEN",
    "token_type": "Bearer",
    "expires_in": 3600
}
Get your user's base URI
-
To make an API call to the Docusign platform, your application needs both an access token (which you obtained in the previous step), and a base URI that is unique to the user on whose behalf your application is making the API call.
-
To get the base URI, call the
/oauth/userinfoendpoint, supplying your application’s access token as a header.- For the developer environment, the URI is
https://account-d.docusign.com/oauth/userinfo - The request must contain an Authorization header that holds your access token.
curl --request GET https://account-d.docusign.com/oauth/userinfo --header "Authorization: Bearer eyJ0eXAi.....M47FCqQQ" - For the developer environment, the URI is
-
If successful, this returns a set of data for each user who has granted consent and the account(s) that the user is a member of, as shown by the Sample response:
{ "sub": "564f7988-xxxx-xxxx-xxxx-781ee556ab7a", "name": "Example J Smith", "given_name": "Example", "family_name": "Smith", "created": "2018-04-13T22:03:03.45", "email": "[email protected]", "accounts": [ { "account_id": "18b4799a-xxxx-xxxx-xxxx-b5b4b8a97604", "is_default": true, "account_name": "ExampleAccount", "base_uri": "https://demo.docusign.net" } ] } -
You will need the
account_idand thebase_uriclaims of the user that your application is acting on behalf of to make calls to a Docusign API.
Use the access token to make an API call
Now that you've obtained an access token and the user info, your application is authenticated and has all of the information that it needs to make a call to a Docusign API.
-
To make an eSignature REST API request, you must include:
- The acquired access token in the request's Authorization header.
- The base URI for the request, built from the
account_idand thebase_uriof the user account.Example requestcurl -- request GET https://demo.docusign.net/restapi/v2.1/accounts/18b4799a-xxxx-xxxx-xxxx-b5b4b8a97604/brands --header "Authorization: Bearer eyJ0eX...V8KroQ"For example, the syntax to call AccountBrands:list to return details about all of the brands associated with an account is:
GET restapi/v2.1/accounts/{accountId}/brandsSubstituting the base URI of
https://demo.docusign.netand API Account ID of18b4799a-xxxx-xxxx-xxxx-b5b4b8a97604, the request path would be:GET https://demo.docusign.net/restapi/v2.1/accounts/18b4799a-xxxx-xxxx-xxxx-b5b4b8a97604/brands
-
The final piece of information needed to access the API is the access token, prefixed with
Bearerand provided in the Authorization header. -
Repeat this section’s steps to make a total of 20 API calls. This is mandatory by Docusign to promote the application to the production environment.
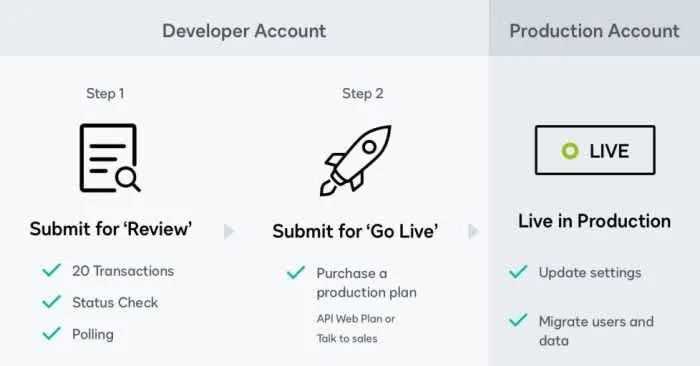
Promote the application to the production environment
The promotion process to the production environment is the following:
-
In the Apps and Keys page, locate your new application in the Apps and Integration Keys table.
-
Click Actions next to the relevant application and then Start Go-Live review.

A screen with Request App Review displays.
-
In the Request App Review screen, select Request Review.
Note: Your app must meet all requirements for each API it uses to pass the Go-Live review. -
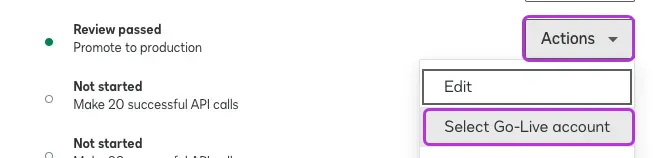
Once reviewed, the key's status will change to Review Passed. Next to the new app’s integration key, select again Actions and then select Go-Live Account.
-
Choose a production account and click Next.
-
Log in to the production account with which you want to manage the integration key, using your production DS account credentials.
-
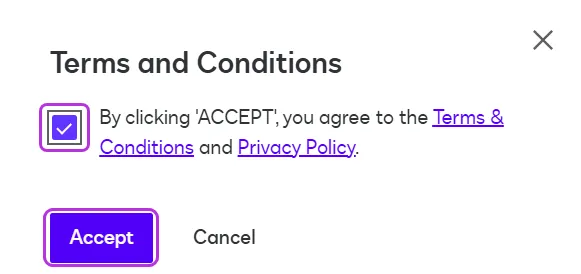
Accept the Terms and Conditions.
-
Select a production account to use to promote the key. Click Select when done.
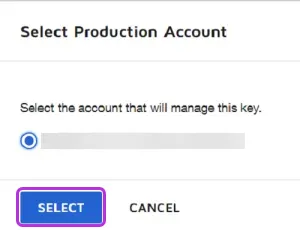
The key’s status will then change to Pending Approval.
-
Once your integration key has been promoted, you will receive an email notification and the key's status will change to Live, indicating the key is enabled in the production environment.
Allow access to Entitle in the production environment
-
In the following URL, locate the client ID value and replace it with the integration key you previously copied for your new app. Do not remove the "&" values before and after the
client_idvalue.https://account.docusign.com/oauth/auth?response_type=code&client_id=910c7d1d-e607-48b2-b788-4e0c9477cf79&redirect_uri=http://localhost&scope=signature%20organization_read%20group_read%20permission_read%20user_read%20user_write%20account_read%20domain_read%20identity_provider_read%20impersonation -
In your current DS tab, paste your new URL in the URL bar and click enter.

An Entitle is requesting access screen displays.
-
Click Allow Access. Ignore the "localhost refused to connect" error when it appears.
Obtain your User ID and Account ID from the production environment
-
In the DS production environment, locate Admin at the top navigation menu.

The Admin page displays.
-
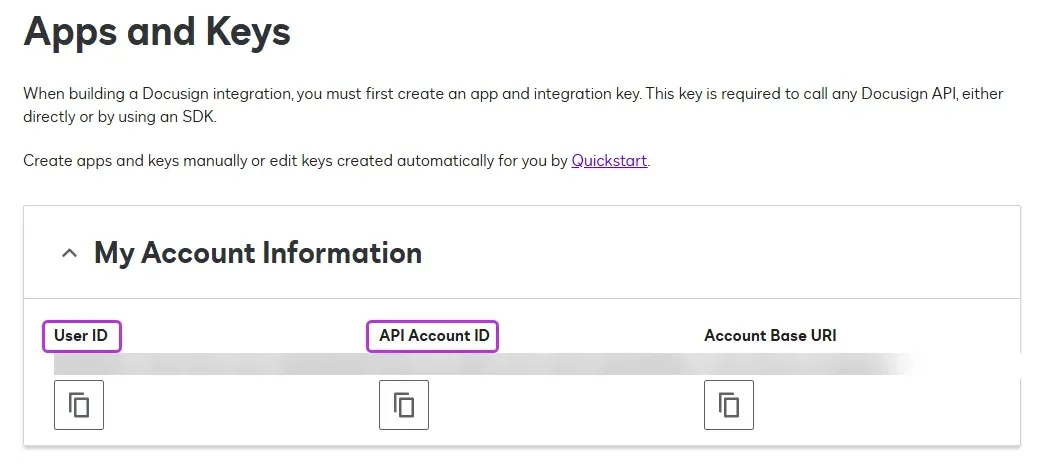
In the Admin page’s left-side navigation locate Apps and Keys under Integrations.
-
On the Apps and Keys page, locate your User ID and API Account ID.
-
Copy the User ID and API Account ID details and save them for later.
Create the DS integration in Entitle
-
Log in to Entitle and go to the Integrations page.
-
Click Add Integration.
-
In the Application field, enter Docusign.
-
In the Save on dropdown, select Save on cloud or your hosted agent.
-
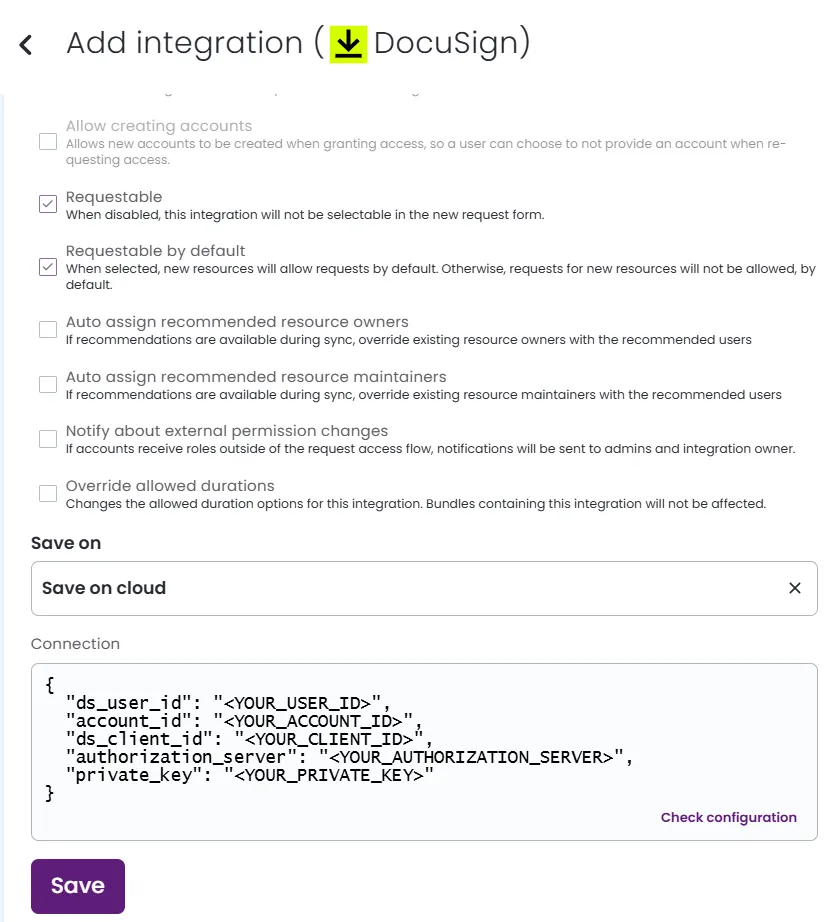
In the Connection field:
ds_user_id: Insert the user ID you saved from the Apps and Keys page in DS (production environment).account_id: Insert the account ID you saved from the Apps and Keys page in DS (production environment).ds_client_id: Insert the integration key you saved from the new app’s settings page in DS (development environment).authorization_server: Insert account.docusign.com.private_key: Insert the private key you saved from the RSA Keypair section under the new app’s settings page in DS (development environment).
Note: In the Connection JSON’sprivate_keyfield, it's essential to swap each newline with\ncharacter.Example Connection JSON{ "ds_user_id": "<YOUR_USER_ID>", "account_id": "<YOUR_ACCOUNT_ID>", "ds_client_id": "<YOUR_CLIENT_ID>", "authorization_server": "<YOUR_AUTHORIZATION_SERVER>", "private_key": "<YOUR_PRIVATE_KEY>" }
-
Click Save.
What's next?Make sure your setup is complete by testing your integration.
Updated 3 months ago
