Filtering and Bulk Actions | Entitle
Overview
Customers come across different challenges in handling all their integrations, resources, and roles within their organization. Therefore, Filtering and bulk actions in Entitle allow Entitle Admins to easily view and make changes for multiple existing integrations, resources, and roles.
Filtering and bulk actions apply only to existing integrations, resources, and roles in Entitle and not to new ones. To perform actions on both existing and/or new ones, see the Rules guide.
This page will provide you with step-by-step instructions on how to use filtering and bulk actions in Entitle.
What are bulk actions?
Bulk actions allow you to perform the following actions:
- Set workflows for integrations, resources, and roles.
- Set owners and maintainers for multiple integrations, resources, and roles.
- Make multiple integrations, resources, and roles requestable.
Bulk actions can be applied to:
- Integrations, resources, or roles that are selected from applications that were integrated with your Entitle tenant. Specifically, they can apply to:
- Numerous integrations
- Numerous integration resources
- Numerous resource roles
Bulk actions can be applied to either integrations, resources, or roles. If you would like to apply changes to two or more types, it will require setting up two different bulk actions.
- Bulk actions affect only existing resources, meaning all existing integrations, resources, or roles that are selected for bulk action will change with no regard to their priority.
Overview of the Bulk Actions screen
-
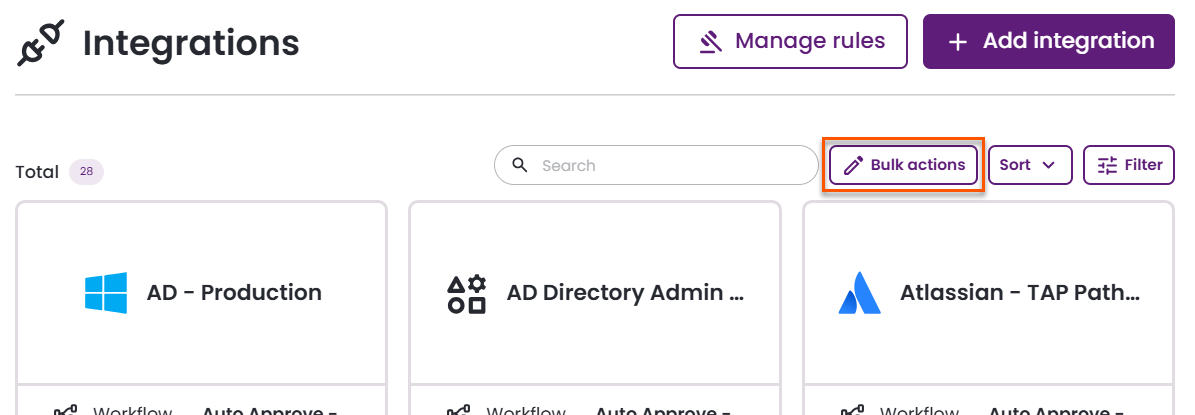
Once you log into Entitle, navigate to the Integrations tab on the left-side menu.
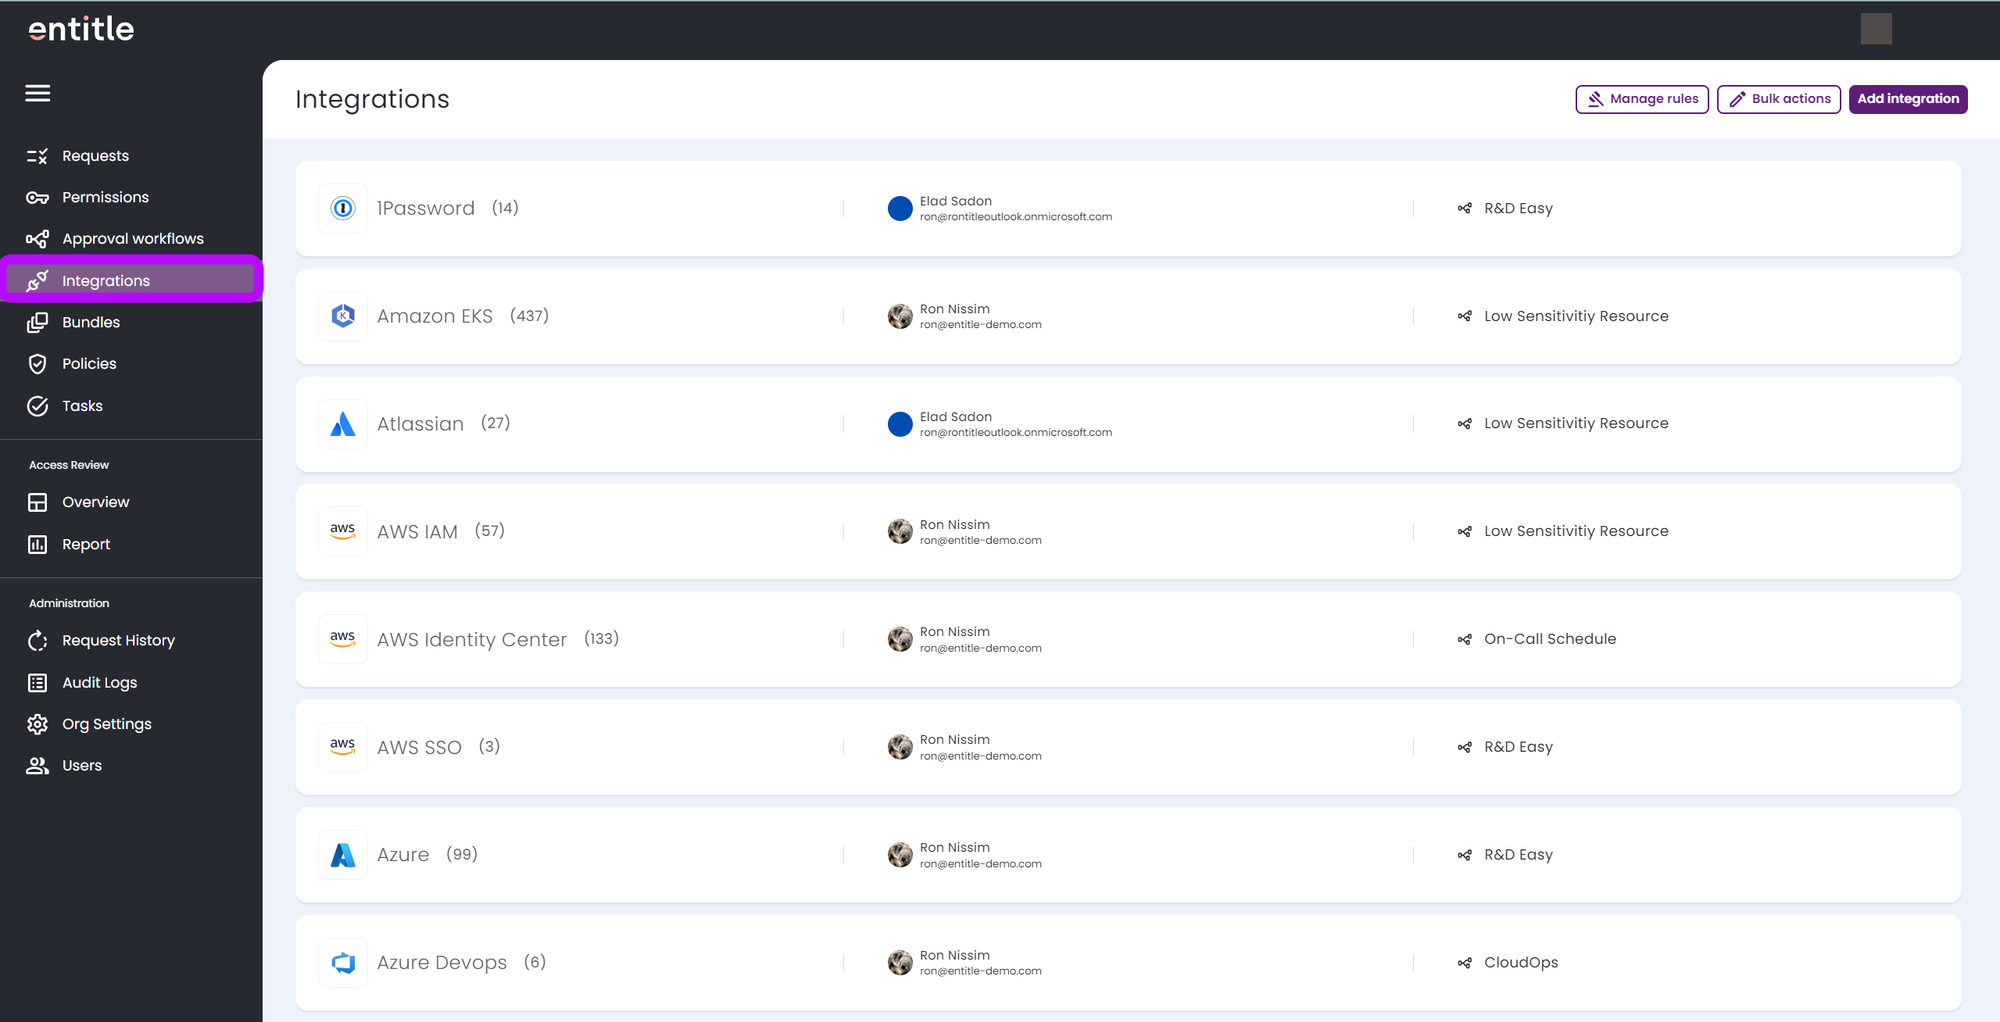
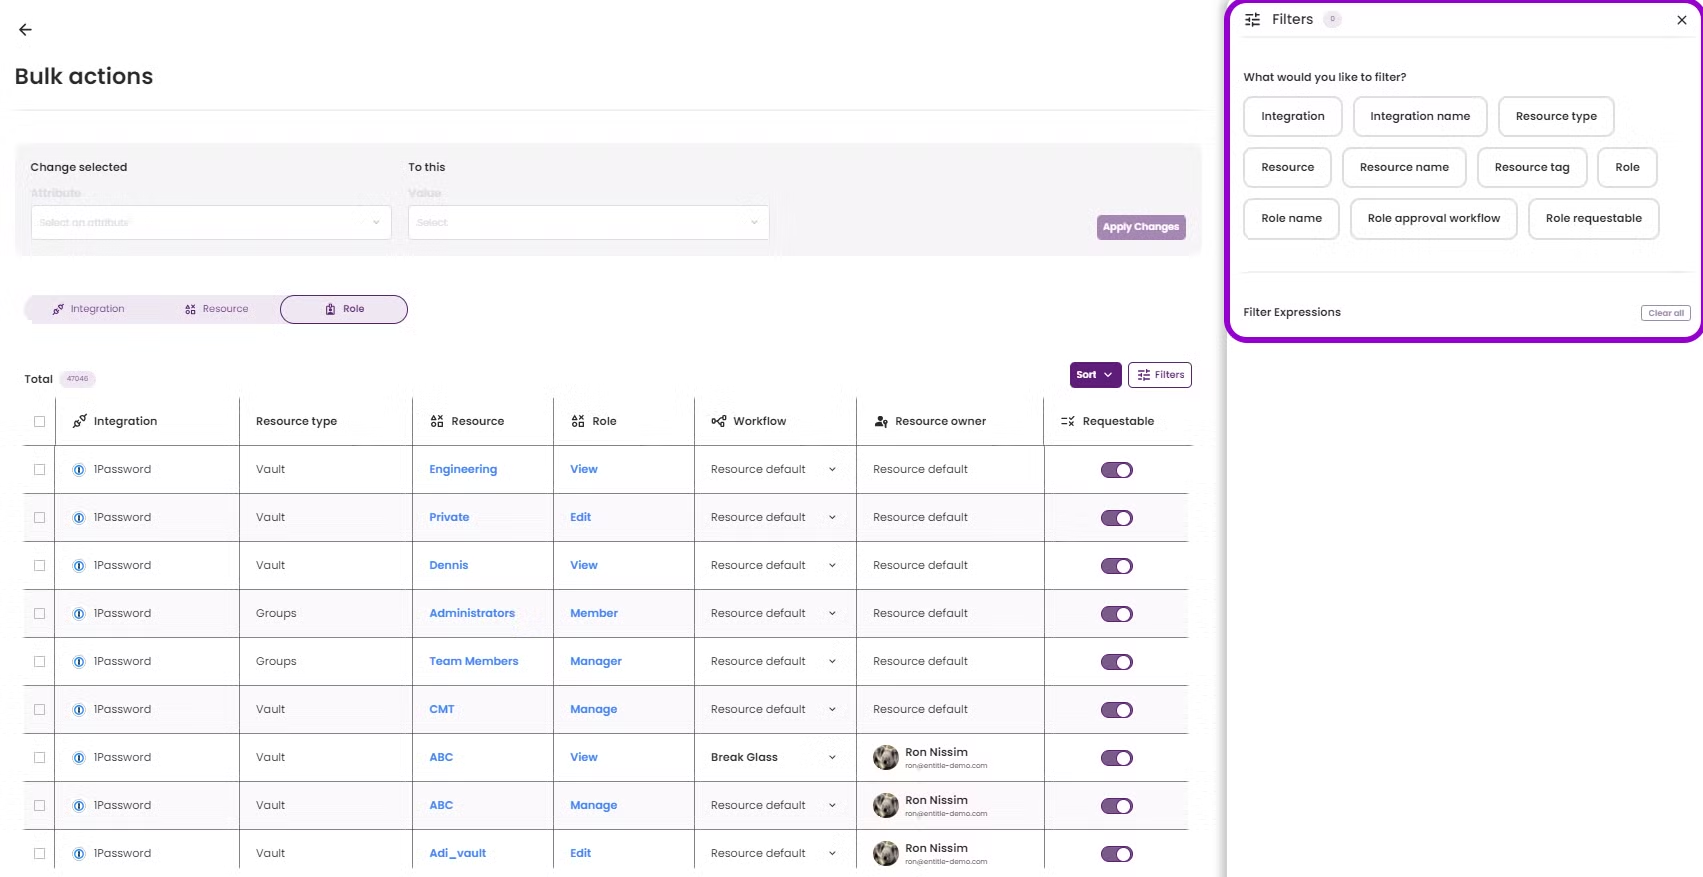
- At the top-right corner, click the Bulk Actions button.
- On this screen, you can set up new bulk actions and perform additional actions:
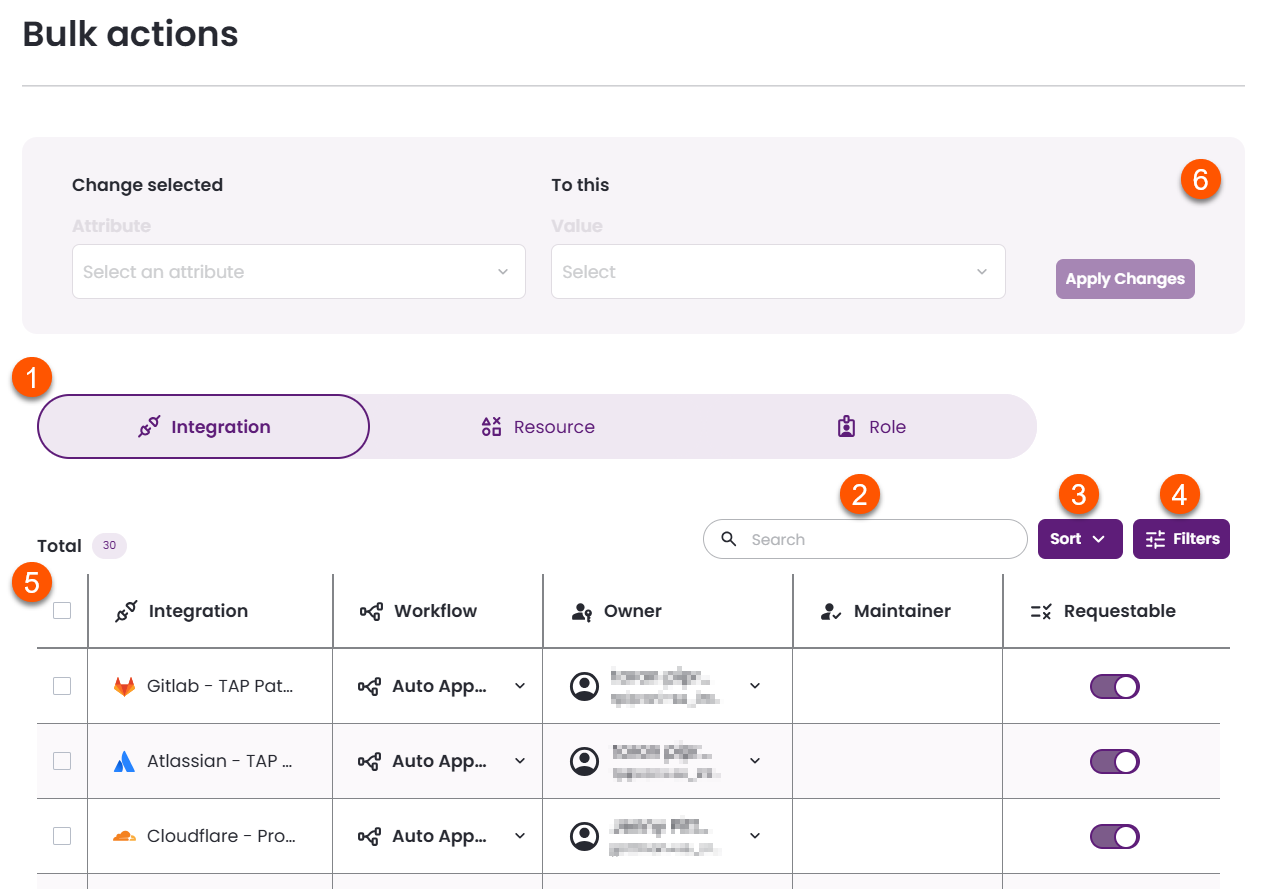
Here is an explanation of the different components found on this screen:
-
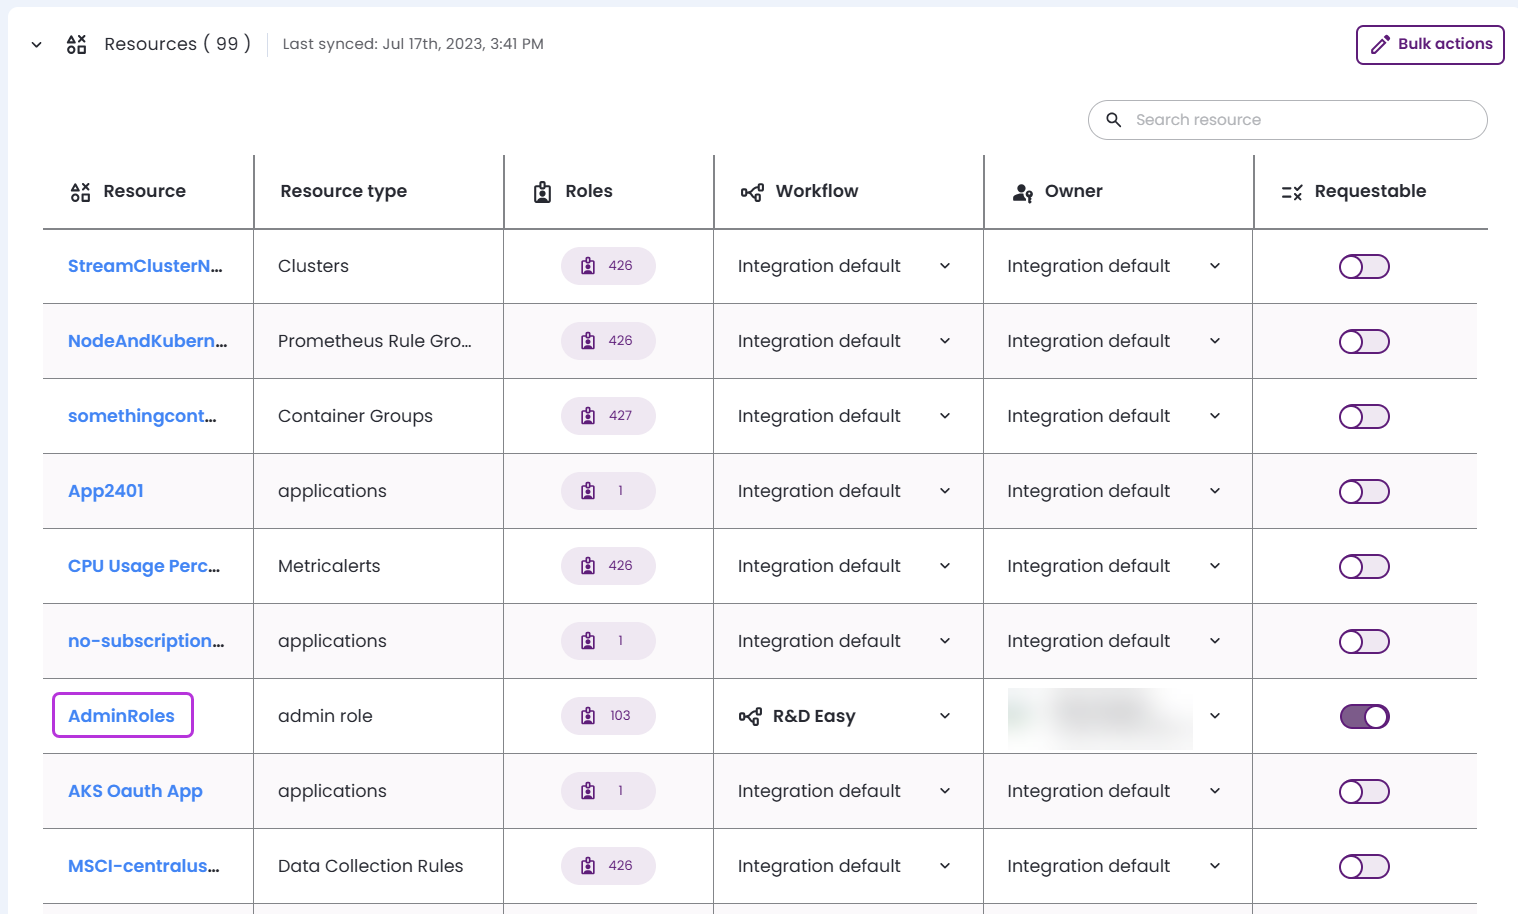
Table: Click any tab to view a table of existing integrations, resources, or roles.
- Integration: See columns for integration, workflow, owner, maintainer, and if the integration is requestable.
- Resource: See columns for integration, resource type, resource, workflow, owner, maintainer, and if the resource is requestable.
- Role: See columns for integration, resource type, resource, role, workflow, resource owner, and if the role is requestable.
-
Search: Searchable fields vary depending on the type of table you are viewing.
- Integration name
- Workflow
- Owner name
- Maintainer name
- IdP group name
- User name
- Integration name
- Resource type
- Resource name
- Workflow
- Owner name
- Maintainer name
- IdP group name
- User name
- Integration name
- Resource type
- Resource name
- Role name
- Workflow
- Resource owner name
-
Sort by any available option. Sort options vary depending on the type of table you are viewing.
-
Filter by any available options. Filter options vary depending on the type of table you are viewing.
-
Checkboxes: Select rows you want to apply bulk actions to.
-
Change selected: Define the attribute to change and the new value to apply to selected integrations, resources, or roles.
Set up new bulk actions
There are three methods for setting up bulk actions, depending on the type of changes you want to perform.
Before you begin, decide whether you are applying changes to integrations, resources, or roles.
ImportantBulk actions cannot be viewed, edited, or undone after they are created.
Use the Filters button carefully, and apply changes only after confirming that your selection and configuration are correct.
Choose where to start
You can initiate bulk actions from three different locations, depending on what you want to modify.
1: Modify multiple integrations, resources, or roles
1. Go to the Integrations page.
2. Click Bulk Actions.
3. In the table view, select Integrations, Resources, or Roles.

4. Continue to Apply filters and configure changes below.
2: Modify a specific integration's resources
1. Go to the Integrations page.
-
Select the integration whose resources you want to modify.
-
In the Resources section, click Bulk Actions.
-
The table displays only that integration’s resources.
-
Continue to Apply filters and configure changes below.
3. Modify a specific resource's roles
1. Go to the Integrations page.
-
Select the integration whose roles you want to modify.
-
Expand Resources and select the relevant resource.
-
In the Roles section, click Bulk Actions.
-
The table displays only that resource’s roles.
-
Continue to Apply filters and configure changes below.
Apply filters and configure changes
-
Click Filters.
-
Select one or more filters. Available filters depend on the asset type shown in the table.
-
For each selected filter:
-
Define the Filter Expression.
-
Press Enter to apply it.
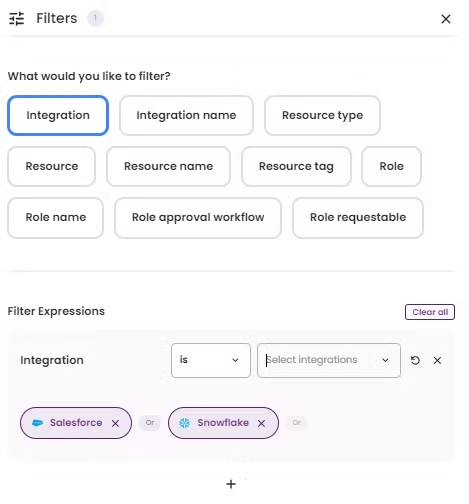
You can apply multiple filters. Click additional filters from the list or use the + button.
-
-
Review the filtered results in the table.
-
Select the rows to which you want to apply changes.
-
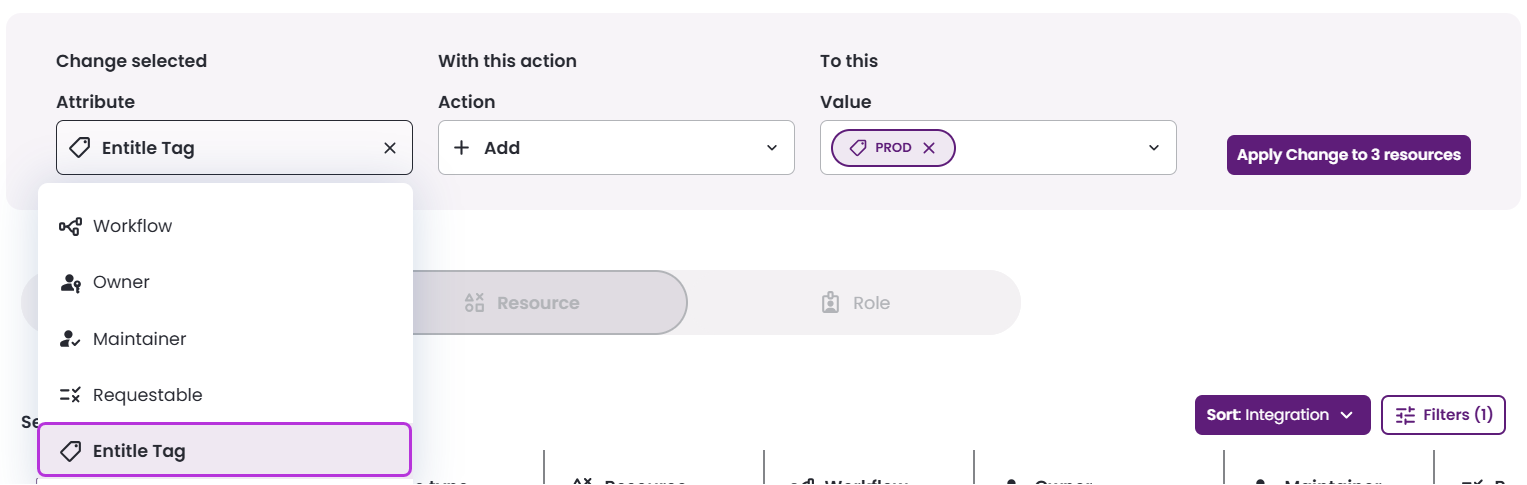
In the Change selected section:
-
Choose the attribute to modify.
-
Select the new value.
-
Click Apply Changes.
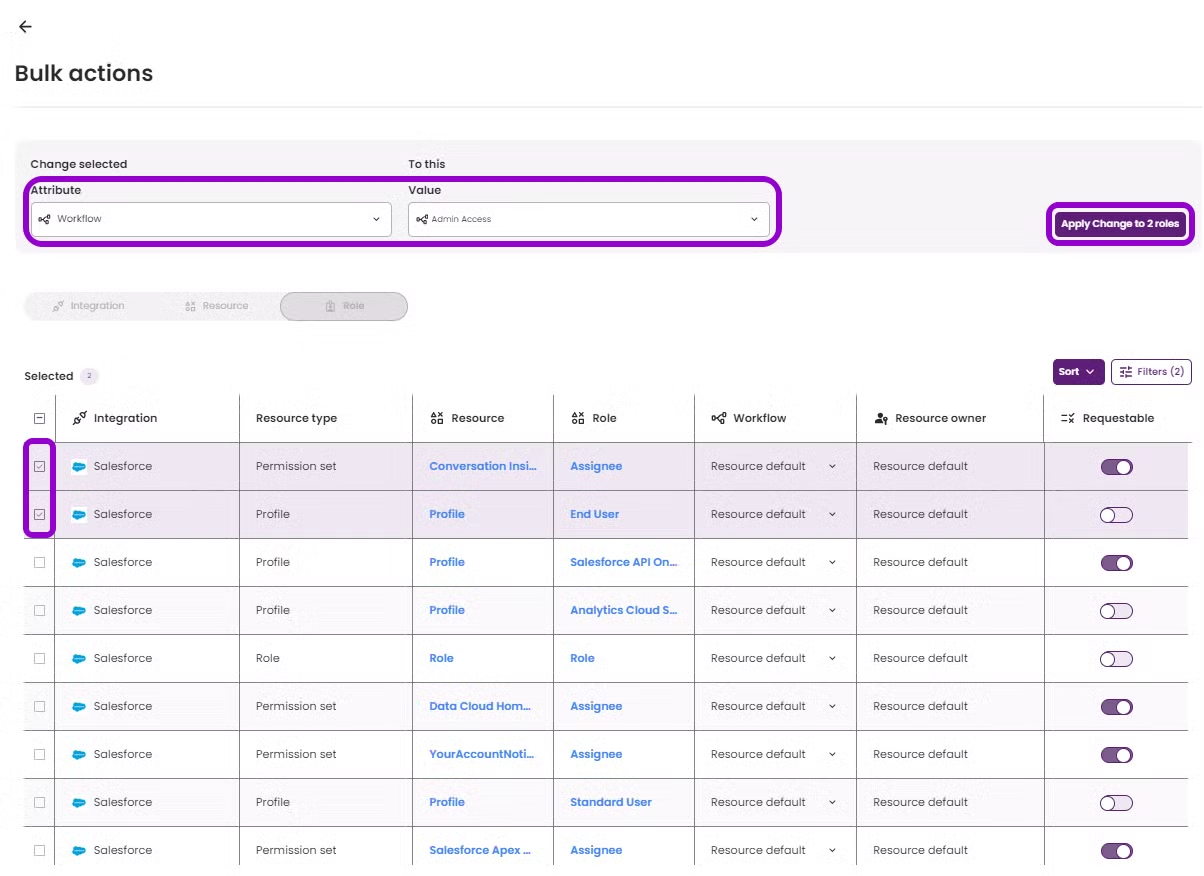
The total number of affected items appears when you click Apply Changes.
-
-
To add or remove a tag in the Resources tab:
-
Select Entitle Tag under Attribute.
-
Choose Add or Remove.
-
Select an existing tag or create a new one.
-
View applied changes
Bulk changes may take a few minutes to complete. If updates are not immediately visible, refresh your browser.
Updated 3 months ago
