Grafana | Entitle
Overview
Grafana is a multi-platform open-source analytics and interactive visualization web application. Entitle has self-hosted installation capabilities in the platform.
Entitle can manage the following resource types in Grafana:
- Teams: Admins and Members
- Organizations: Admins, Editors, and Viewers
General guidelines
To integrate your Grafana with Entitle, you will need the following information:
- Your Host and Port in Grafana
- The Username and Password of your admin account.
Prerequisites
- Make sure that the Grafana user you wish to integrate with Entitle has Grafana Admin and Organization Admin permissions for every organization managed by the permissions. Below you will find step-by-step instructions to check that out and configure an admin account if needed.
Should you need to allowlist this integration, these are the IP addresses from which Entitle's service reaches the integration:
- Entitle EU (Cloud deployment)
- 34.243.199.171
- 54.216.133.226
- Entitle US (Pathfinder deployment)
- 52.45.229.219
- 54.88.235.213
- 3.224.15.134
- Entitle CA (Pathfinder deployment)
- 35.182.218.208
- 15.156.179.153
Set up Grafana to work with Entitle
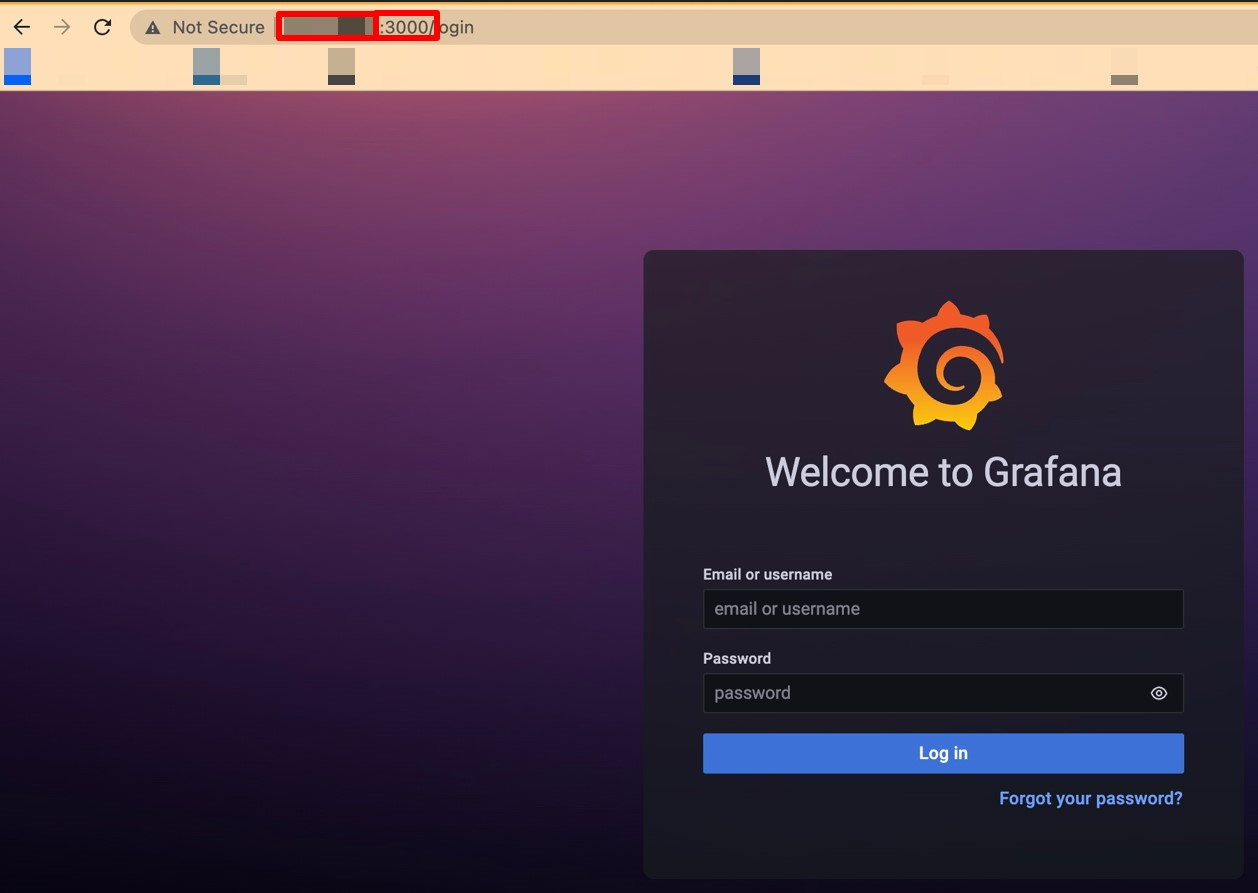
Stage 1: Extract the host and port
Surf to the login screen of your Grafana instance, and then extract the following values from the URL:
- The Host would be either a domain or an IP address on the left side of the URL.
- The Port is the number found on the right side of the URL, after the semicolon ":" (usually 3000).
Stage 2: Extract the username and password
Check that the Grafana user you wish to integrate with Entitle has Grafana Admin and Organization Admin permissions for every organization managed by the permissions before going forward with the integration.
In case the chosen user does not have these permissions, create a New User (which will be explained in the next steps) and provide it with these permissions.
-
To check that your user has the required permissions, on the home page in the left-side menu, click the Server admin tab and choose Users from the available options.
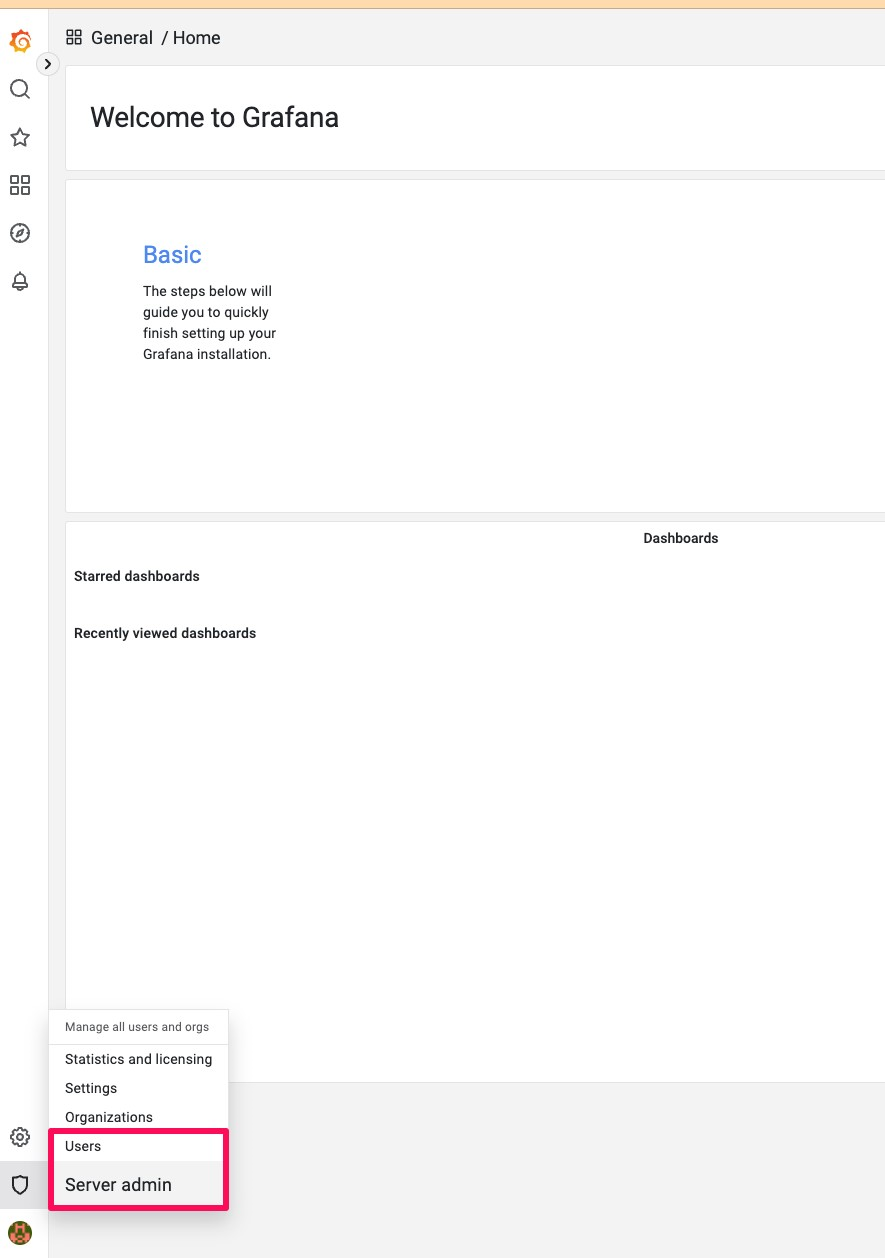
-
Here, you will be able to view all of your users and check if they have the required permissions - Grafana Admin and Organization Admin.

In case you wish to change the permissions for any of your users in Grafana, click on the desired user, and under the Permissions section, click the change button.

-
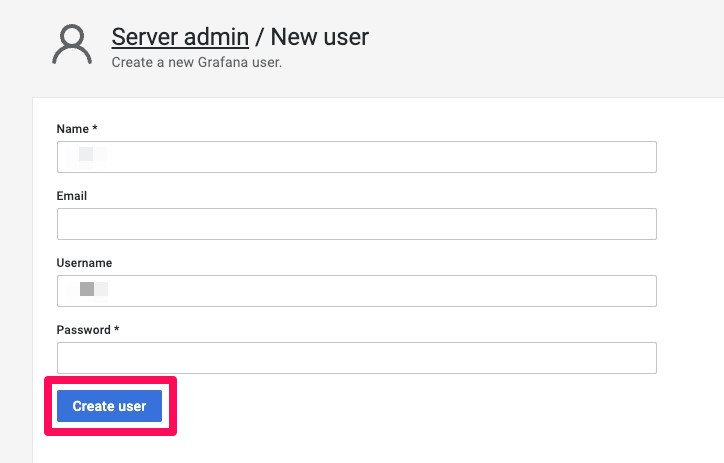
In case you need to create a new user, click the New User button at the Users screen, fill in its Name, Email, Username, and Password fields, and then click Create user. Once done, follow the previous step to grant Grafana admin and organization Admin permissions.

-
In case your user has the two required permissions, copy and paste their Username and Password (whether from your existing user or the new user you created) in the connection JSON found later in this guide.
Creating the integration in Entitle
- Log in to Entitle and go to the Integrations page.
- After clicking the Add Integration button, type Grafana in the Application field.
- Don’t forget to set the Save on field with your configuration, i.e., your own hosted agent or Entitle’s cloud.

-
In the connection section JSON,
host, andportfields - paste the values from stage 1. -
In the
usernameandpasswordfields, paste the values from stage 2**, whether from your existing user from the new user you created.Example connection JSON{ "host": "<EXAMPLE_HOST>", "port": "<EXAMPLE_PORT>", (usually 3000) "username": "<EXAMPLE_username>" "password": "<EXAMPLE_password>" } -
Click Save.
What's next?Make sure your setup is complete by testing your integration.
Updated 3 months ago
