Okta IdP | Entitle
Overview
Okta provides cloud software that helps companies manage and secure user authentication into applications, and for developers to build identity controls into applications, website web services, and devices.
Entitle populates the following resource types in the Okta connections:
- Groups
- Users
- Managers (optional)
Entitle integrates with Okta by a couple of different methods, one of them being an IdP with users and organization directory information as described on this page. You can set up Okta as an Identity Provider (IdP), the source of truth for Entitle users, groups, and organizational structure, using the instructions below.
This page will provide you with instructions on how to connect Entitle and Okta as an IdP.
General guidelines
In case you have already integrated Okta as an application with Entitle using this guide, you can go directly to the Set up in Entitle section.
Should you need to allowlist this integration, these are the IP addresses from which Entitle's service reaches the integration:
- Entitle EU (Cloud deployment)
- 34.243.199.171
- 54.216.133.226
- Entitle US (Pathfinder deployment)
- 52.45.229.219
- 54.88.235.213
- 3.224.15.134
- Entitle CA (Pathfinder deployment)
- 35.182.218.208
- 15.156.179.153
Set up Okta to work with Entitle
If you want to create the token for the Partial functionality option, make sure the token's Admin Role setting is configured as Group Membership Admin and Report Admin roles.
Stage 1: Create a new app integration
- On your Okta admin panel on the left side, click on the Applications tab and choose Applications.
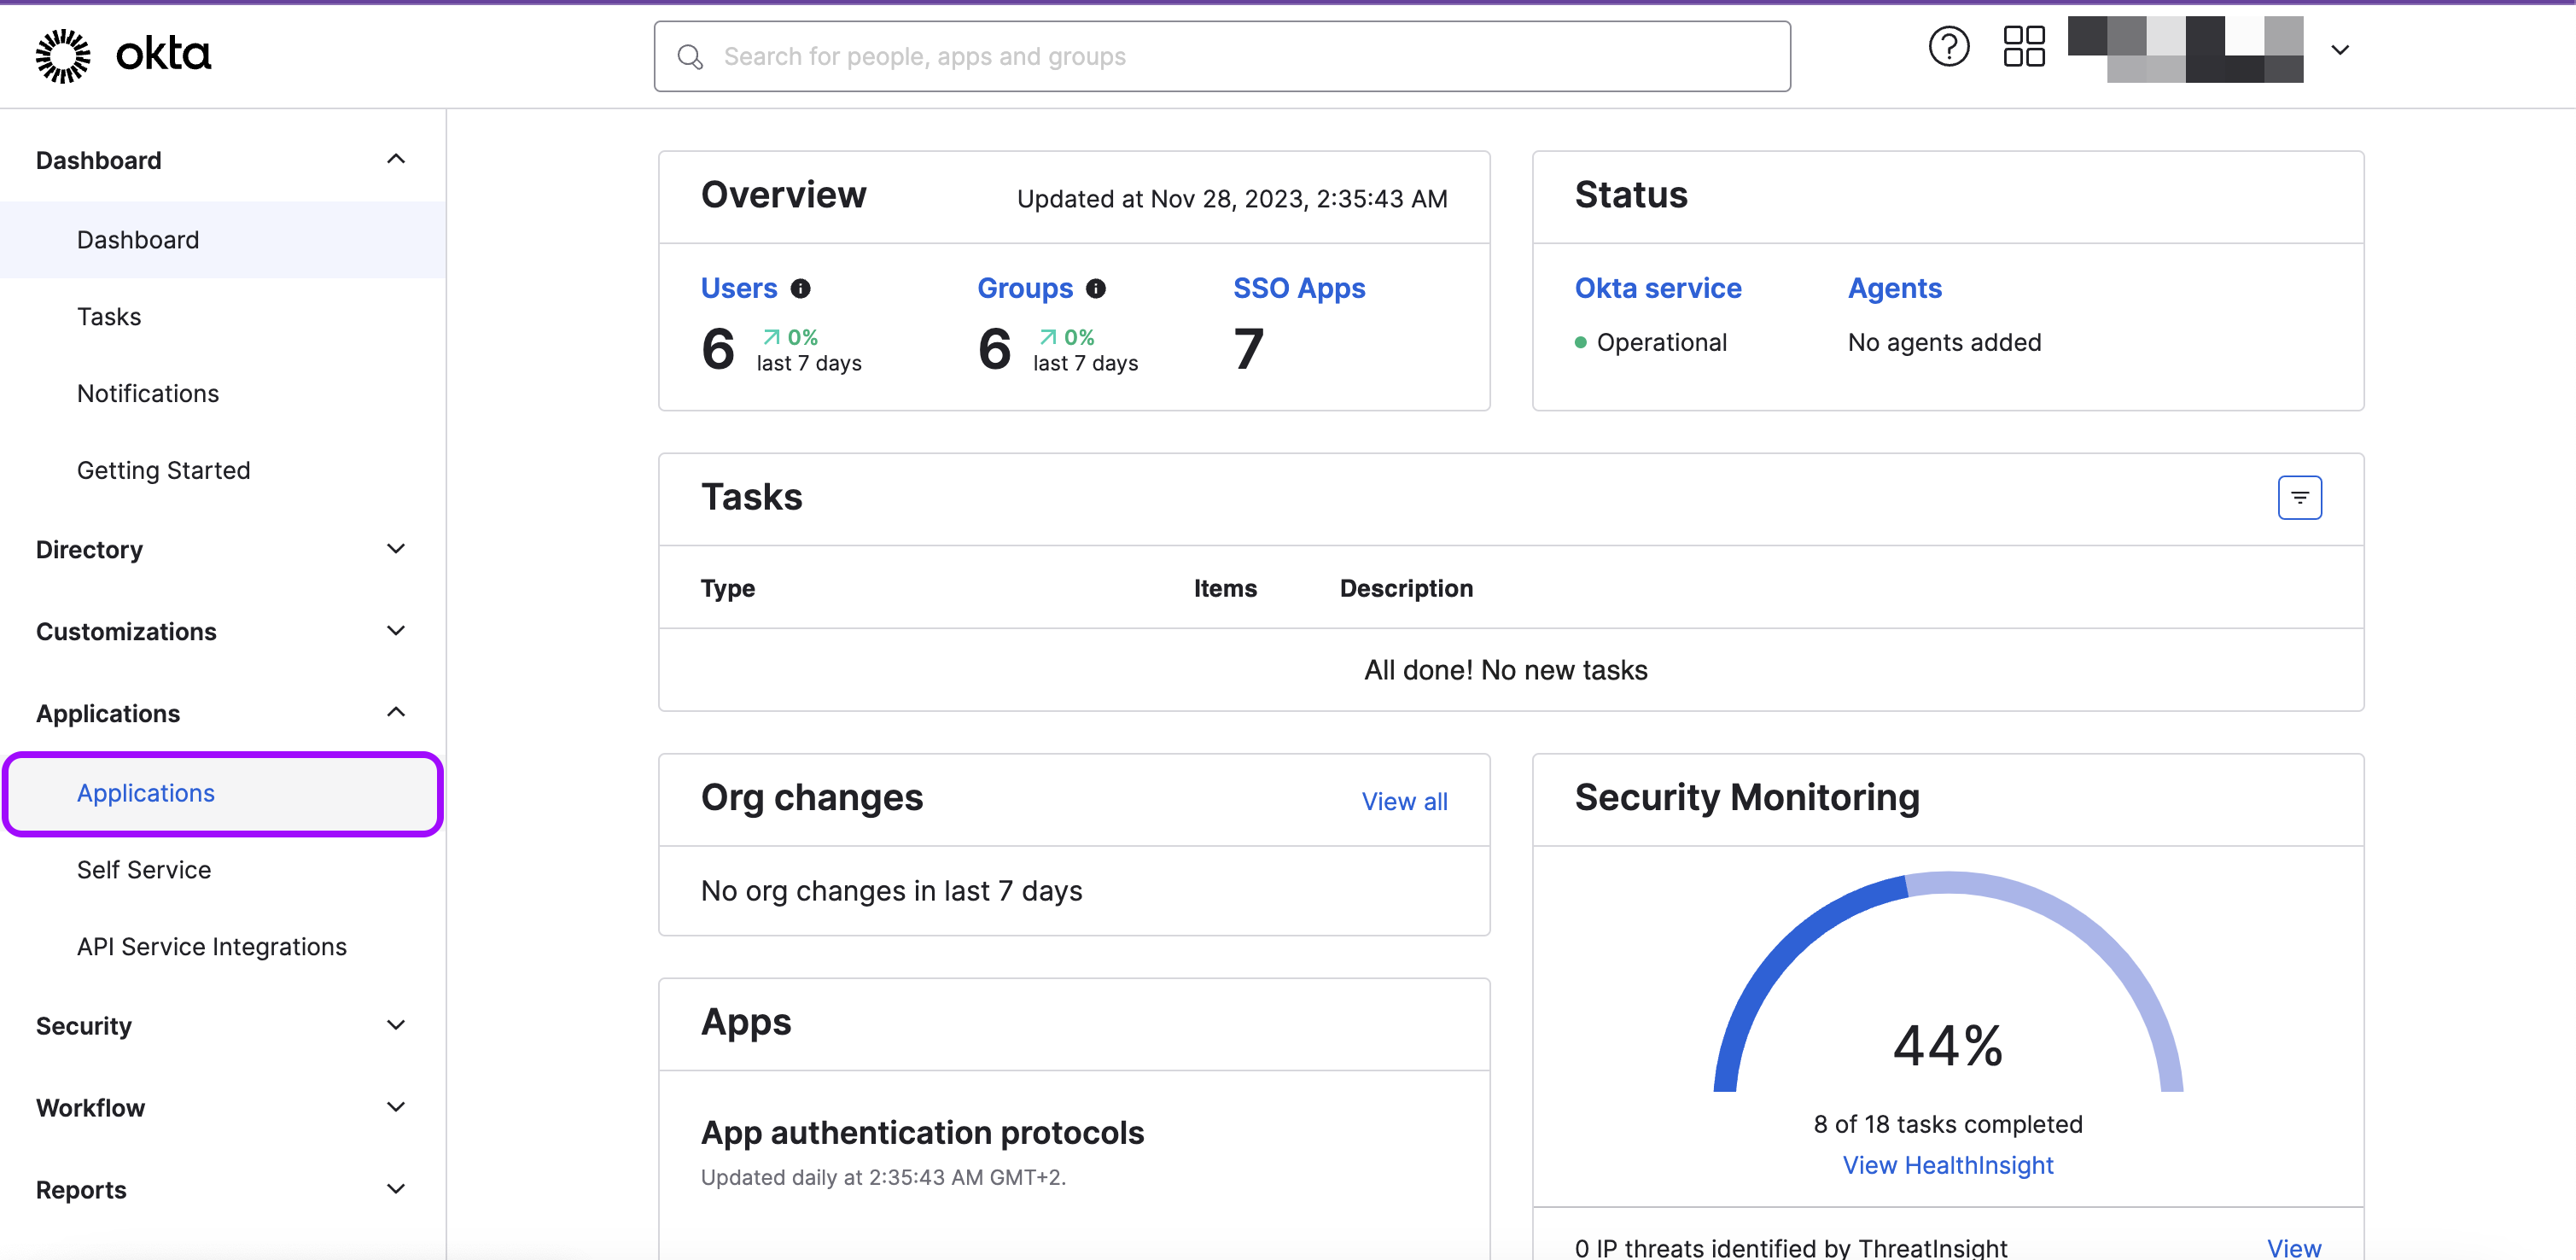
-
Then click on Create App Integration.
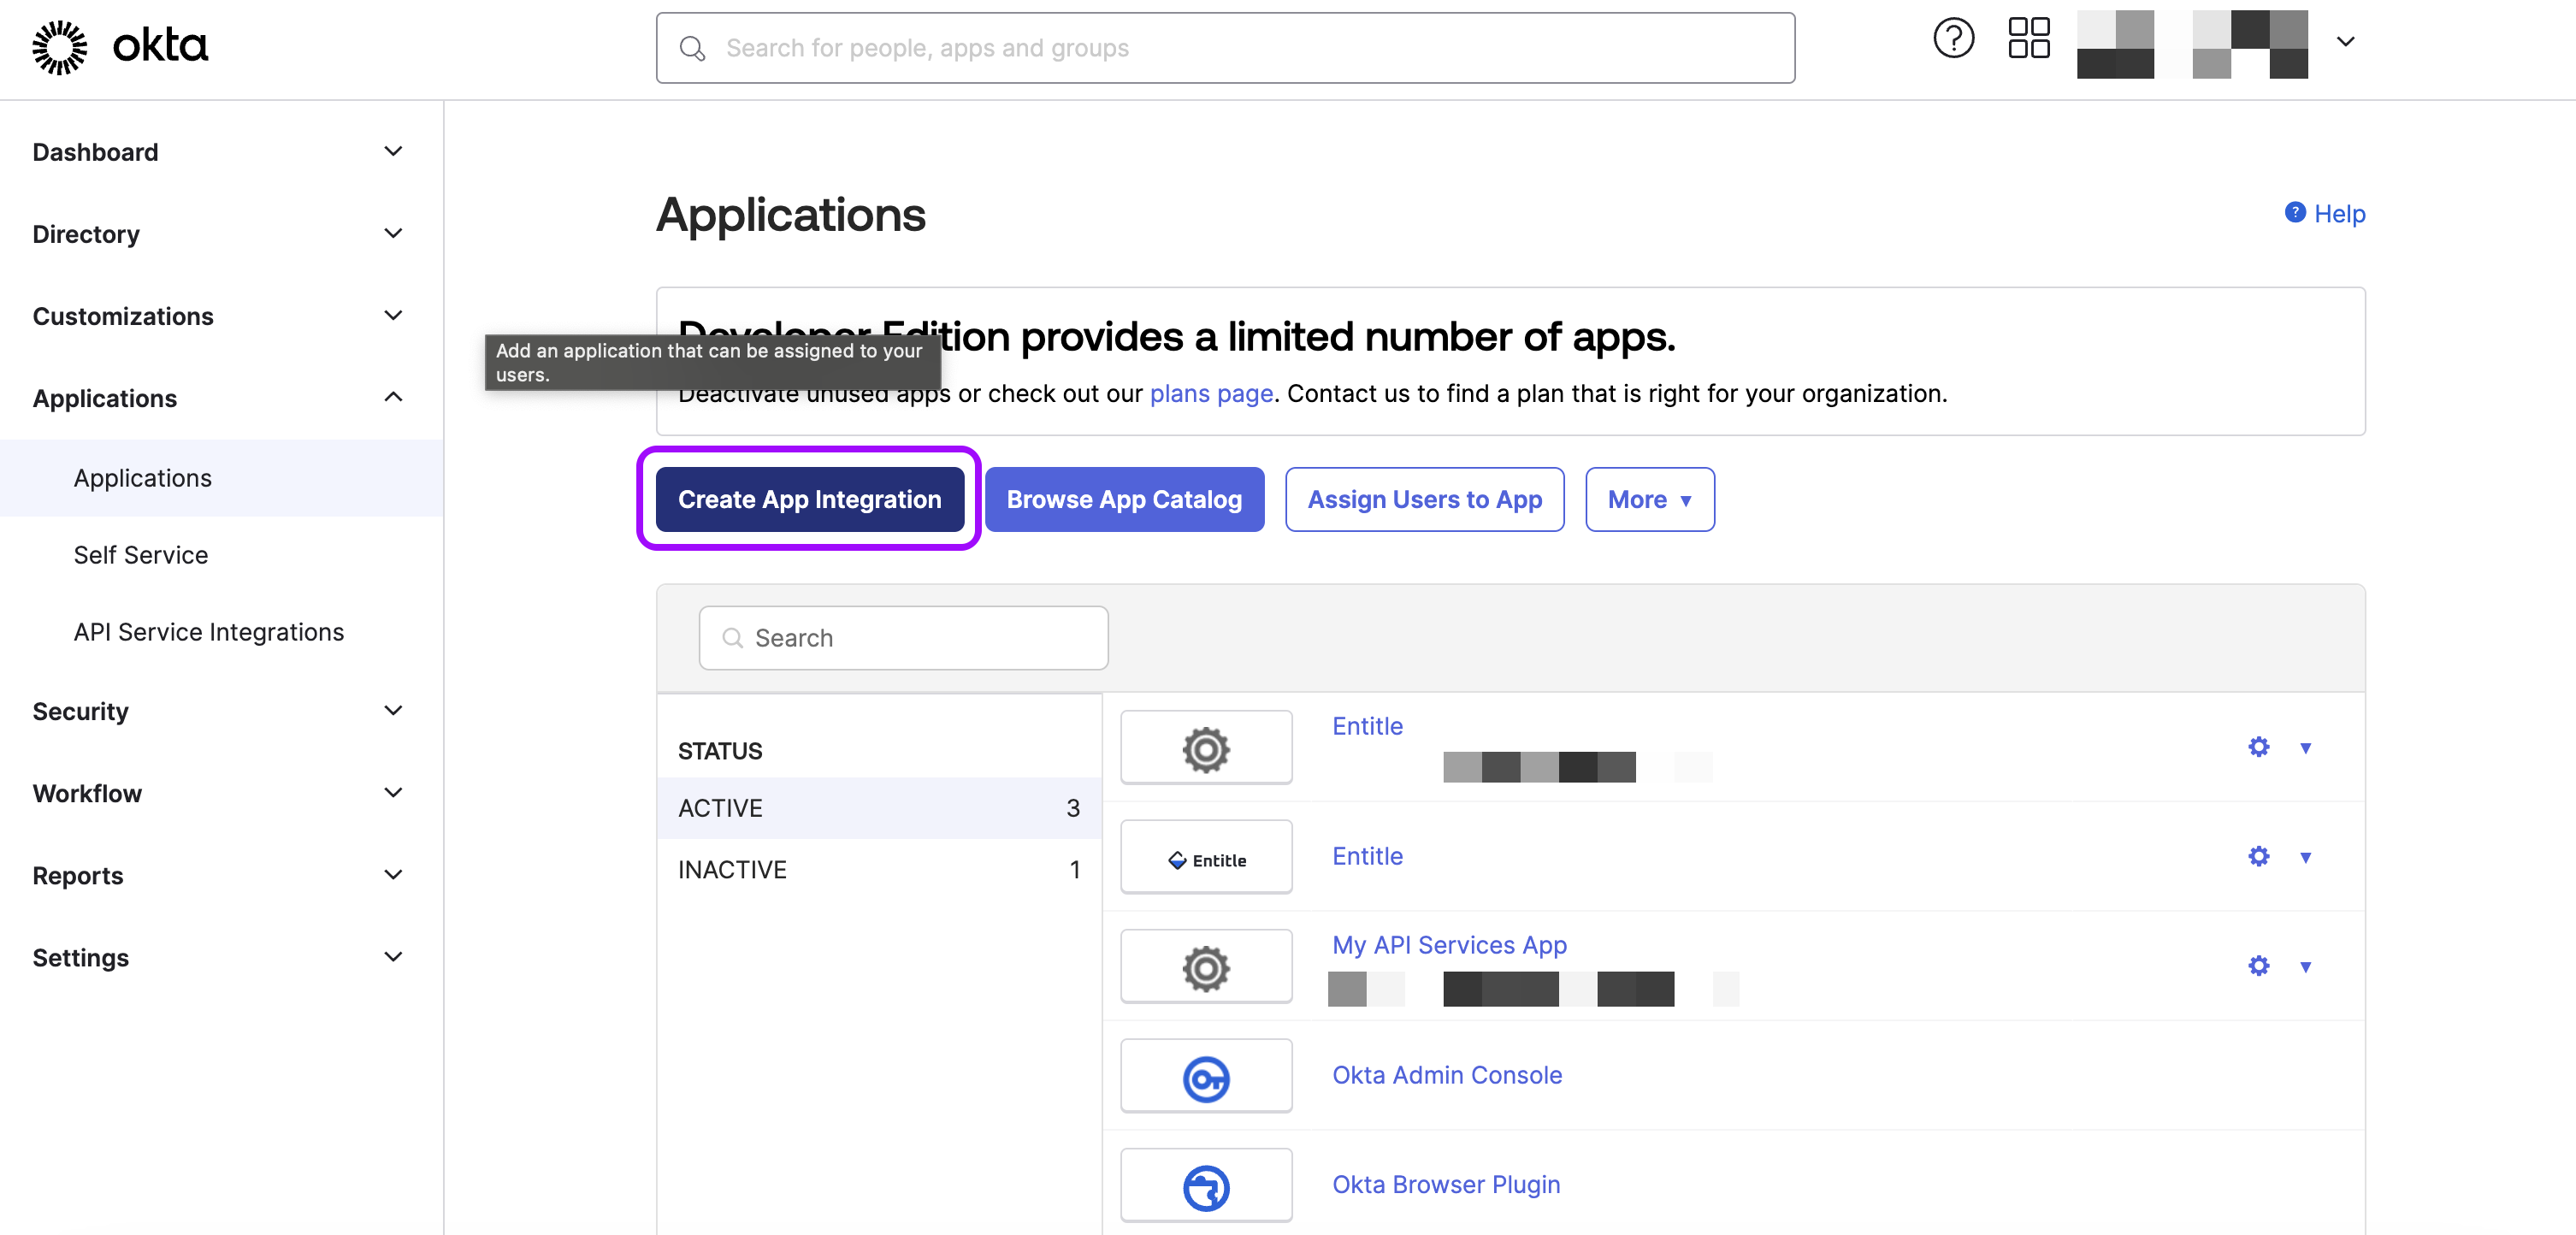
-
In the pop-up screen that appears, select the API Services option and click Next.
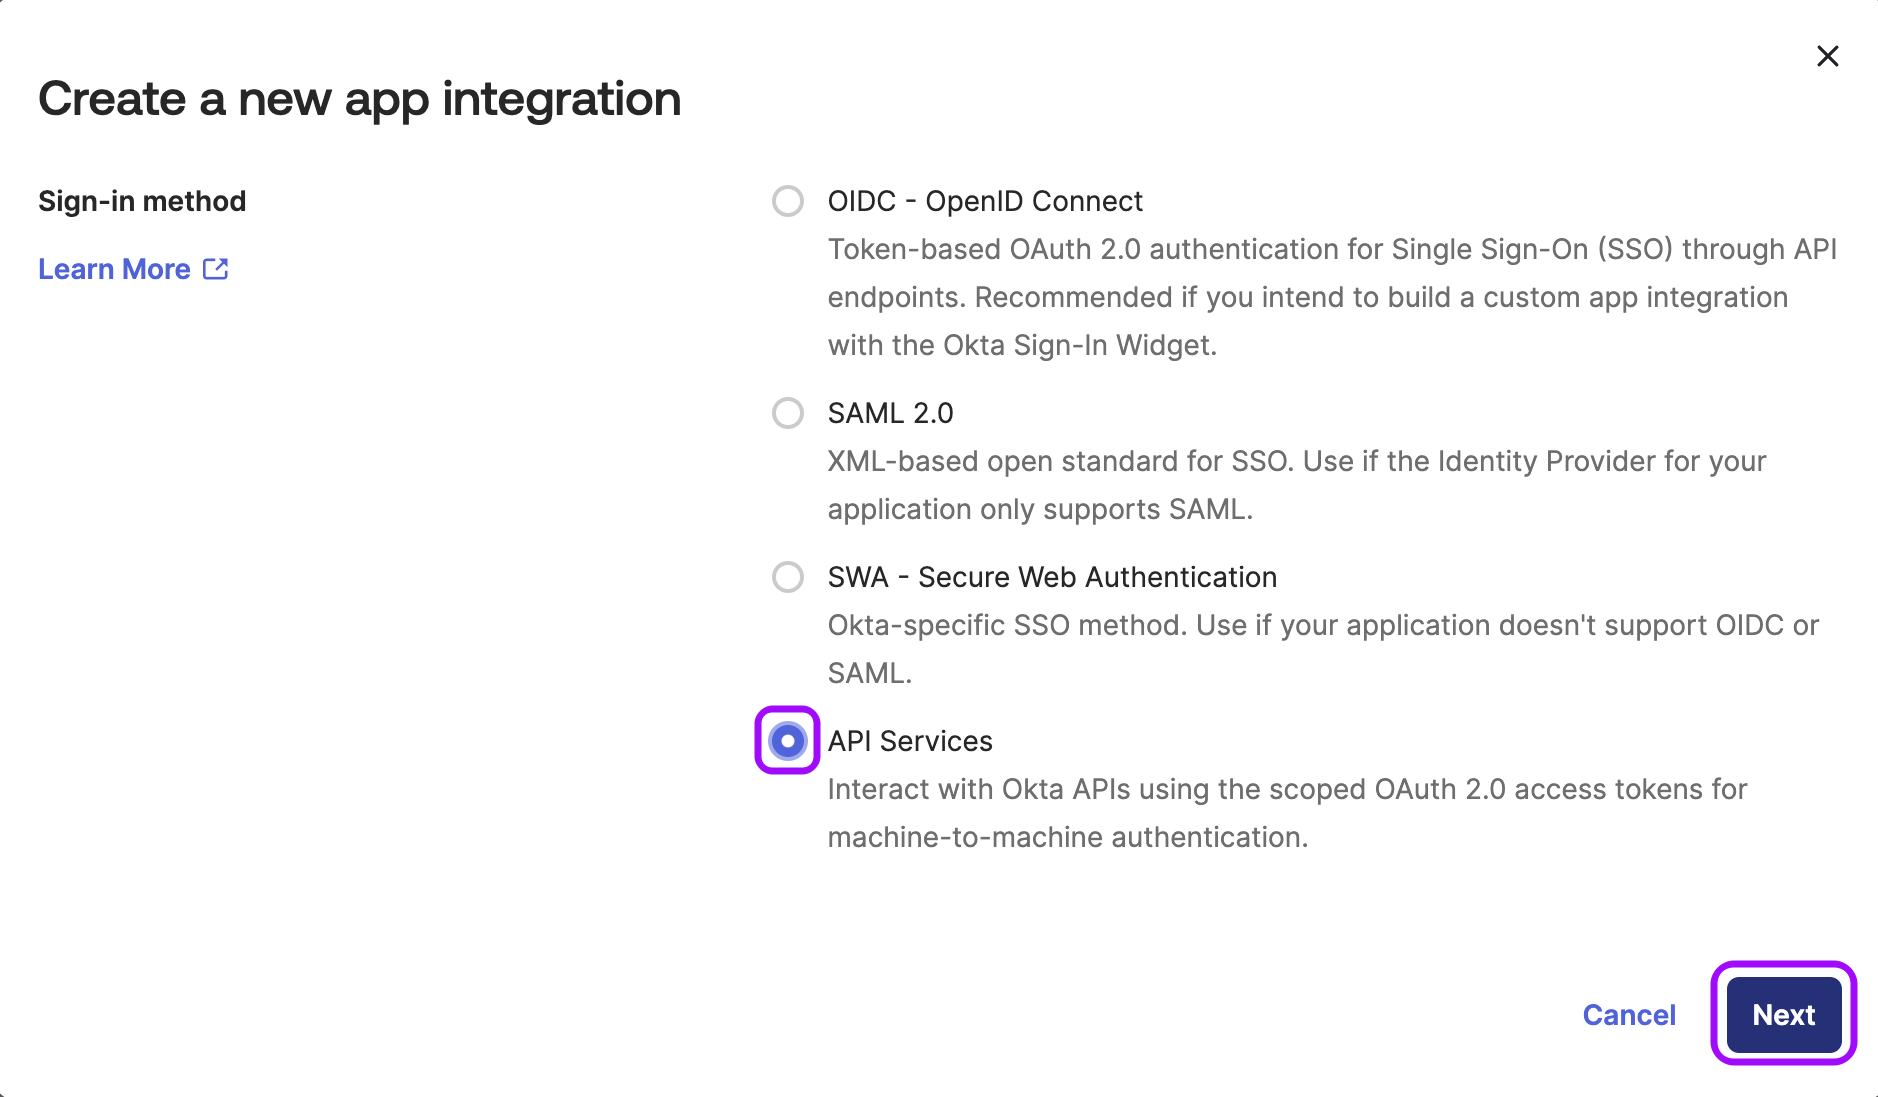
-
In the App integration name field, choose a name for the app and click Save.
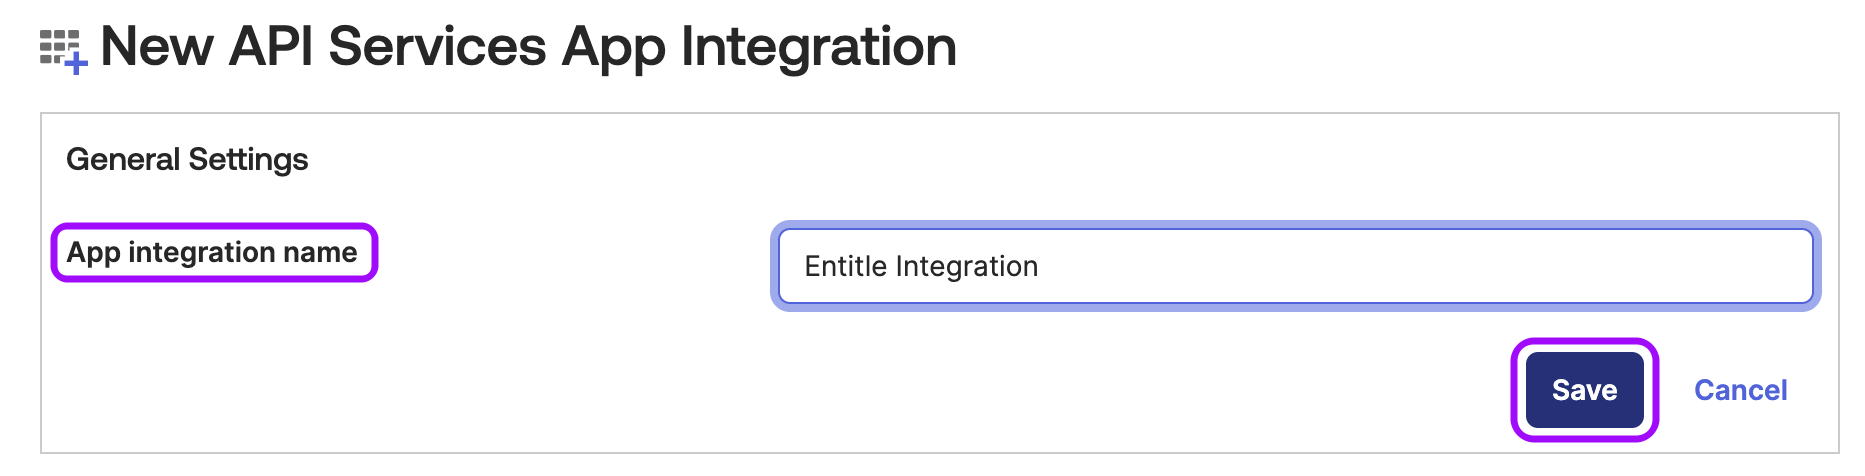
-
Under Client Credentials, click the Copy button next to the Client ID and keep it for later.
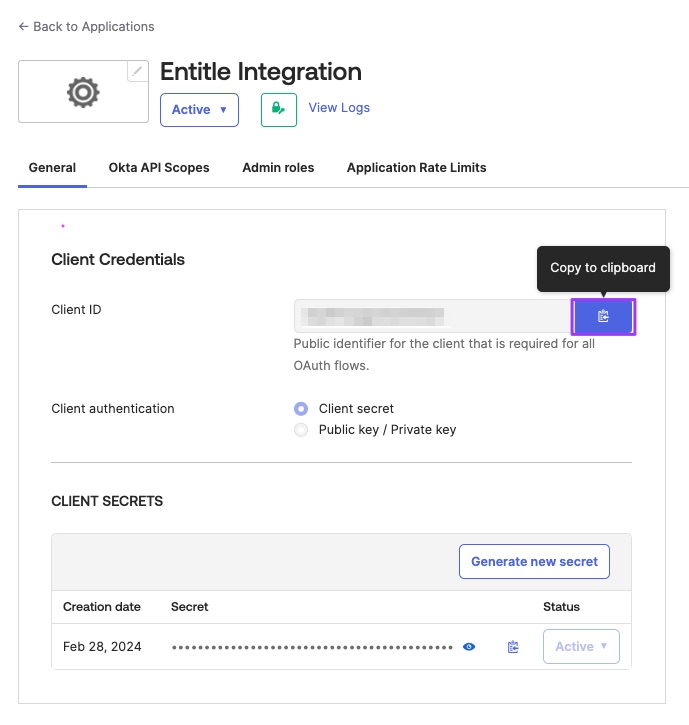
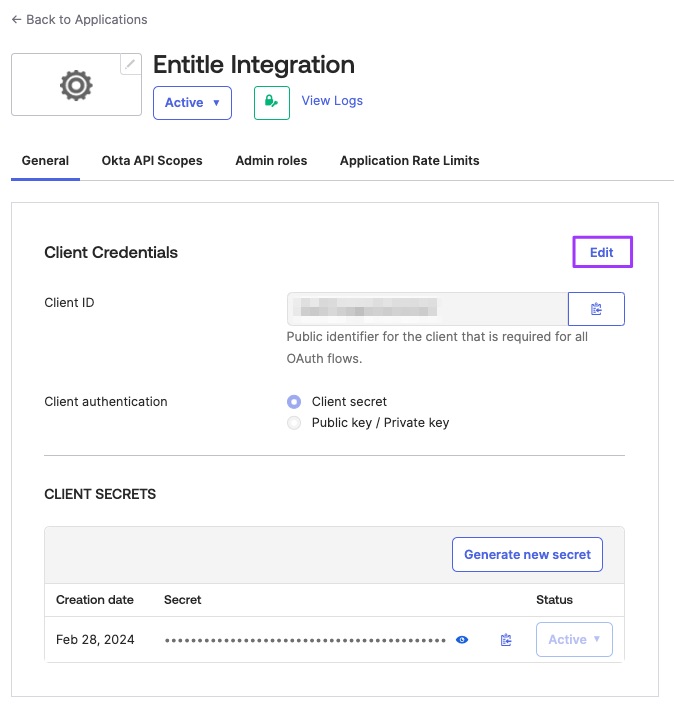
-
Then on the same page, click the Edit button right above the Copy button.
Stage 2: Generate a new key
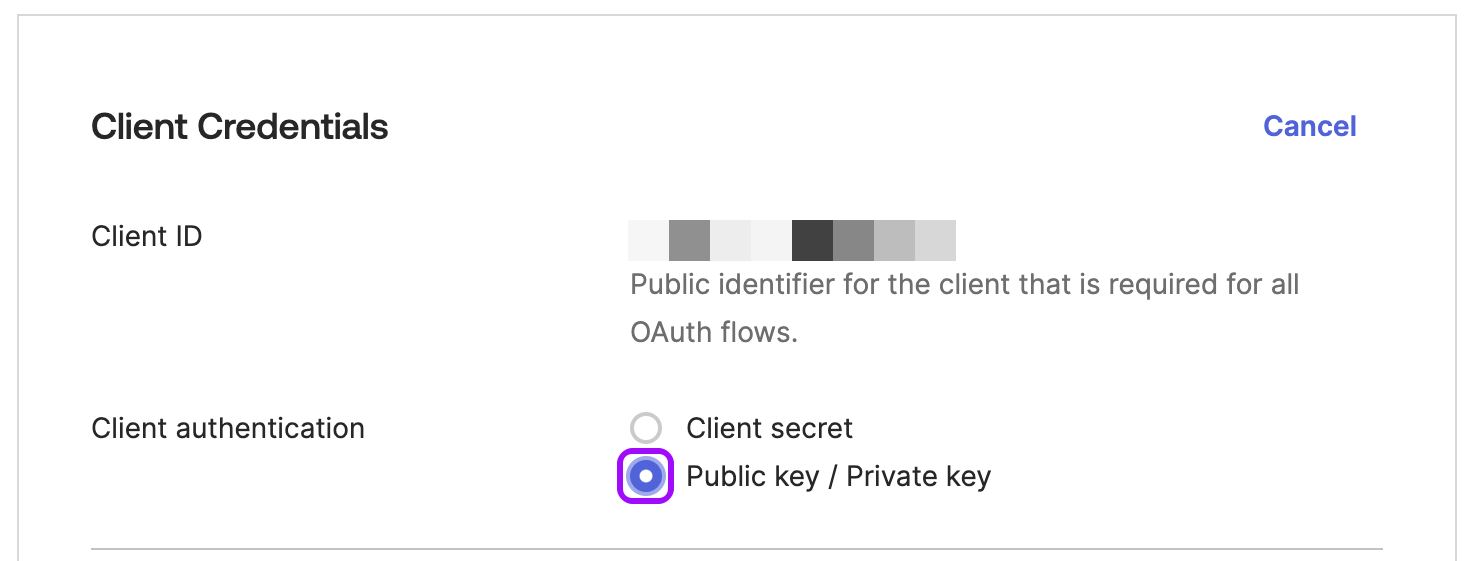
-
Under the Client authentication section, choose the Public key/Private key option.
-
Under Public Keys, do not change the default option in the Configuration section. Then, click the Add Key button below it.
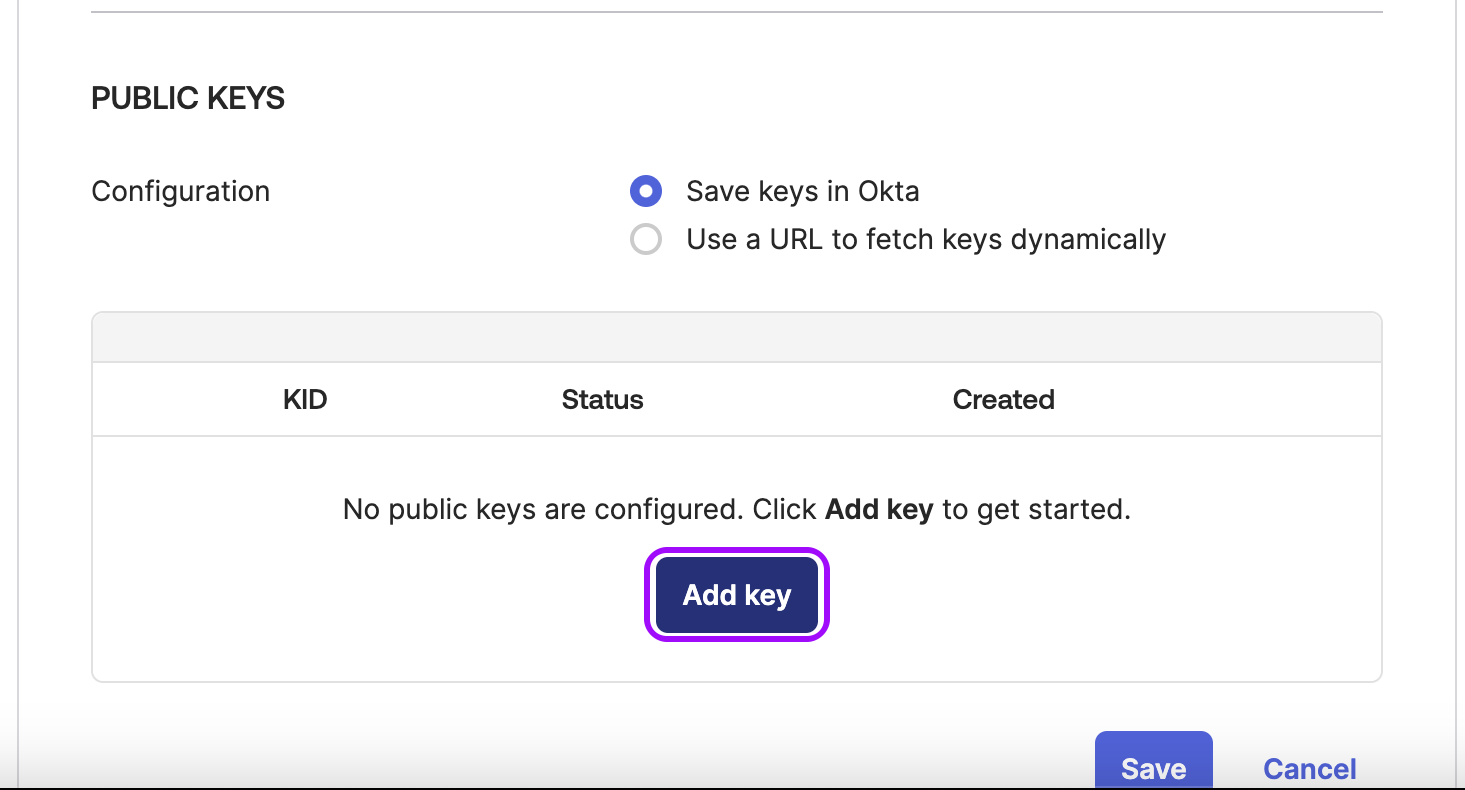
-
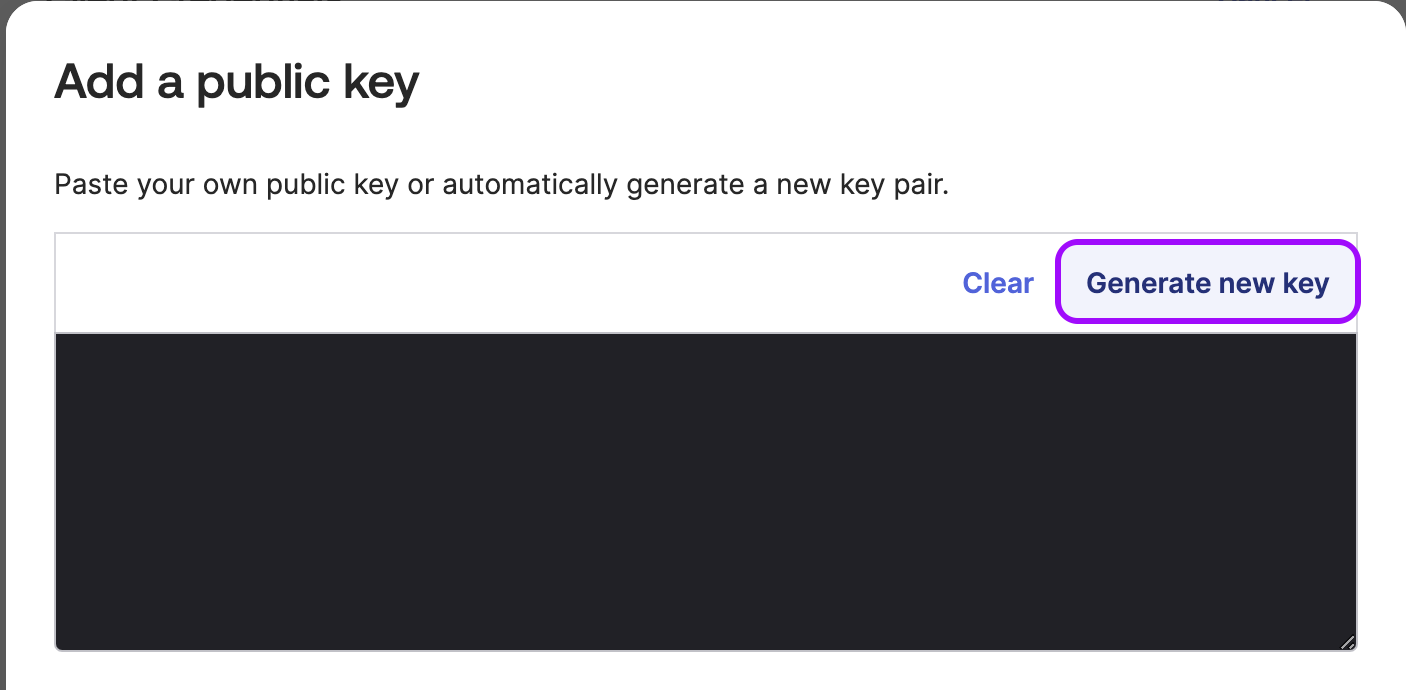
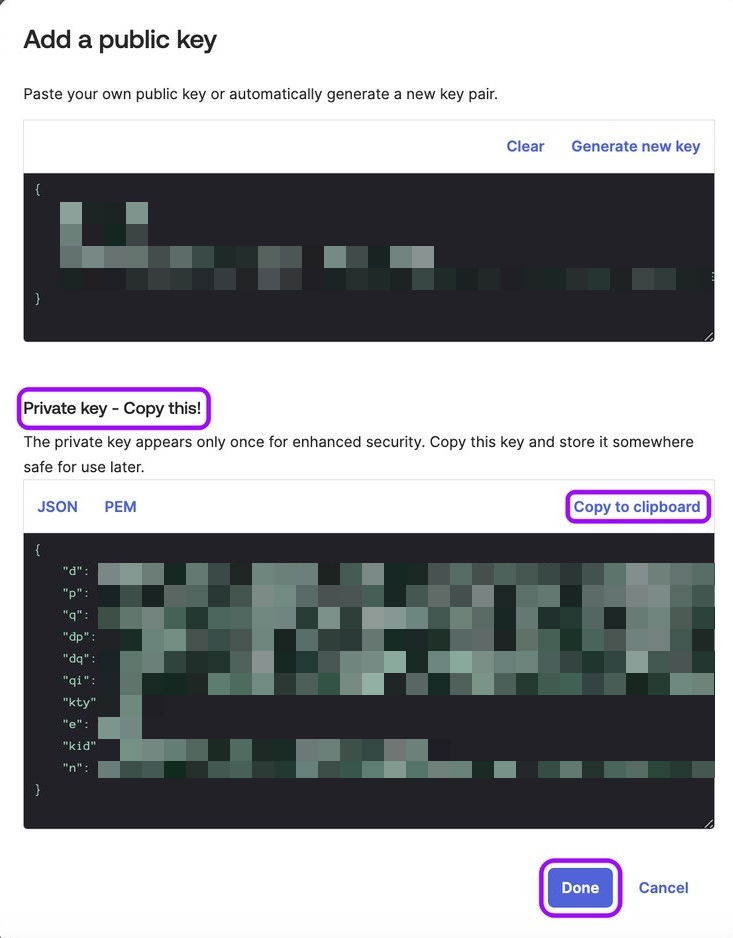
Click Generate new key. You should see your private key displayed on the screen.
-
Under the Private key section, click Copy to clipboard and click Done.
-
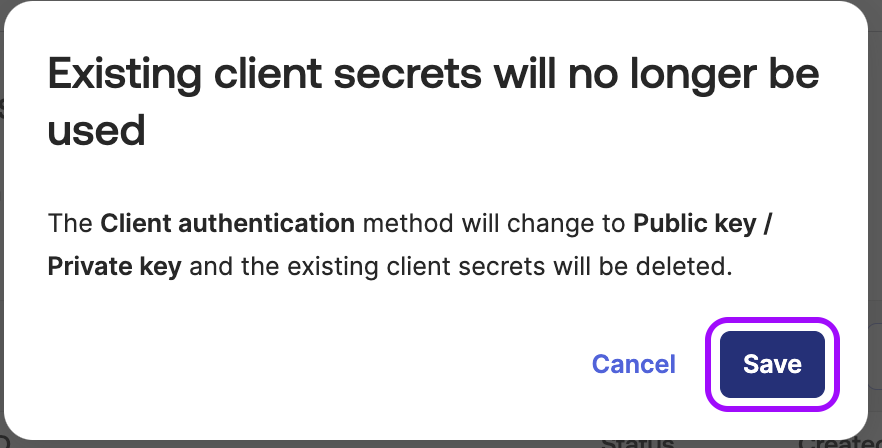
Click Save and then Save again to acknowledge the notice.

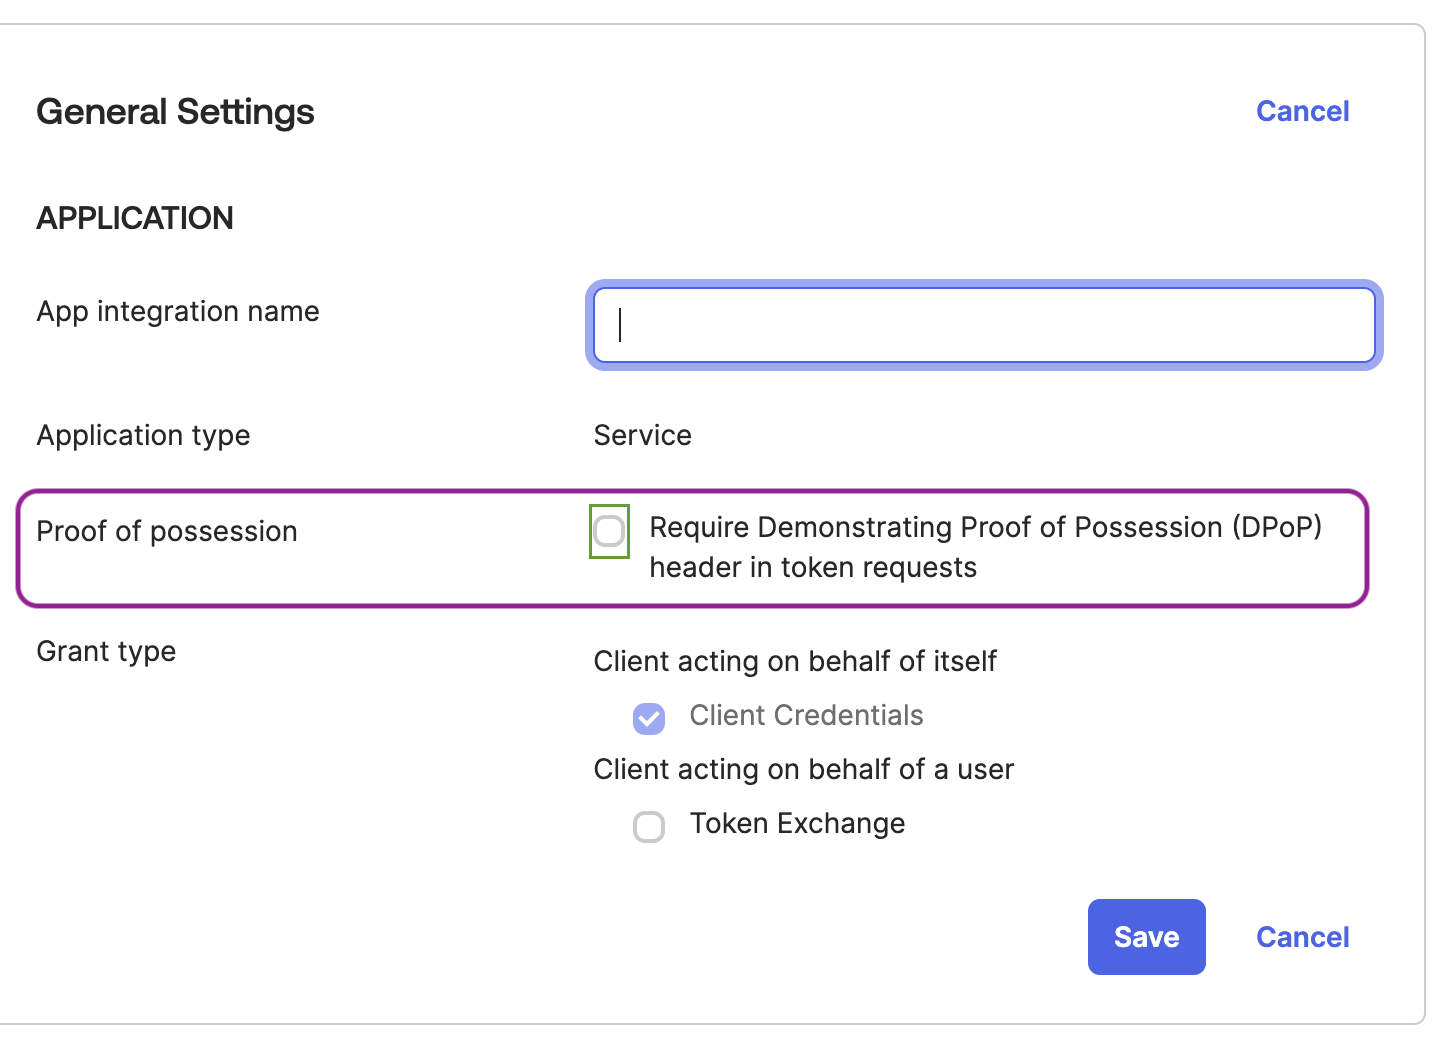
Stage 3: Disabling the Proof of Possession
In the General Settings section below, make sure the Proof of Possession is not checked, and click Save.
Stage 4: Grant permissions
-
Click the Okta API Scopes tab.
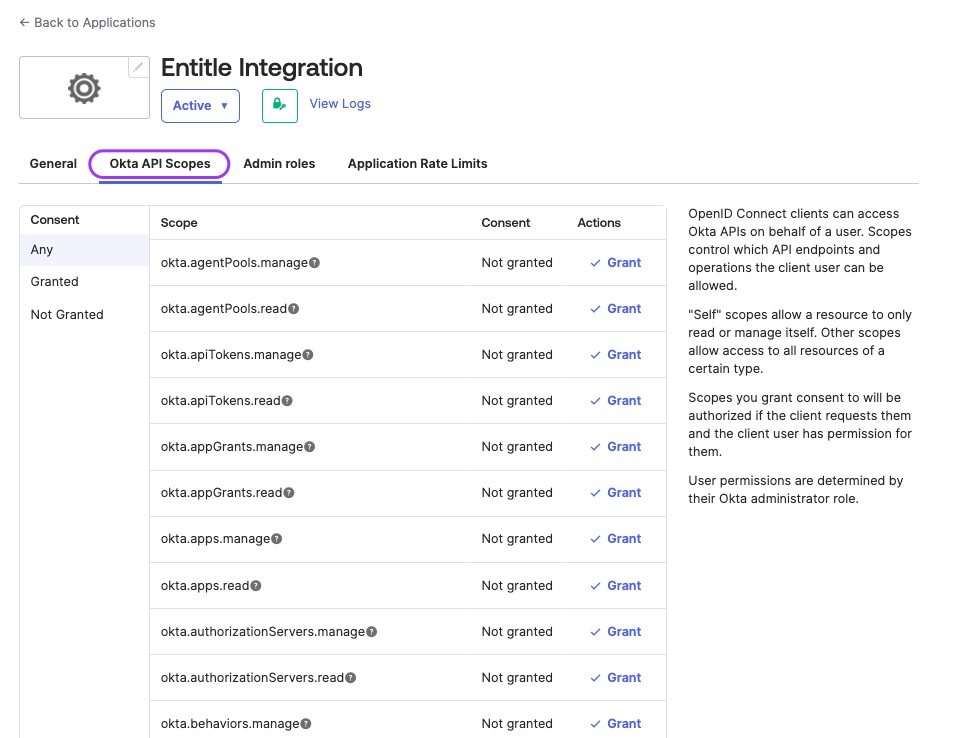
-
Click Grant and then Grant Access for the following API scopes:
okta.users.read
okta.groups.manage
okta.groups.read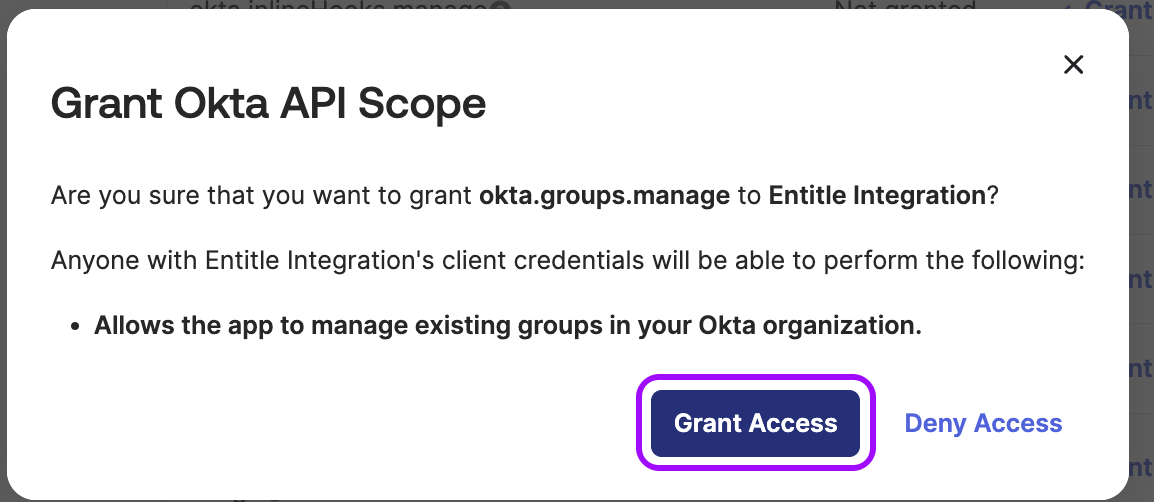
- If you wish to manage admin roles as well, add the following scopes:
okta.roles.manage
okta.roles.read- If you wish to manage application assignments as well, add the following scopes:
okta.apps.read
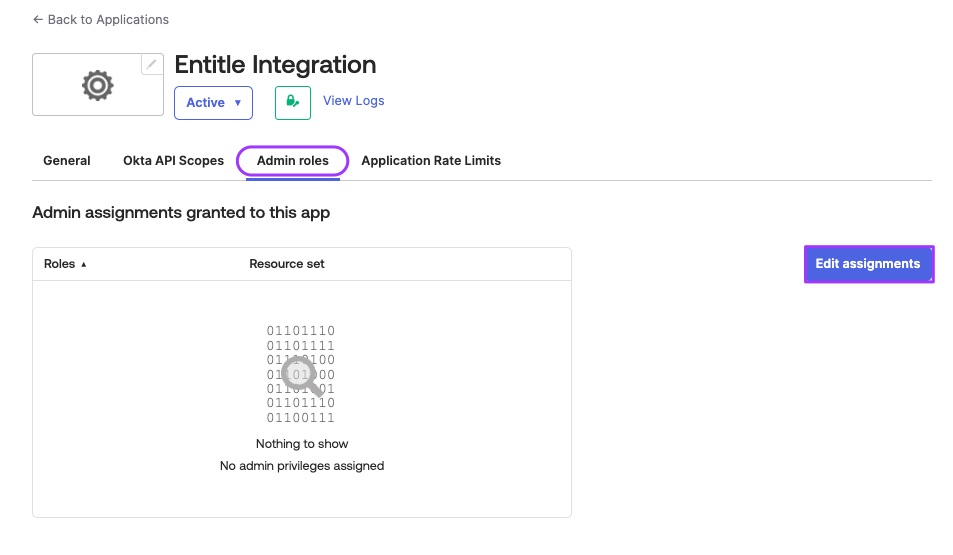
okta.apps.manageStage 5: Grant admin roles
- In the Application section, click the Admin Roles tab.
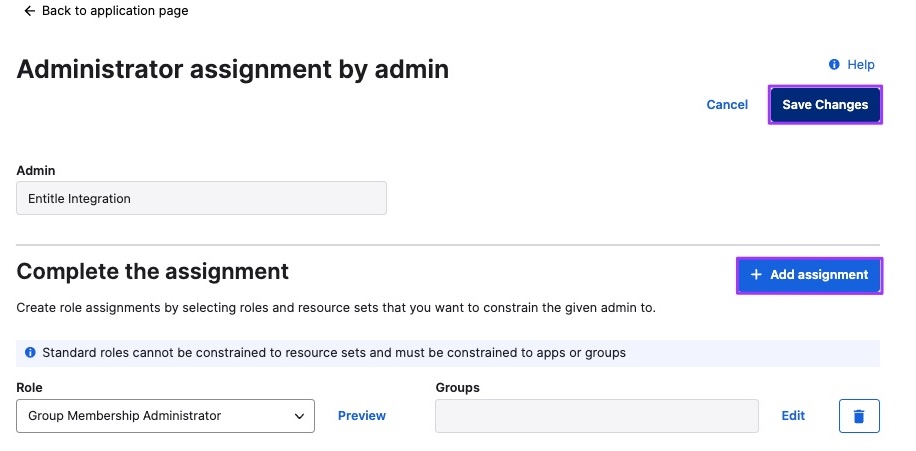
- Click on the Edit assignments button on the right-hand side.
- Add the
Group Membership Administratorassignment, and click on the Save Changes button.
Connecting your IdP in Entitle
-
Log in to Entitle and go to the Integrations page.
-
Under the Connect To section, navigate to the Okta option, and click Connect.

-
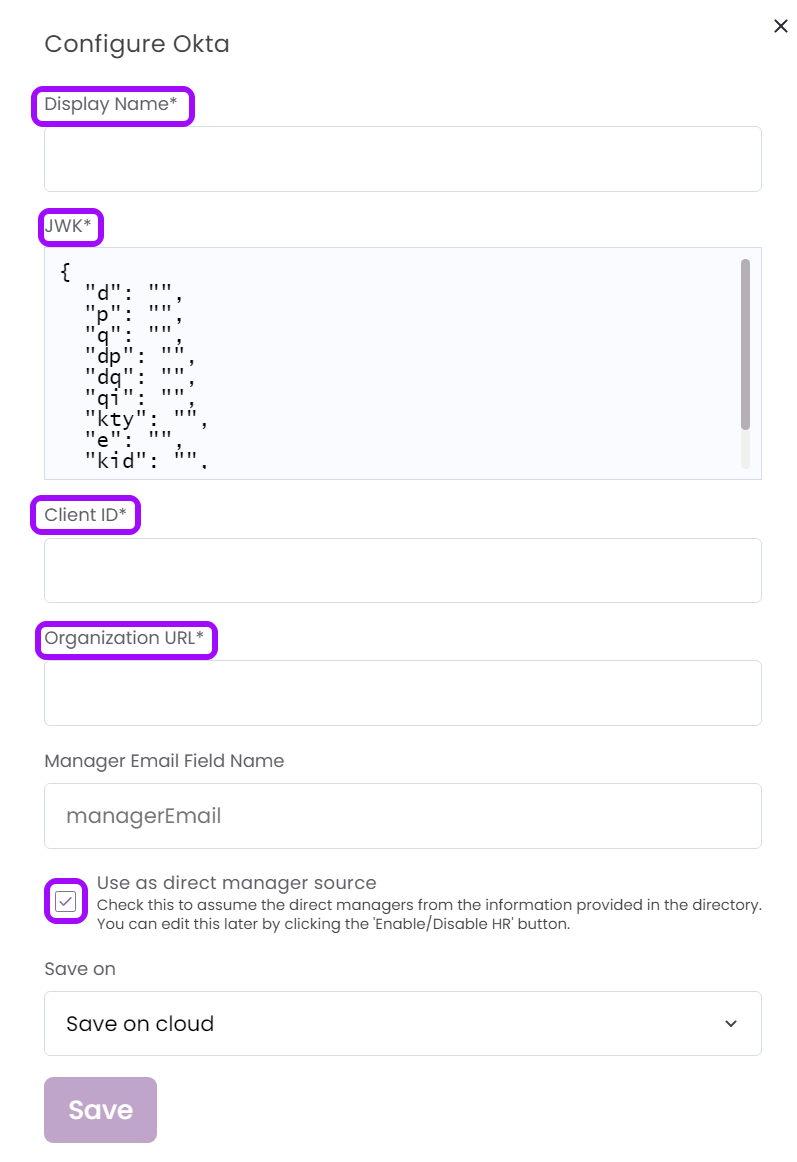
In the pop-up window Configure Okta, fill in the required details:
- Display Name of your choice.
- JWK - the new private key you created earlier.
- Client ID - the client ID you copied earlier.
- Organization URL - your Okta tenant's URL.
Do not paste your Okta tenant's management URL in this field.
- In case you wish to add managers’ approval as a part of the approval process of Access Requests or to select managers as the User Access Review reviewers:
- In the Manager Email Field Name, add the attribute that refers to the manager's email address.
- Check the Use as direct manager source checkbox.
- Finally, don’t forget to set the Save on field with your configuration, i.e. your own hosted agent or Entitle’s cloud. Click Save.
Test your IdP connection
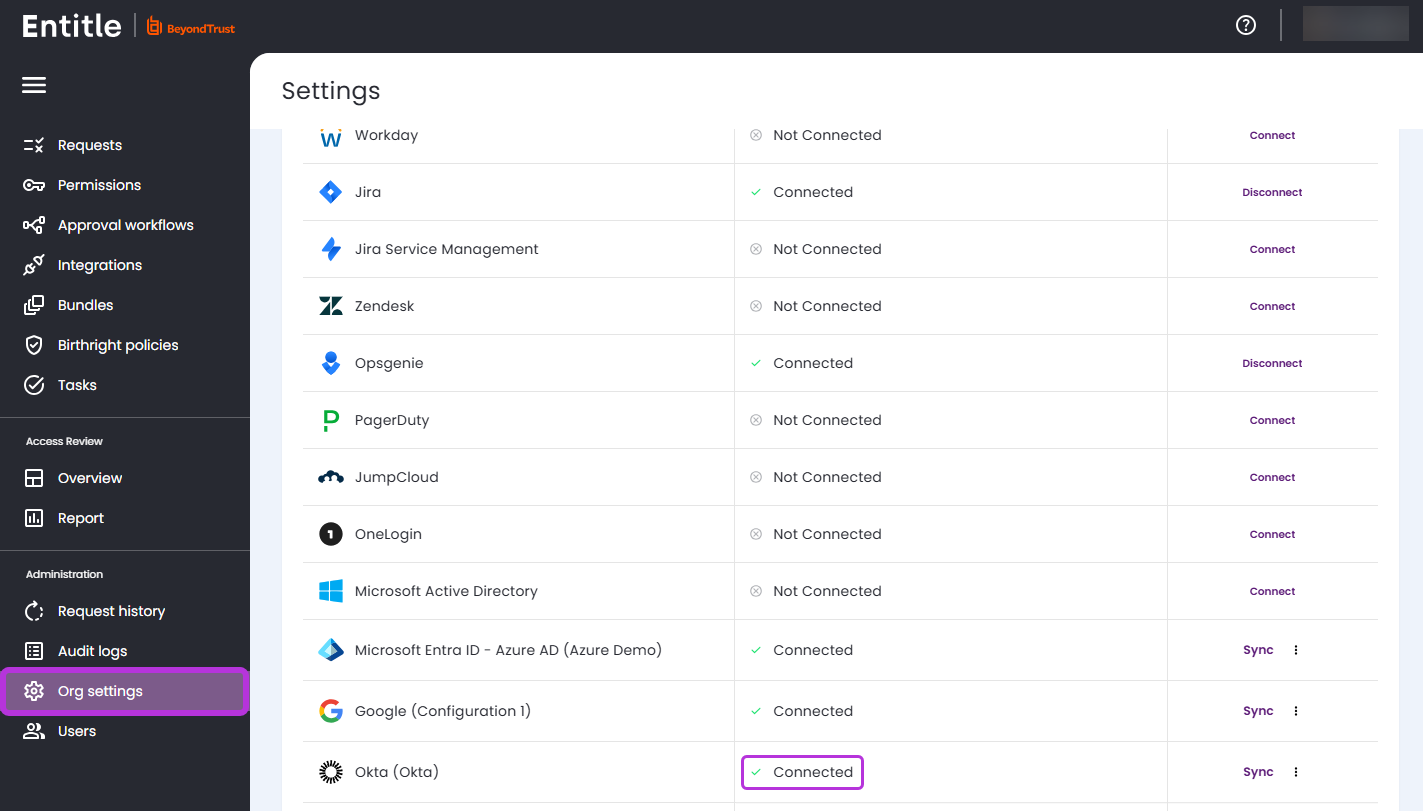
-
After being redirected to the Org Settings page, you should be able to see that the Okta is now Connected.
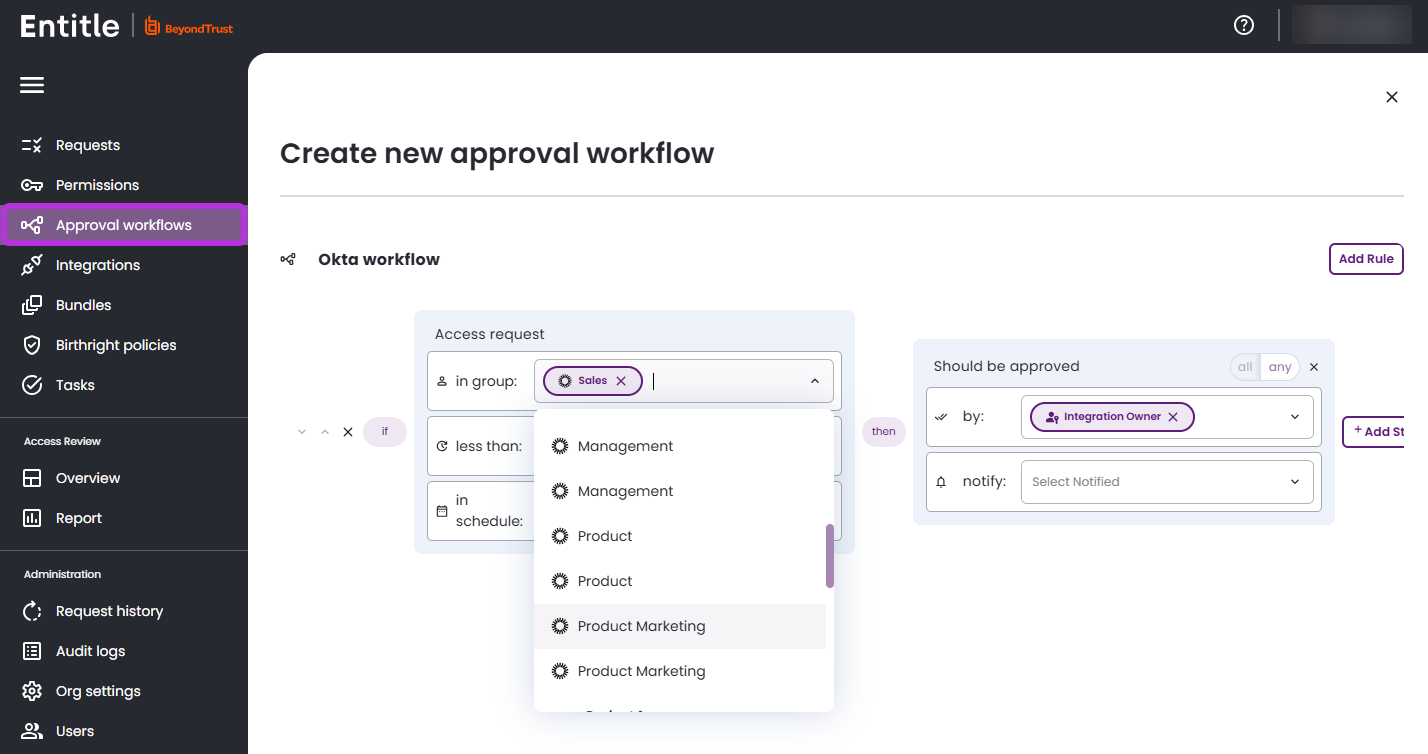
-
Within a few minutes, refresh your browser page and go to the Approval workflows screen, then click the New approval workflow button. You should now be able to see all the groups are fetched.
Updated 9 days ago
