Intune | Entitle
What is Intune?
Intune is a cloud-based service within the Microsoft 365 product family designed for endpoint management and security. It enables organizations to manage devices, applications, and user access by enforcing security policies, ensuring compliance, and safeguarding data across personal and corporate devices.
How is this integration useful?
Intune integration ensures secure authentication, seamless access, and centralized identity management. It enhances security, supports scalability, and simplifies compliance. This integration allows Entitle to manage Remote Desktop and Administrator permissions on PCs.
End-user experience
Prerequisites
- Intune uses Microsoft Intune to manage the permissions on endpoints. Therefore, to integrate it with Entitle, you must:
- Have an Intune license.
- Endpoints should be managed by Intune.
- You must have an Admin account in Entitle.
- Access to your Entra ID Client ID, Client secret, and Tenant ID.
Should you need to allowlist this integration, these are the IP addresses from which Entitle's service reaches the integration:
- Entitle EU (Cloud deployment)
- 34.243.199.171
- 54.216.133.226
- Entitle US (Pathfinder deployment)
- 52.45.229.219
- 54.88.235.213
- 3.224.15.134
- Entitle CA (Pathfinder deployment)
- 35.182.218.208
- 15.156.179.153
Create an Application in Entra ID
-
Go to the Microsoft Azure portal.
-
Click on Microsoft Entra ID.

-
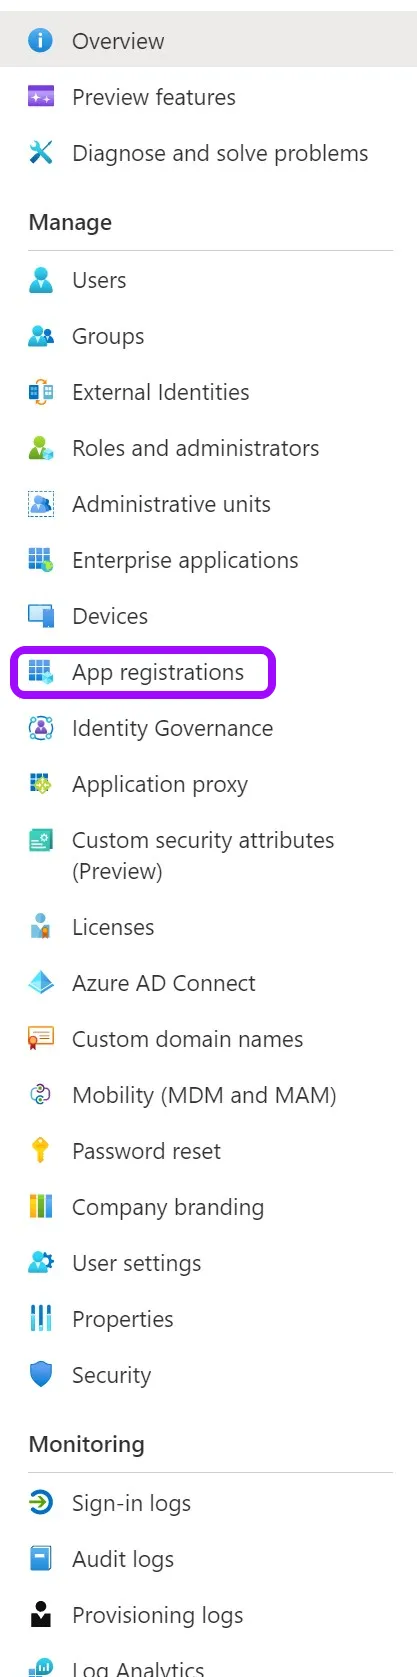
Click on the App Registrations tab in the left-side menu.
-
Click on New registration.

-
Give your app a Name and leave the rest as is. Then, click on Register.

-
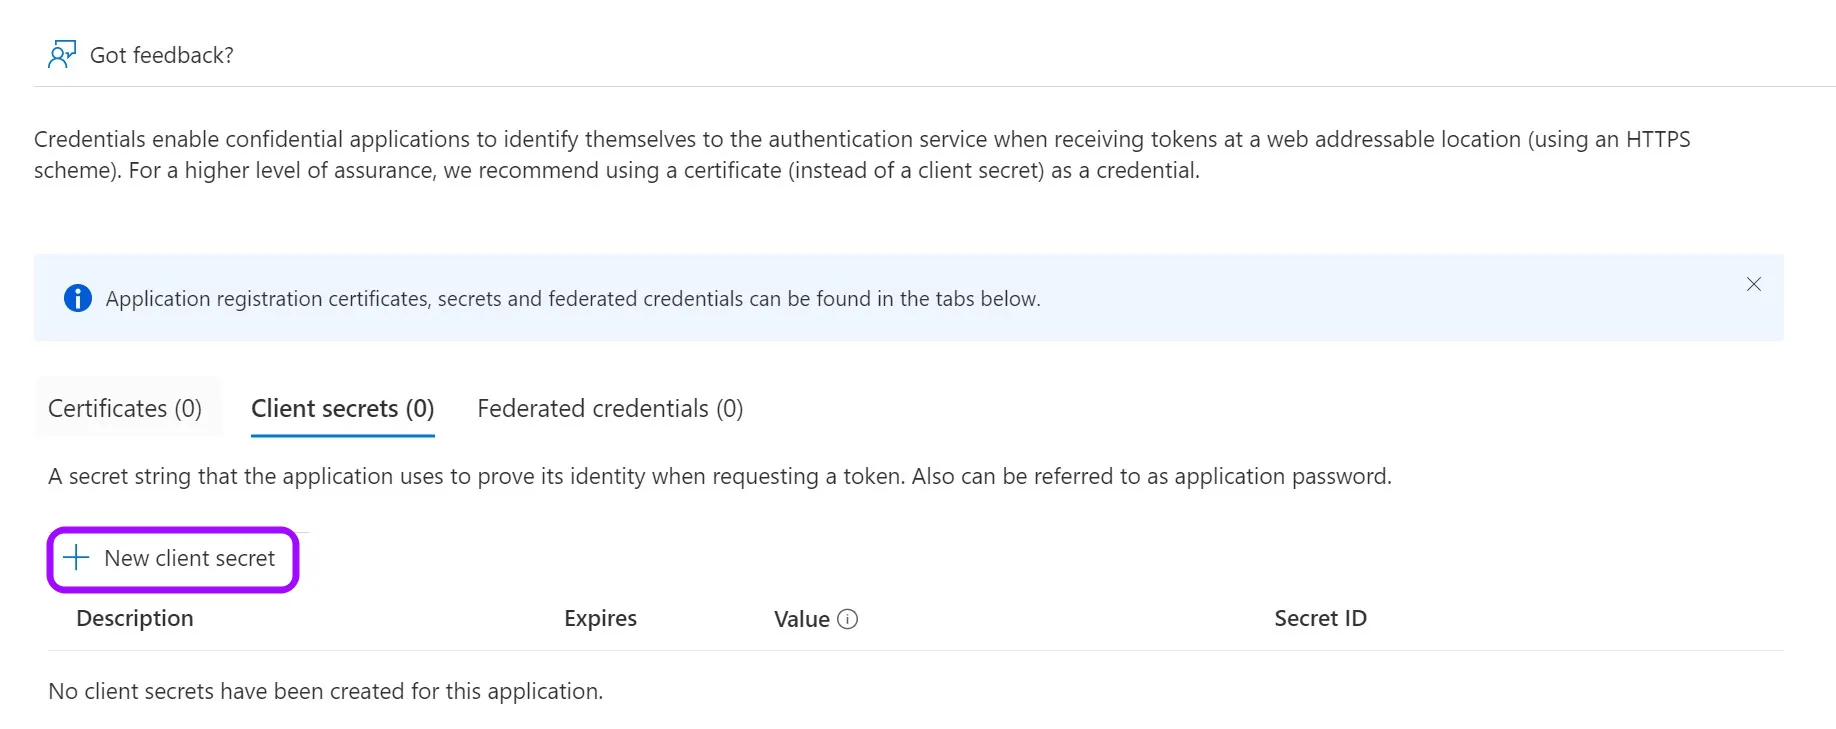
Keep your Application (client) ID and Directory (tenant) ID for later. Then, click on Add a certificate or secret on the right side. Currently, this integration supports only certificates and secrets, not federated credentials.

-
Click on New client secret.
-
In the pop-up window, choose a Description that you will remember and an expiration time of your choice. Keep in mind that you will have to create a new secret and hence a new integration when it expires. Once done, click Add.

-
Click on the copy icon to copy your new Client Secret Value and keep it for later.

Assign permissions to graph API
-
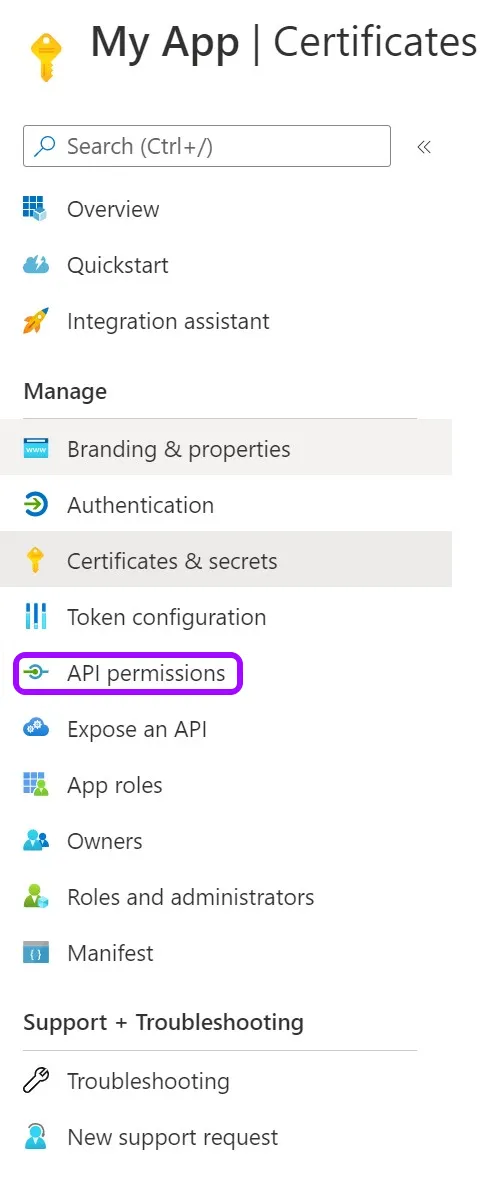
Go to API permissions.
-
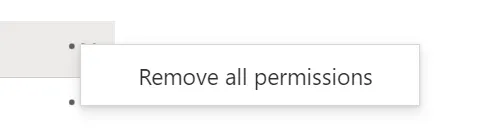
Remove the existing permission by clicking on the "..." on the right, choose Remove all permissions, and finally click the Yes, remove button.


-
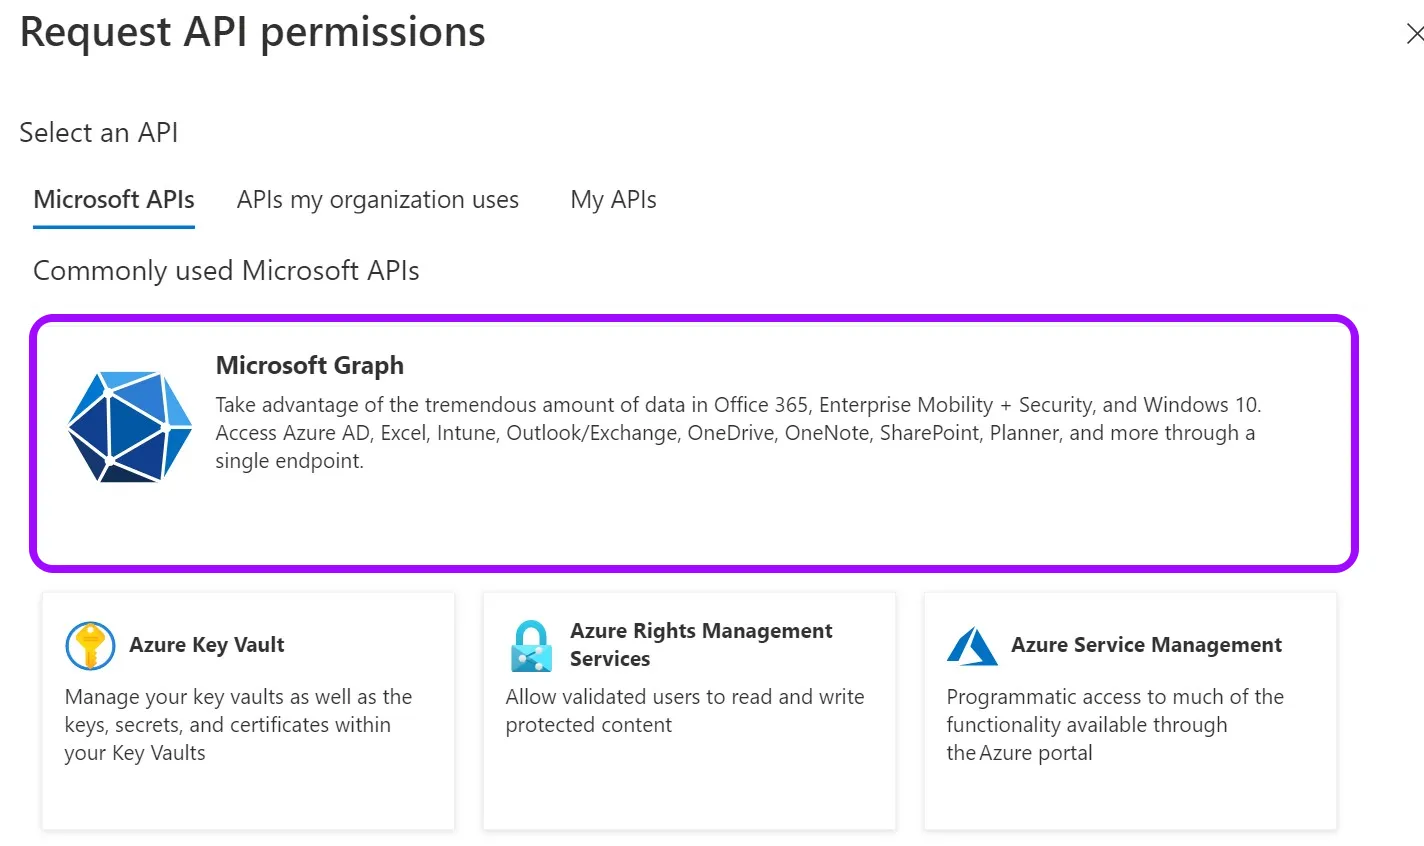
Click on Add a Permission.

-
Select Microsoft Graph.
-
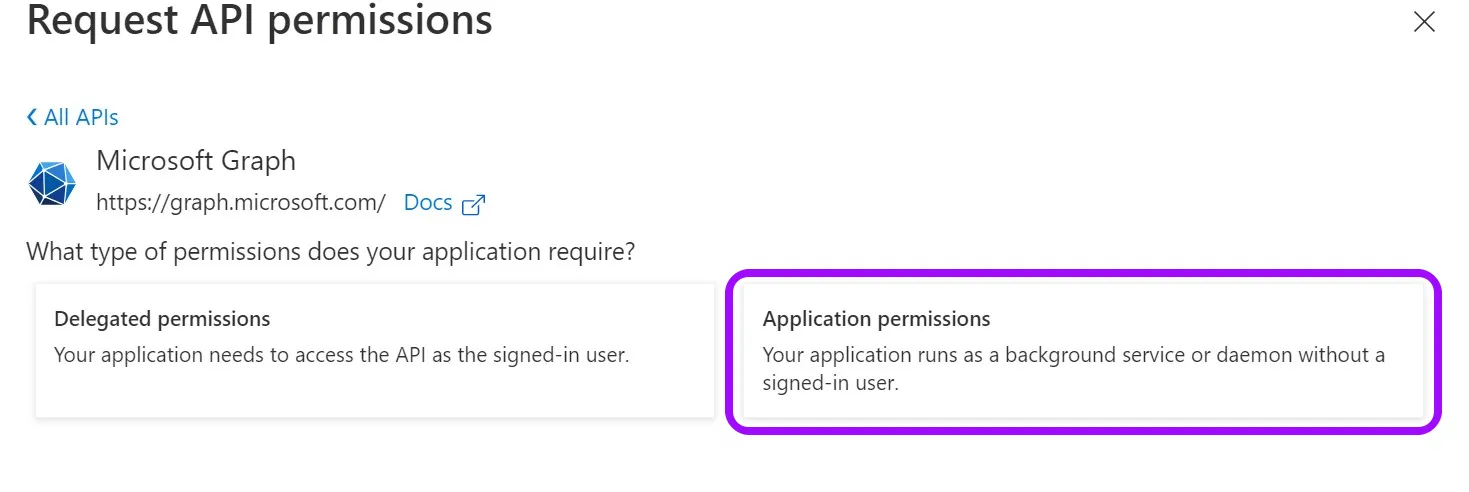
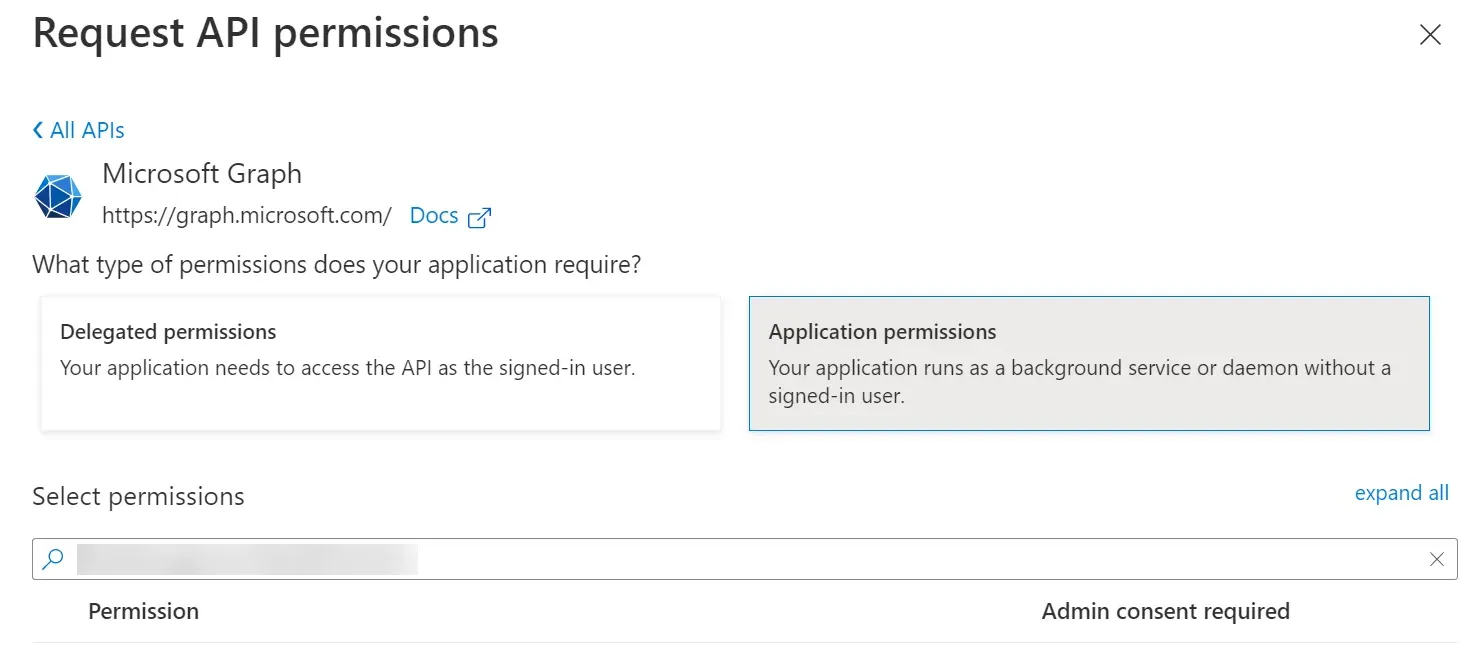
Choose Application permissions.
-
Using the search bar that appears, search the following permissions and select them:
DeviceManagementConfiguration.ReadWrite.All
DeviceManagementManagedDevices.Read.All
Directory.ReadWrite.All
Group.ReadWrite.All
DeviceManagementManagedDevices.PrivilegedOperations.All **(This privilege enables immediate endpoint synchronization and permission activation. While not mandatory, without it you will need to wait for the next periodic Intune sync, which occurs every 8 hours by default. You can adjust this frequency as needed.)**
Example
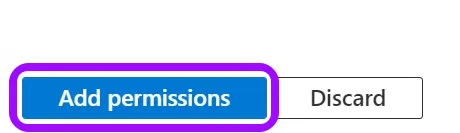
- When you are done selecting all five permissions, click on Add permissions at the bottom of the screen.
Even if the
DeviceManagementManagedDevices.PrivilegedOperations.Allpermission is enabled, the change may take up to 10 minutes to take effect. This delay is due to Microsoft's systems.
- Click Grant admin consent for Default Directory, and then click Yes.

Create the Intune integration in Entitle
-
Log in to Entitle and go to the Integrations page.
-
After clicking the Add Integration button, type Entra Endpoint in the Application field.
-
Don’t forget to set the Save on field with your configuration, i.e., your own hosted agent or Entitle’s cloud.

-
In the Connection JSON
client_id,secret, andtenantfields, paste the values of the Client ID, Client Secret, and the Directory (tenant) ID you previously extracted.Example connection JSON{ "client_id": "The value of Application (client) ID", "secret": "The value of Client Secret", "tenant": "The value of Directory (tenant) ID" } -
Click Save. The Intune integration with Entitle now saves.
What's next?Make sure your setup is complete by testing your integration.
Updated 3 months ago
