SharePoint | Entitle
Overview
SharePoint is a web-based collaboration platform by Microsoft that facilitates document management, content sharing, and team collaboration within organizations, providing a centralized space for information and workflow integration.
Entitle can manage Groups in SharePoint.
This page will provide you with instructions on how to integrate Entitle and SharePoint.
General guidelines
To integrate your SharePoint with Entitle, you will need to:
- Create an application on Entra ID, and extract tenant and client IDs.
- Generate a certificate and a private key pair.
- Provide Entitle with adequate permissions for the application.
- Upload the certificate to the registered Entra ID application, and extract a thumbprint.
Set up SharePoint to work with Entitle
Stage 1: Generate a certificate and a private key
Important informationTo use SharePoint's API, a certificate has to be created. The certificate will be uploaded to your Entra ID app later in this guide, while the key that will be generated will be added to Entitle's configuration.
- Open your terminal, and run the following command:
openssl req -x509 -new -nodes -newkey rsa:4096 -keyout key.pem -out cert.pem -days 3650The
daysvalue refers to the number of days for the certificate to be valid. You can select a different amount of days, however it will require updating the integration setup each time the certificate expires and recreated.
- Run the following command to escape new lines from the newly created key:
cat key.pem | sed -e ':a' -e 'N' -e '$!ba' -e 's/\n/\\n/g' -e '$s/$/\\n/'- Copy the resulted key, as you will use it later in this guide as well.
Stage 2: Create an application
-
Go to the Microsoft Azure portal.
-
Click on Microsoft Entra ID.

-
Click on the App registrations tab in the left-side menu.
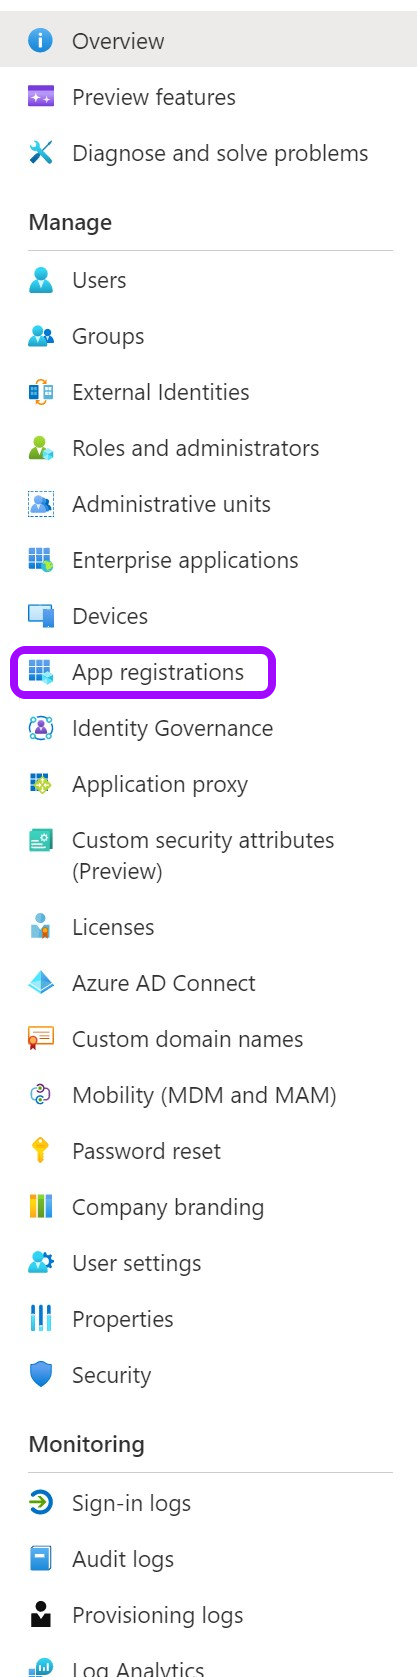
-
Then, click on New registration.

-
Give your app a Name and leave the rest as is. Then, click on Register.
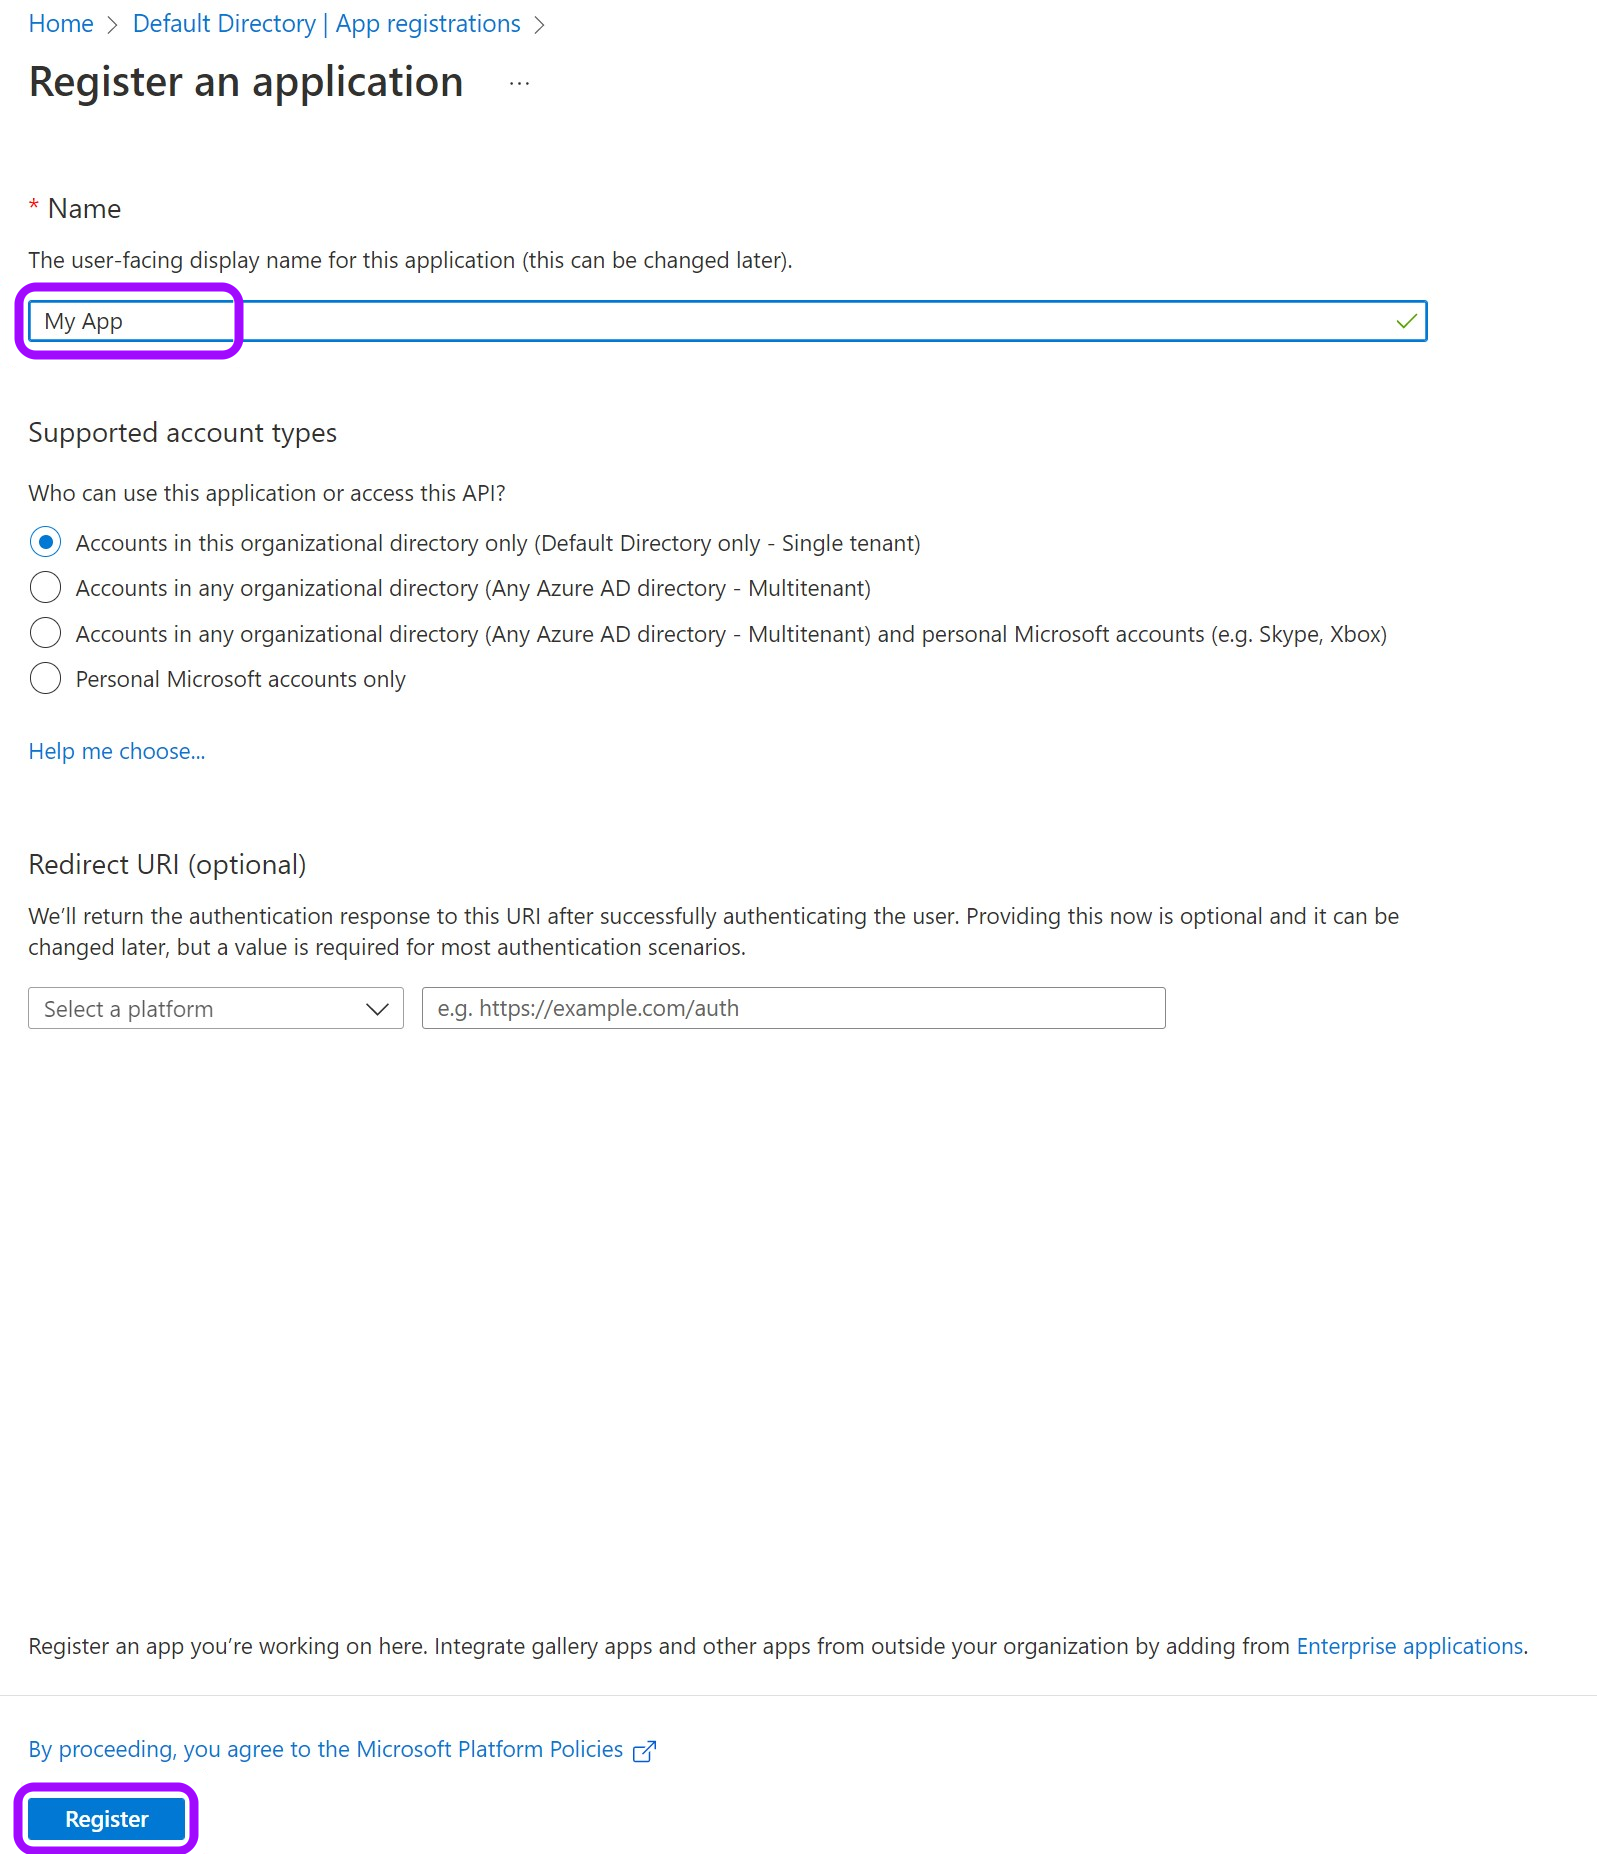
- Copy your Application (client) ID and Directory (tenant) ID for later.
- Click on Add a certificate or secret on the right side. Currently, this integration supports only certificates and secrets, not federated credentials.

- Click on Upload certificate.

- On the pop-up window to your right, upload the certificate file (called
cert.pem) you created on Stage 1, and click Add.

- Copy the
thumbprintvalue, as you will use it later in this guide.

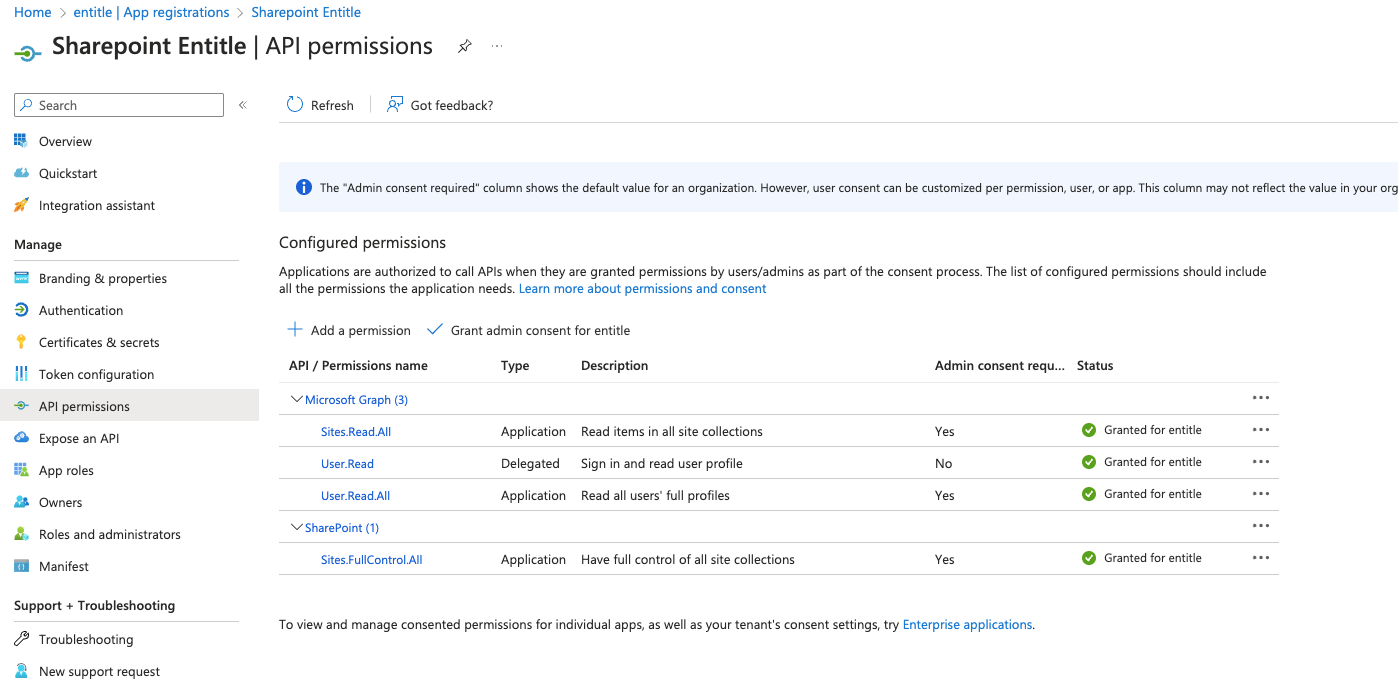
Stage 3: Assign permissions to Graph API
- Go to API permissions.

- Click on Add a Permission.

- Then select SharePoint.

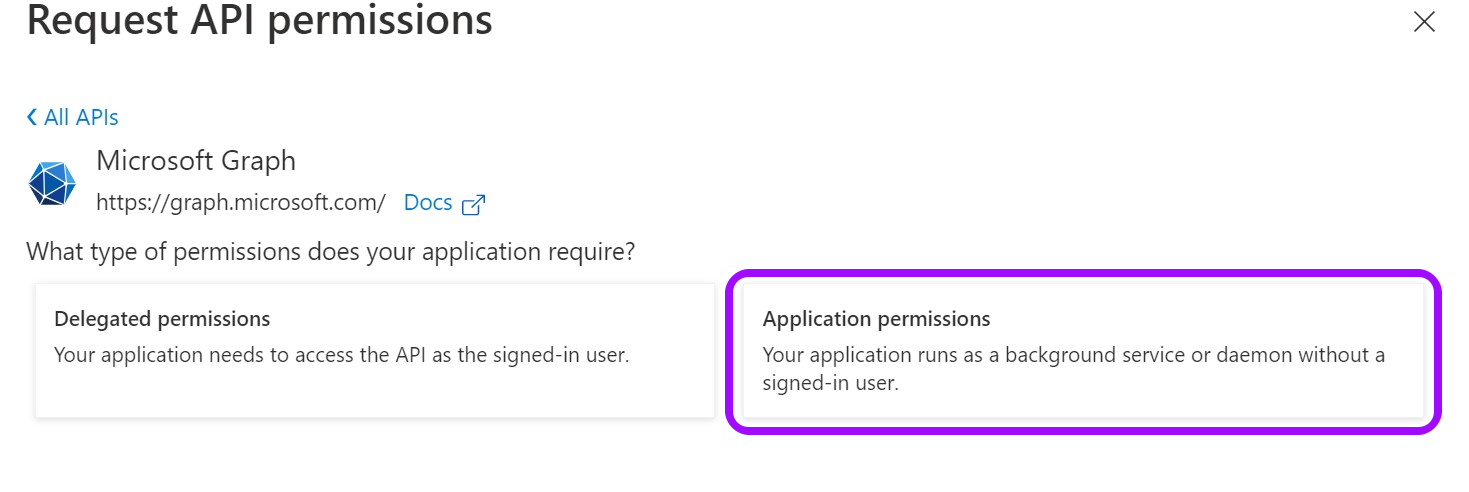
- Select Application permissions.
- Using the search bar that appears, find the following permission and select it:
Sites.FullControl.All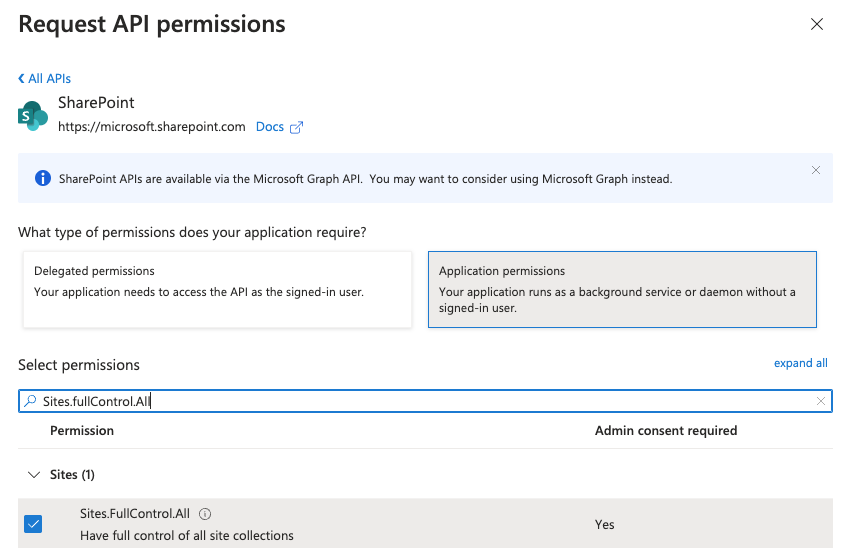
- Click the Add Permissions button.
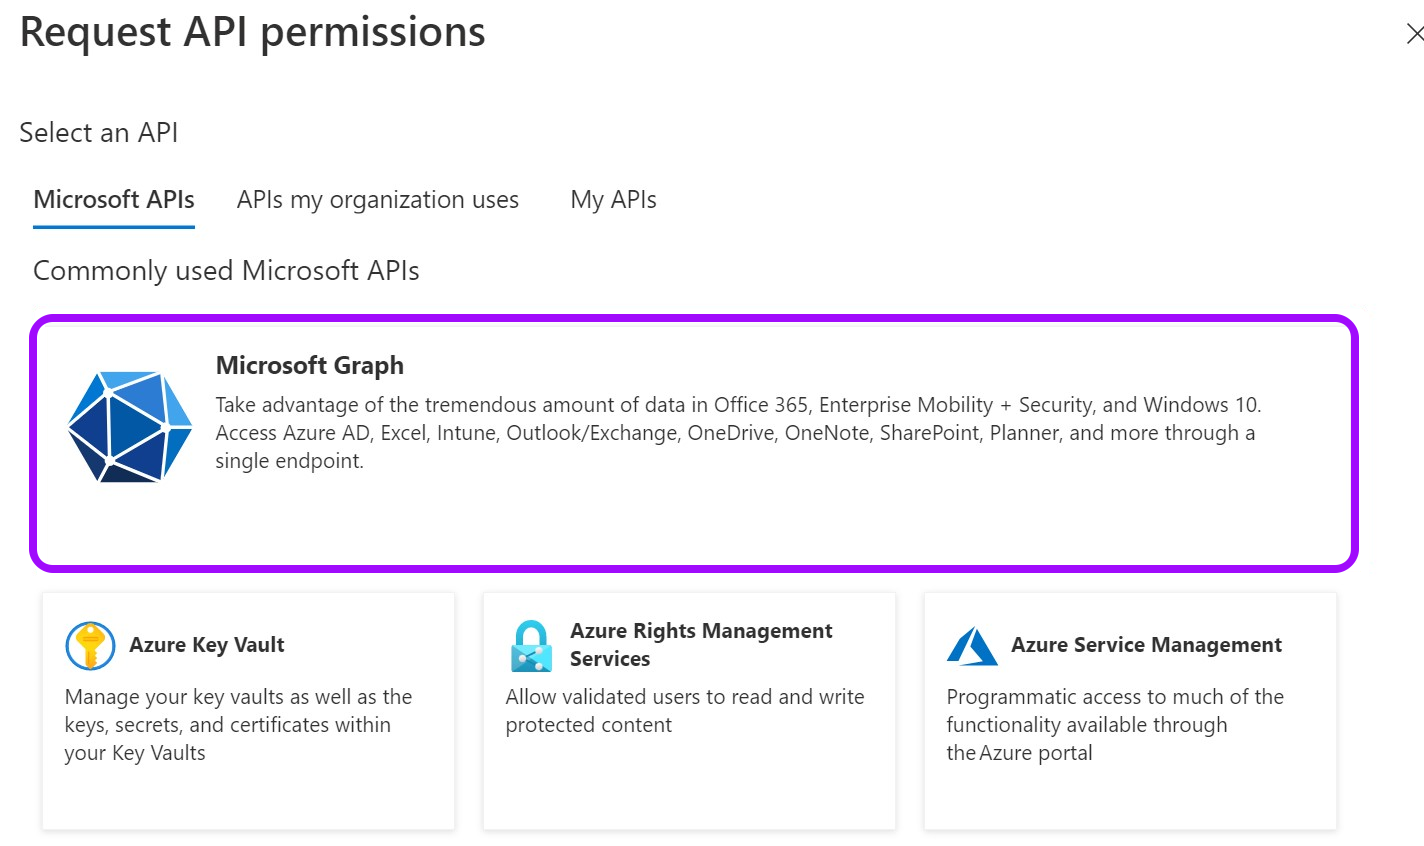
- Go back to
all APIs, and then pick Microsoft Graph.
- Choose Application permissions.
- Using the search bar that appears, find the following permissions and select them:
Sites.Read.All
User.Read
User.Read.All- When you are done selecting all permissions, click on Add permissions at the bottom of the screen.
- Click on Grant admin consent for Default Directory, and then click Yes.

Creating the integration in Entitle
-
Log in to Entitle and go to the Integrations page.
-
After clicking the Add Integration button, type SharePoint in the Application field.
-
Don’t forget to set the Save on field with your configuration, i.e., your own hosted agent or Entitle’s cloud.
-

Paste the
client IDcopied on Stage 2: step 6 on theclient_idfield. -
Paste the thumbprint copied on Stage 2: step 9 on the
thumbprintfield. -
Paste the
tenant IDcopied on Stage 2: step 6 on thetenantfield. -
Paste the
private_keycopied on Stage 1: step 3 on theprivate_keyfield.
Example connection JSON{ "client_id": "The value of Application (client) ID from Stage 2: step 6", "thumbprint": "The thumbprint value from Stage 2: step 9", "tenant": "The value of Directory (tenant) ID from Stage 2: step 6", "private_key": "The Private Key value from Stage 1: step 3" }
- Click Save.
Should you need to allowlist this integration, these are the IP addresses from which Entitle's service reaches the integration:
- Entitle EU (Cloud deployment)
- 34.243.199.171
- 54.216.133.226
- Entitle US (Pathfinder deployment)
- 52.45.229.219
- 54.88.235.213
- 3.224.15.134
- Entitle CA (Pathfinder deployment)
- 35.182.218.208
- 15.156.179.153
What's next?Make sure your setup is complete by testing your integration.
Updated 3 months ago
