Jenkins | Entitle
What is Jenkins?
Jenkins is an open-source automation server that helps developers build, test, and deploy software efficiently. It enables continuous integration and continuous delivery (CI/CD), allowing teams to automate workflows and improve software quality.
How is this integration useful?
Integrating Jenkins with Entitle simplifies access management by automating permissions, ensuring the right users have access when needed. This improves security, reduces manual administration, and enhances compliance while supporting seamless DevOps workflows.
Through this integration, Entitle can manage the following resource types in Jenkins:
- Global roles
- Node roles
- Item roles
Prerequisites
- You must have an Admin account in Entitle.
- The user that will integrate with Entitle must have Admin privileges in Jenkins and have a role-based plugin installed.
For further details, see the Install role-based plugin step in this guide.
- Access to your Jenkins host, port, username, and API token.
Should you need to allowlist this integration, these are the IP addresses from which Entitle's service reaches the integration:
- Entitle EU (Cloud deployment)
- 34.243.199.171
- 54.216.133.226
- Entitle US (Pathfinder deployment)
- 52.45.229.219
- 54.88.235.213
- 3.224.15.134
- Entitle CA (Pathfinder deployment)
- 35.182.218.208
- 15.156.179.153
Install a role-based plugin in Jenkins
If you have already installed the role-based plugin, move on to the next step in this guide.
-
Log in to Jenkins.
The Jenkins homepage displays
-
Navigate to Manage Jenkins on the left-side menu.
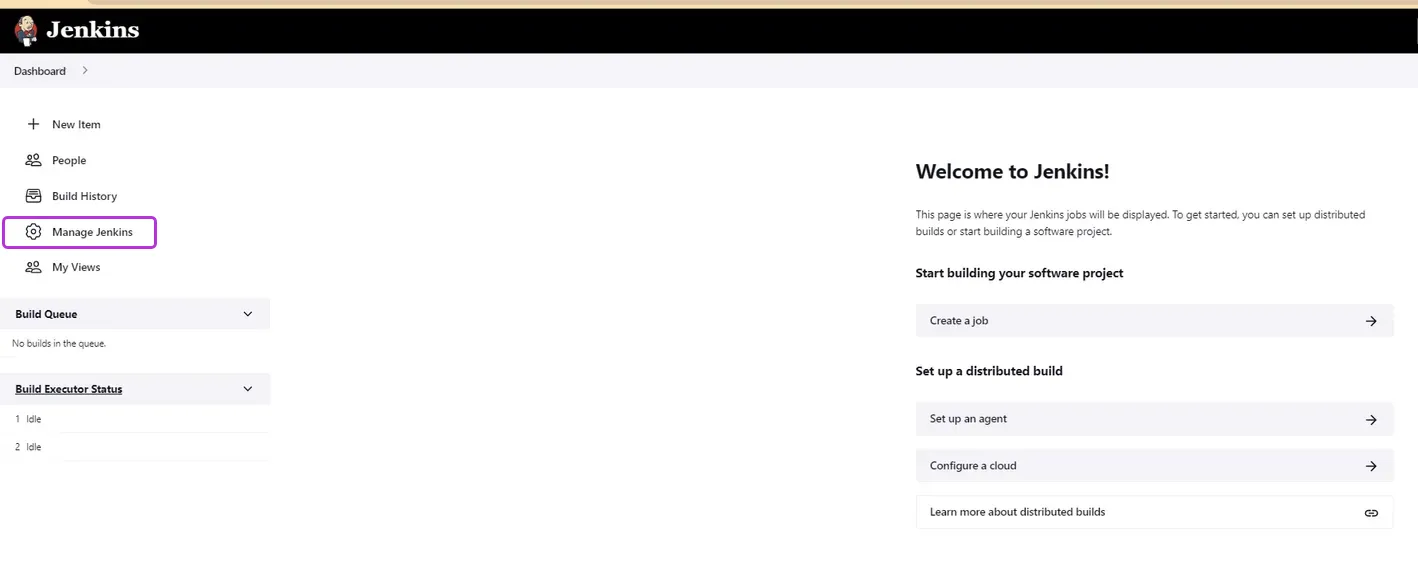
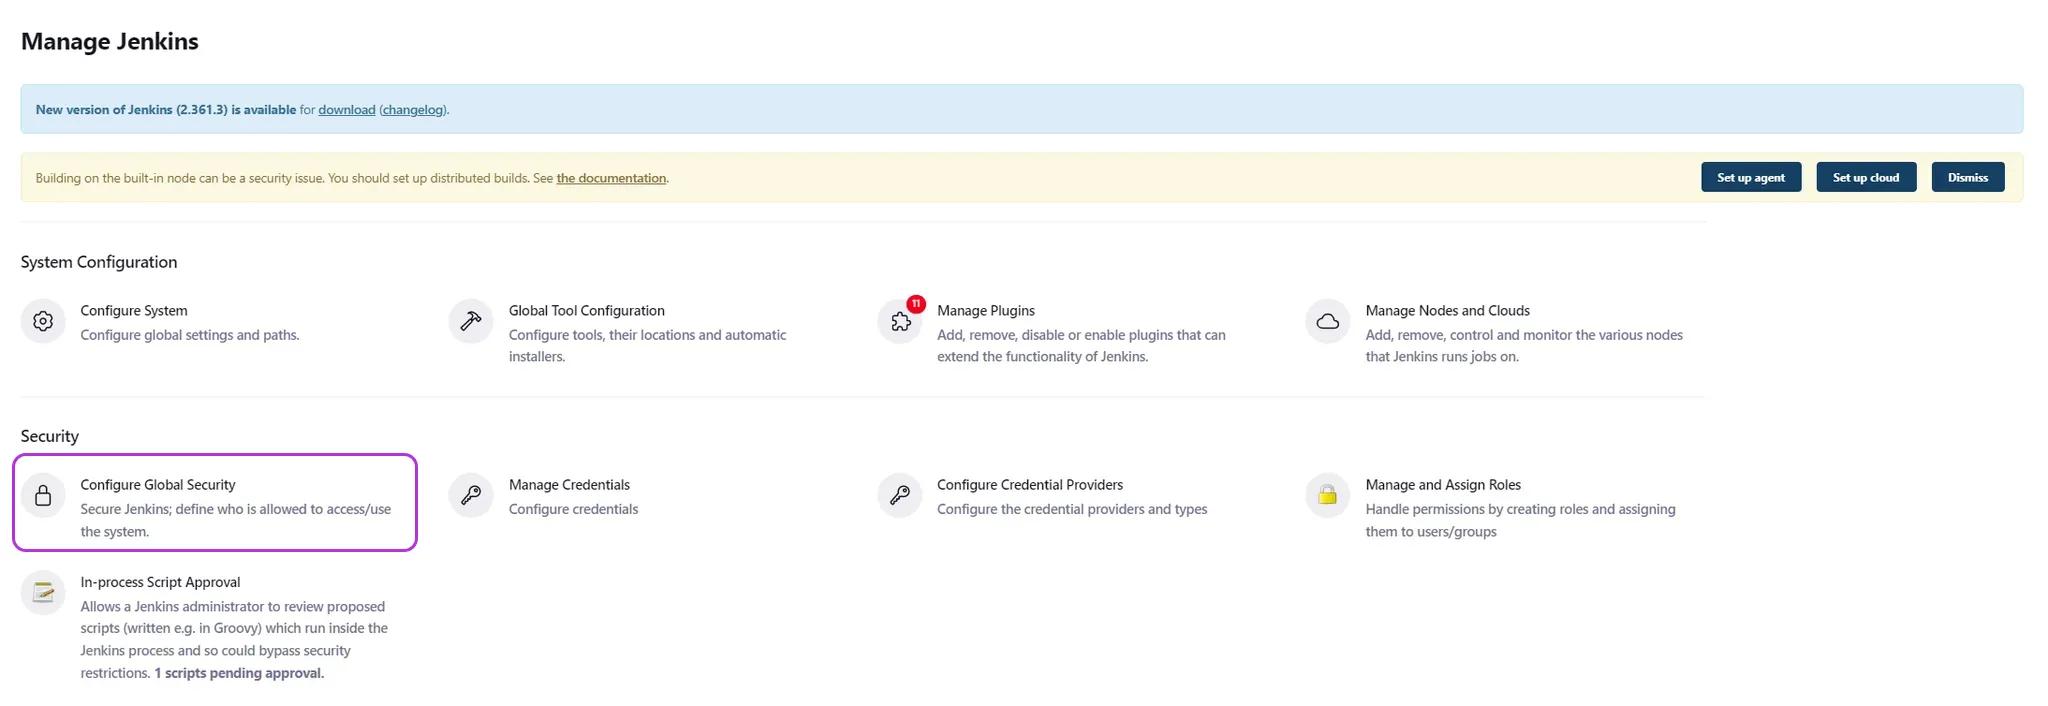
The Manage Jenkins page displays
-
Click Configure Global Security > Manage Plugins.
-
Locate the Role-based Authorization Strategy plugin, and enable it.

Create a new API token
-
On the Jenkins homepage, locate the People tab in the left-side navigation bar.
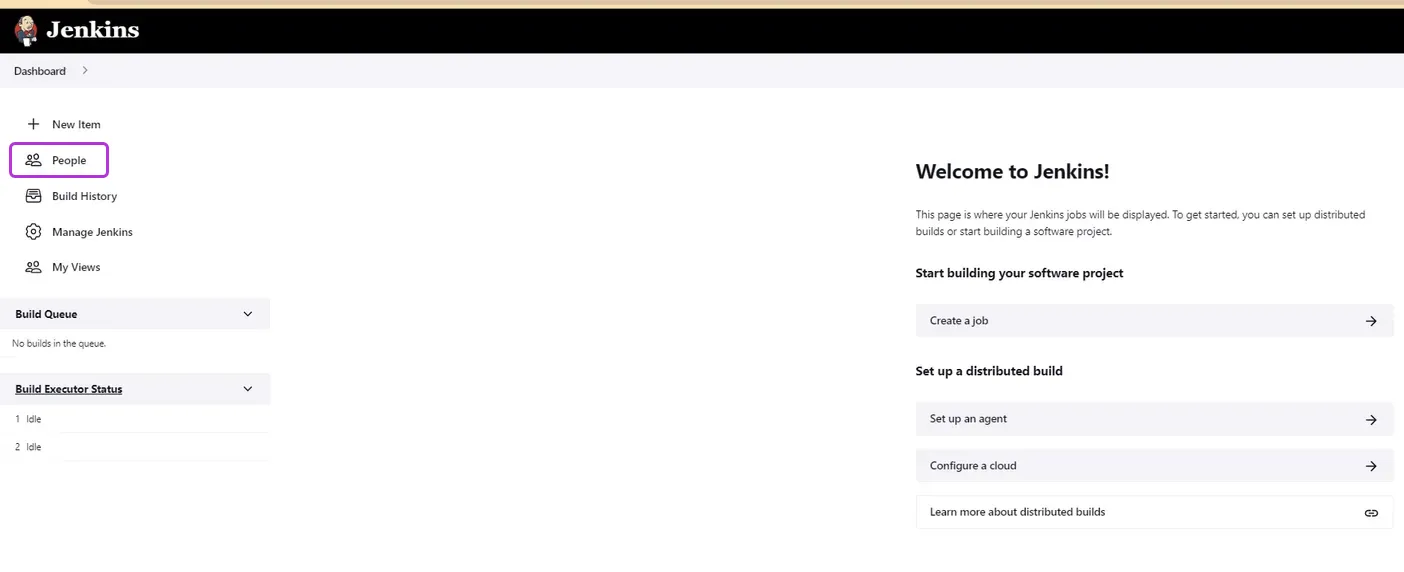
-
Click on the Admin user > Configure.
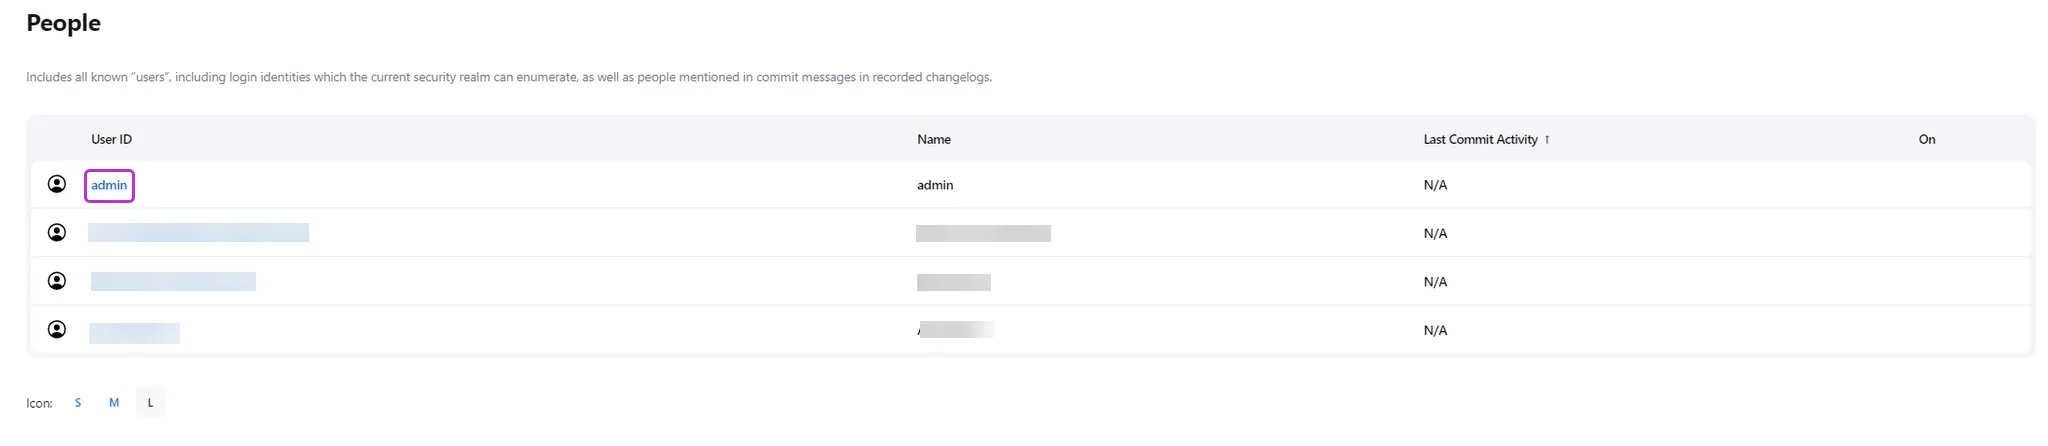
-
In the Configure page, locate the API Token section.
-
Click Add new Token.
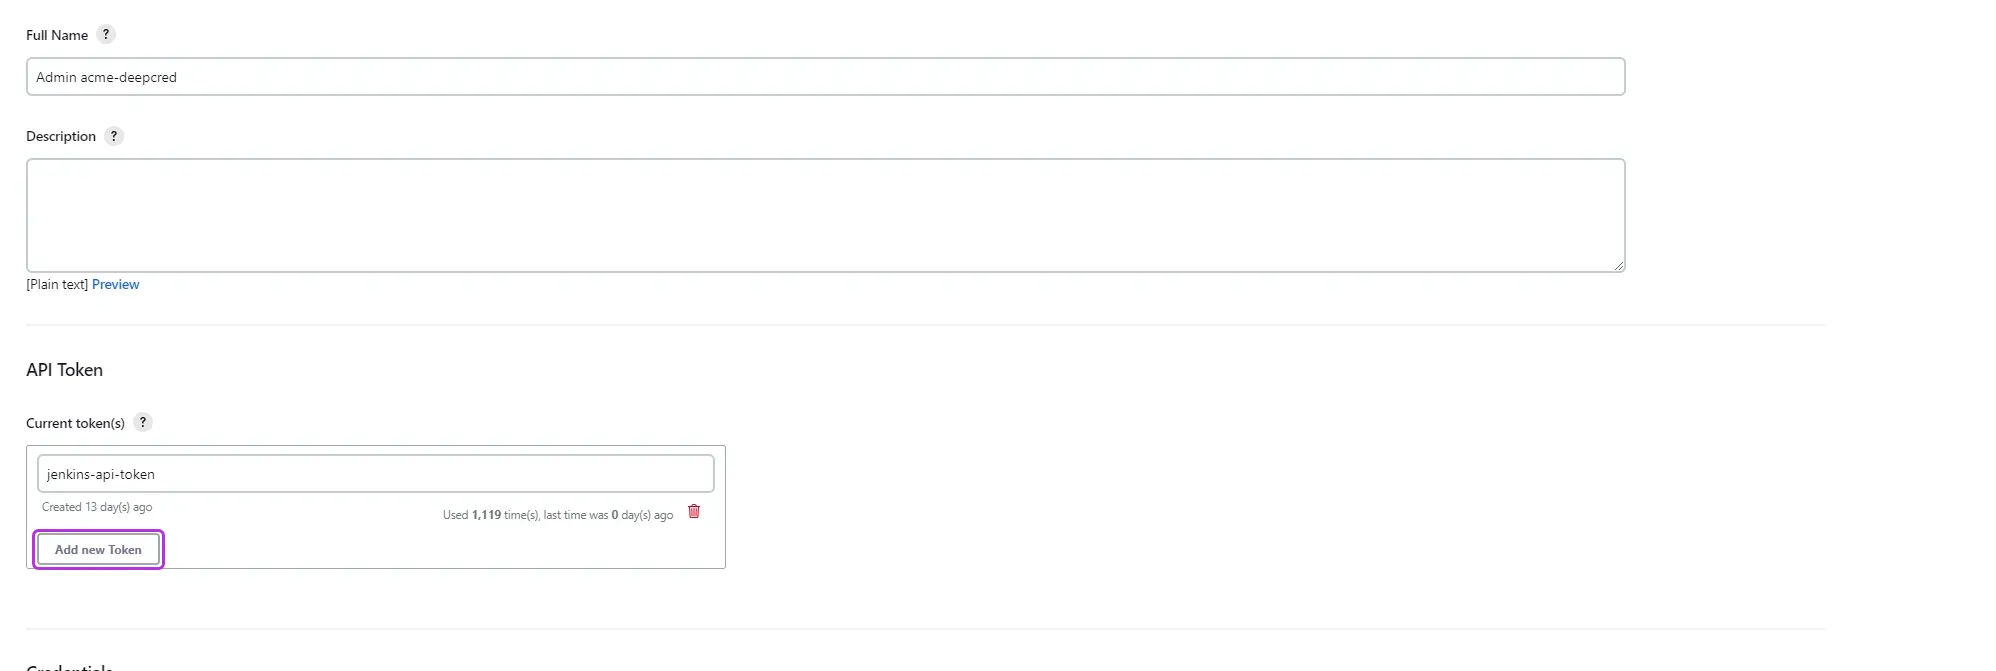
A new API Token adds
-
Copy your new API Token for the configuration later on in this guide.
Create the Jenkins integration in Entitle
-
Log in to Entitle and go to the Integrations page.
-
Click Add Integration.
-
In the Application field, enter Jenkins.
-
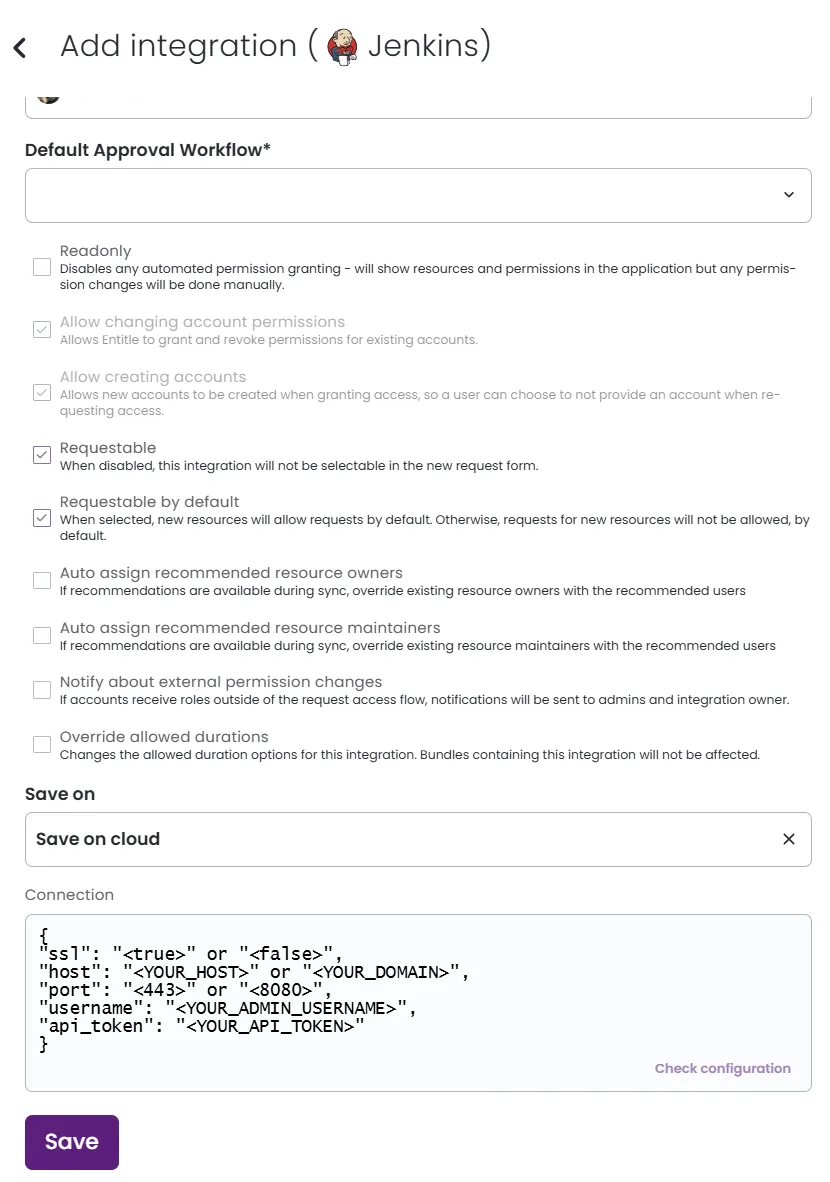
In the Save on dropdown, select Entitle cloud or your hosted agent.
-
In the Connection field:
-
ssl: set tofalseortruedepending on how you configured your Jenkins server. -
host:- If
SSLis set tofalse, insert your instance host. Make sure to not include the https:// prefix. - If
SSLis set totrue, insert your domain.
- If
-
port: The port you configured on your Jenkins server:- Normally, if
SSLis set totrue, insert 433. - If
SSLis set tofalse, insert 8080.
- Normally, if
-
username: Insert the Jenkins Admin’s username. -
api_token: Insert the new API Token you created earlier.
Example connection JSON{ "ssl": "<true>" or "<false>", "host": "<YOUR_HOST>" or "<YOUR_DOMAIN>", "port": "<443>" or "<8080>", "username": "<YOUR_ADMIN_USERNAME>", "api_token": "<YOUR_API_TOKEN>" } -
-
Click Save.
What's next?Make sure your setup is complete by testing your integration.
Updated 3 months ago
