SSH Standing Accounts integration | Entitle
Overview
Through the SSH Standing Accounts integration option, **only regular (**existing) users are given SSH access to the machine.
Prerequisites
The account with which you wish to integrate with Entitle can be either one of two options:
- A root account possesses the authority to generate SSH keys, such as via
ssh-keygen, and is capable of creating user accounts and modifying user files. - An alternative account with the privilege to execute specific executables (listed below) using Sudo, without requiring a password:
cat- read file contents.tee- write to a file.getent- list users on the machine.service- restart services.mkdir- create a directory.rm- delete a file.stat- check file age.serviceorsystemctl(depends on your system) - reloads the SSH service after updating who can and can't access the server.
- The privilege can be granted to the user by modifying the system's sudoers settings. Entitle highly recommends doing this with the
visudoexecutable (which requires an editor to be installed) to protect the Linux machine from becoming inoperable. - Below is an example of modifying sudoers to allow passwordless execution for a single executable:
<username> ALL=(root) NOPASSWD: <executable path> - The executable path can be identified by running
'which <executable name>.
Should you need to allowlist this integration, these are the IP addresses from which Entitle's service reaches the integration:
- Entitle EU (Cloud deployment)
- 34.243.199.171
- 54.216.133.226
- Entitle US (Pathfinder deployment)
- 52.45.229.219
- 54.88.235.213
- 3.224.15.134
- Entitle CA (Pathfinder deployment)
- 35.182.218.208
- 15.156.179.153
General guidelines
- The access is done by manipulating the SSH configuration file on the target machine:
etc/ssh/sshd_config. Note that the user must have read and write access to this file.- A user that is given access will be added to the file mentioned above with the keyword
AllowUsers.For example,AllowUsers username.
- A user that is given access will be added to the file mentioned above with the keyword
- The integration controls access by creating and updating a whitelist of permanent standing accounts in the above-mentioned configuration file.
- Optional: The configuration enables an array of permanent standing accounts, for whom access will stay persistent throughout the lifetime of the integration.
- The (service account) user specified in the configuration on behalf of the operations will be made and will be automatically added to the list of permanent standing accounts.
It is optional to provide Entitle with a list of permanent standing accounts, as it automatically creates a list. In case you choose to provide the list of accounts, they will be added to the existing ones.
- Even if the access to a permanent standing account is revoked externally, it will be recreated the next time a give/revoke access is made. Therefore, if you wish to revoke access to a permanent standing account, you will need to delete and create a new integration with other permanent standing accounts.
Set up SSH to work with Entitle
All that is needed to integrate SSH with Entitle is the username and key of a Sudo user. One way of generating the key will be explained in the following steps; however, there are other ways to achieve the same result.
Generate SSH keys
- Open the computer terminal.
- Generate an SSH key using the
ssh-keygencommand:
$ ssh-keygen- After running
ssh-keygen, you will receive two keys:id_rsaandid_rsa.pub(or the respective files you provided).In this guide, when prompted for the private key, provide the
id_rsafile. When prompted for the public key, provide theid_rsa.pubfile.- To use the private key with Entitle, you need to replace all new lines with
\ncharacters. You can achieve this by usingsedcommand for Linux users only:
sed 's/$/\\n/' <key_path> | tr -d '\n' - To use the private key with Entitle, you need to replace all new lines with
- Replace
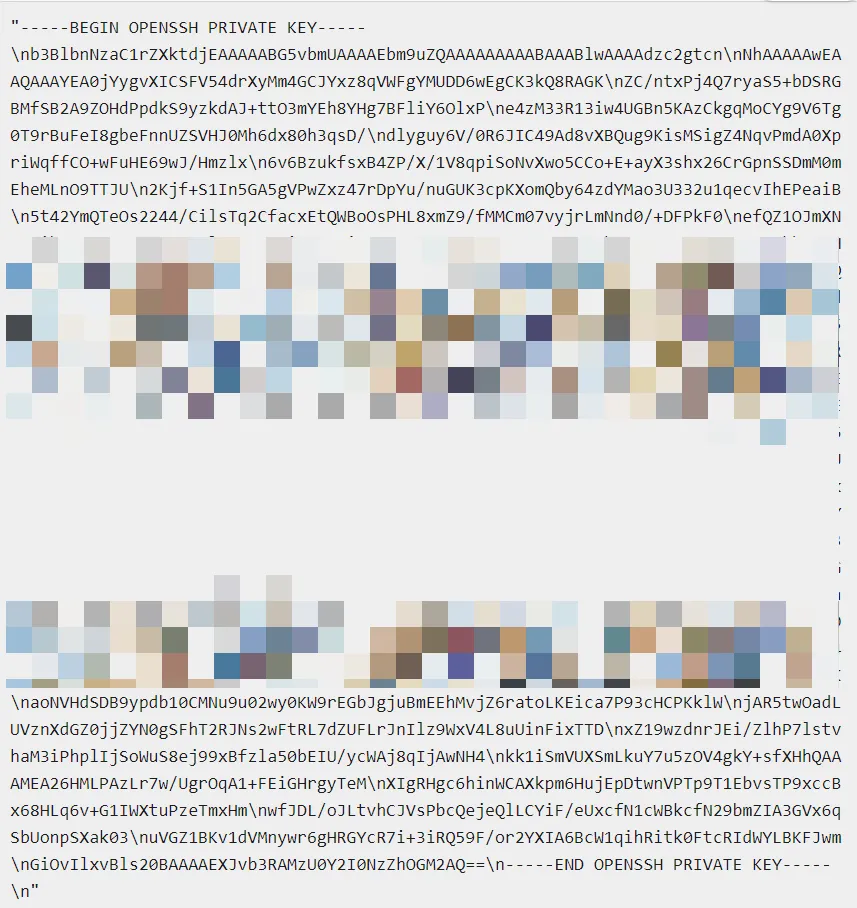
<key_path>with the name of your private key file - Below is an example of how a private SSH key will look.
Set up SSH key authentication on the target machine
- Open the terminal on the target machine.
- Navigate to the
/.sshdirectory for the specific user (e.g.,/home/username/.ssh). Keep in mind that this user is the same one you will set in the Example JSON configuration. - Within the
/.sshdirectory, create a file namedauthorized_keys, and paste the public key generated in step 2 to the authorized keys file. You can achieve this by echoing the public key into the file:
~ echo "public_key_content" > /home/username/.ssh/authorized_keys
Important informationFailure to place the public key in the
authorized_keysfile will result in SSH authentication failure. This is because the private key won't match with any public key.
Creating the integration in Entitle
-
Log in to Entitle and go to the Integrations page.
-
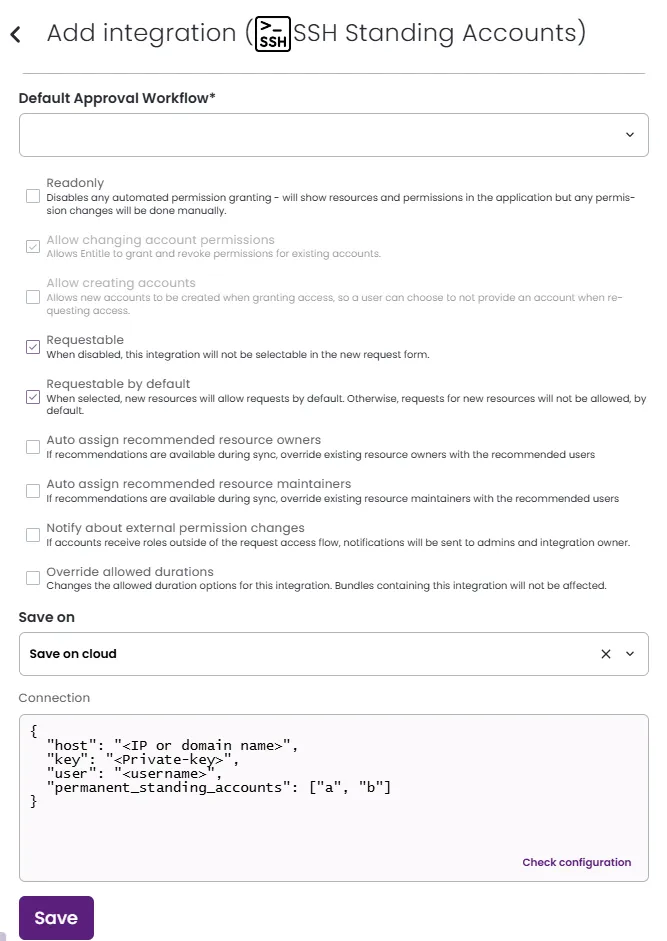
After clicking the Add Integration button, type SSH Standing Accounts in the Application field.
-
Choose the Default Approval Workflow for your integration.
-
Don’t forget to set the Save on field with your configuration, i.e., your own hosted agent or Entitle’s cloud.
-
In the connection JSON:
- Assign the machine's IP address or domain name to the
hostfield. - Paste the private key previously generated as the value for the
keyfield.In the connection JSON, it's essential to swap each new line with
\ncharacter. - Set the
userfield to the username to which the keys were mapped. - If provided, set the list of
permanent_standing_accountsin the relevant field. Otherwise, use the consequent connection JSON.Example Connection JSON{ "host": "<IP or domain name>", "key": "<Private-key>", "user ": "<username>", "permanent_standing_accounts": ["a", "b"] } or { "host": "<IP or domain name>", "key": "<Private-key>", "user ": "<username>" }
- Assign the machine's IP address or domain name to the
-
Click Save.
What's next?Make sure your setup is complete by testing your integration.
Updated 5 months ago
