Kubernetes | Entitle
What is Kubernetes?
Kubernetes allows your teams to securely access Kubernetes clusters only when needed. Instead of granting standing (always-on) privileges, it dynamically provisions access through Kubernetes’ native Role-Based Access Control (RBAC).
How is this integration useful?
The integration of Kubernetes with Entitle ensures your developers, operators, and partners get the right access to clusters at the right time - without leaving long-lived credentials behind.
With this integration, Entitle can manage both namespace-scoped resources (Pods, Services, ConfigMaps, Secrets, etc.) and cluster-wide resources (Nodes, Namespaces, StorageClasses, CRDs, etc.). It automatically adapts to custom resources as well.
There are two ways to integrate your preferred Kubernetes application with Entitle.
- External access: Via dedicated Service Account certificate.
- In-cluster access: Requires an instance of Entitle's agent in the Kubernetes cluster you wish to integrate Entitle with.
In both cases, the integration is trusted with cluster-level permissions, which it uses solely to create and manage short-lived access on behalf of your users.
Service account authentication
This is the standard method for authenticating with Kubernetes.
Prerequisites
The following steps are related to EKS only. If you wish to integrate a different Kubernetes type with Entitle, continue to the next step - Create a Service Account for Entitle.
Important informationCurrently, this integration supports authentication via AWS Single Sign-On (SSO) only.
Should you need to allowlist this integration, these are the IP addresses from which Entitle's service reaches the integration:
- Entitle EU (Cloud deployment)
- 34.243.199.171
- 54.216.133.226
- Entitle US (Pathfinder deployment)
- 52.45.229.219
- 54.88.235.213
- 3.224.15.134
- Entitle CA (Pathfinder deployment)
- 35.182.218.208
- 15.156.179.153
EKS Prerequisites
Restrict IAM role session name
- Make sure that when users assume roles in your organization, their session names are their emails. For more information, visit Amazon's blog.
- There should be a policy that looks as shown below (the Condition segment is the most important segment in the policy):
{
      "Version": "2012-10-17",
      "Statement": [
        {
          "Effect": "Allow",
          "Principal": {
            "AWS": "arn:aws:iam::<AccountNumber>:root"
          },
          "Action": "sts:AssumeRole",
          "Condition": {
            "StringEquals": {
              "sts:RoleSessionName": "${aws:username}"
            }
          }
        }
      ]
    }
Edit aws-auth file
- Entitle needs to configure the
aws-authfile (Amazon's add user role user guide). To make the configmap editable, run the following commands:
aws eks update-kubeconfig --name <ENTER_CLUSTER_NAME> --region <ENTER_CLUSTER_REGION>
kubectl -n kube-system edit configmap aws-auth
The configmap should be in the following format:
# Please edit the object below. Lines beginning with a '#' will be ignored,
# and an empty file will abort the edit. If an error occurs while saving this file will be
# reopened with the relevant failures.
#
apiVersion: v1
data:
  mapAccounts: |
    []
  mapRoles: |
		[]
  mapUsers: |
    []
kind: ConfigMap
metadata:
  creationTimestamp: "2022-08-22T14:37:33Z"
  name: aws-auth
  namespace: kube-system
  resourceVersion: "71240450"
uid: 5ca5278b-a553-4617-8e65-d858c400dd72- Add the following to the mapRoles section:
    - groups:
      - system:bootstrappers
      - system:nodes
      rolearn: arn:aws:iam::<ENTER_USER_ACCOUNT_ID>:role/<ENTER_ROLE_NAME_YOUR_USERS_ASSUME>
username: <ENTER_HERE_PREFIX>:{{SessionName}}- The configmap should look as follows:
# Please edit the object below. Lines beginning with a '#' will be ignored,
# and an empty file will abort the edit. If an error occurs while saving this file will be
# reopened with the relevant failures.
#
apiVersion: v1
data:
  mapAccounts: |
    []
  mapRoles: |
    - groups:
      - system:bootstrappers
      - system:nodes
      rolearn: arn:aws:iam::<ENTER_USER_ACCOUNT_ID>:role/<ENTER_ROLE_NAME_YOUR_USERS_ASSUME>
      username: <ENTER_HERE_PREFIX>:{{SessionName}}
  mapUsers: |
    []
kind: ConfigMap
metadata:
  creationTimestamp: "2022-08-22T14:37:33Z"
  name: aws-auth
  namespace: kube-system
  resourceVersion: "71240450"
uid: 5ca5278b-a553-4617-8e65-d858c400dd72- These actions will connect every user assuming the role to a K8S user called:
<ENTER_HERE_PREFIX>:{{SessionName}}.
Create a service account for Entitle
Entitle needs a service account in the targeted cluster to manage the permissions. Below are the steps required to set up the service account.
- Create the following files:
apiVersion: v1
kind: ServiceAccount
metadata:
  name: entitle
namespace: defaultapiVersion: v1
kind: Secret
type: kubernetes.io/service-account-token
metadata:
name: entitle-secret
annotations:
kubernetes.io/service-account.name: "entitle"apiVersion: rbac.authorization.k8s.io/v1
kind: ClusterRoleBinding
metadata:
name: entitle-cluster-admin
subjects:
- kind: ServiceAccount
name: entitle
namespace: default
roleRef:
apiGroup: rbac.authorization.k8s.io
kind: ClusterRole
name: cluster-admin- Run the following commands:
kubectl apply -f entitle-service-account.yaml
kubectl apply -f entitle-service-secret.yaml
kubectl apply -f entitle-cluster-admin.yaml
Set up Kubernetes to work with Entitle
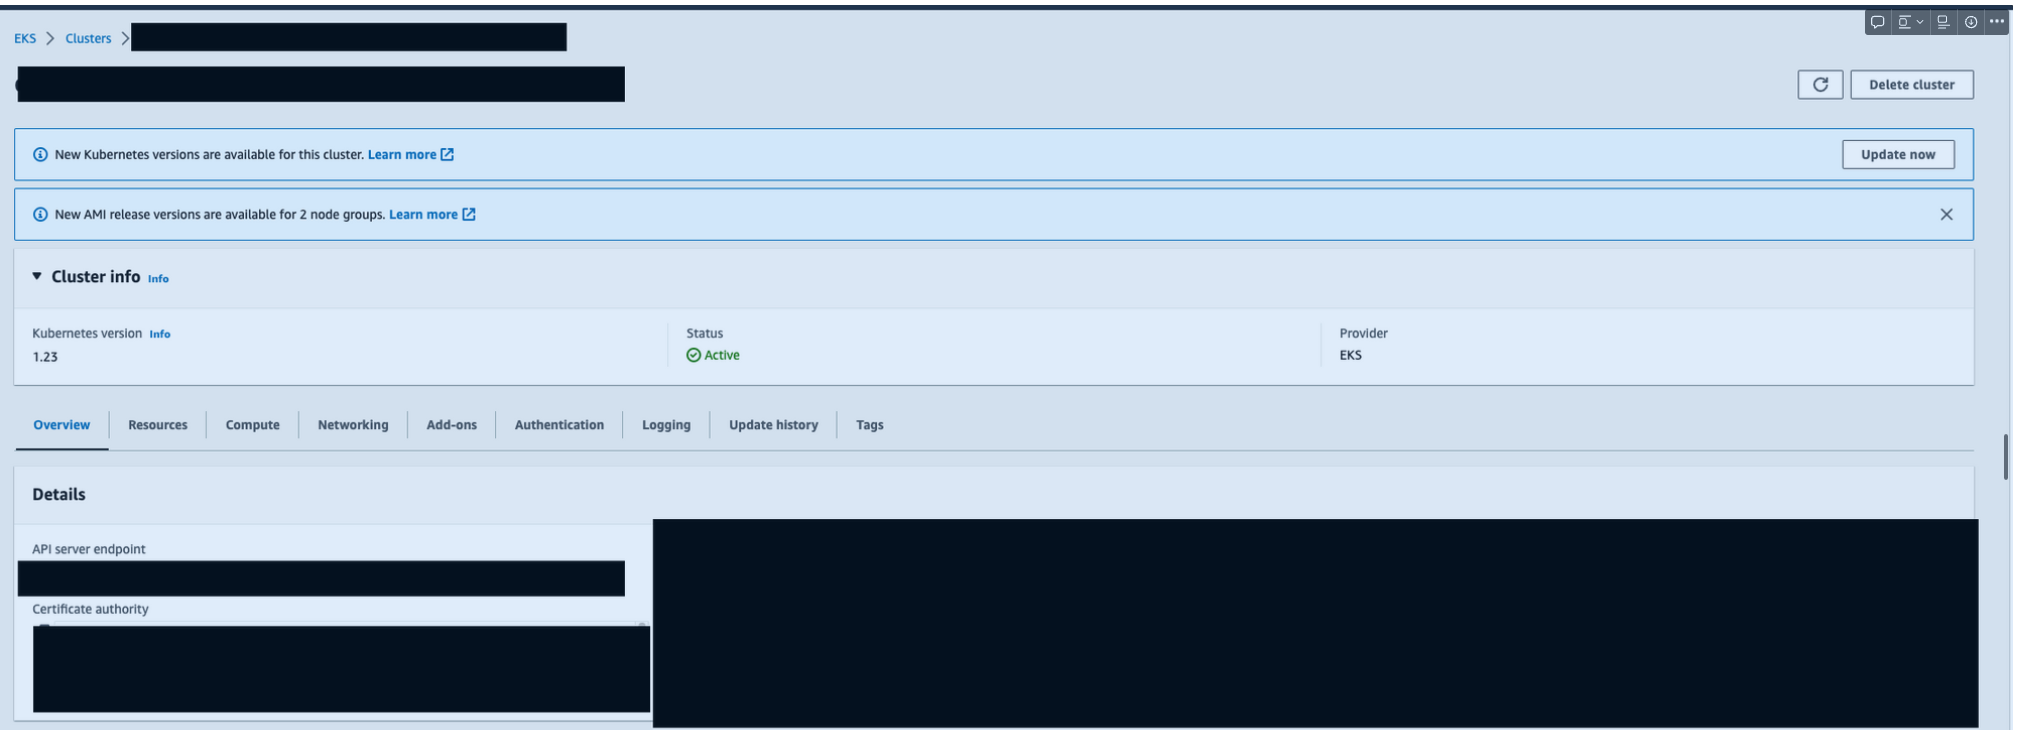
Host
- The host could be found at the
API server endpointunder the cluster’s Overview tab.
Service account details
- Run the following command to get the
ca_certandtokenof the service account you created above: - Assume the ca_cert is:
CA_CERT=$(kubectl get secret entitle-secret -o jsonpath='{.data.ca\.crt}' | base64 -d | sed -r 's/ /\n/g')
TOKEN=$(kubectl get secret entitle-secret -o jsonpath={.data.token} | base64 -d)- Make sure the ca_cert is a legal JSON string, for example:
-----BEGIN CERTIFICATE-----
MIIDfTCCAmWgAwIBAgIgeLS4K1Fyx2TnQ4vTC8Ly6iFFLhlQE9WzIAj/ETakA1Yw
DQYJKoZIhvcNAQEFBQAwUjEJMAcGA1UEBhMAMQkwBwYDVQQKDAAxCTAHBgNVBAsM
-----END CERTIFICATE------ You are requested to replace the new lines with
\n, as follows:
"-----BEGIN CERTIFICATE-----\nMIIDfTCCAmWgAwIBAgIgeLS4K1Fyx2TnQ4vTC8Ly6iFFLhlQE9WzIAj/ETakA1Yw\nDQYJKoZIhvcNAQEFBQAwUjEJMAcGA1UEBhMAMQkwBwYDVQQKDAAxCTAHBgNVBAsM\n-----END CERTIFICATE-----\n"The following steps are related to EKS only. If you wish to integrate a different Kubernetes type with Entitle, continue to the next step - Resource types.
Resource types (optional)
- The default roles Entitle will fetch in the integrations are
rolesandcluster roles. - In case you wish to manage more resource types with Entitle, you can select those from the list below:
Resource Types
"bindings"
"clusterrolebindings"
"clusterroles"
"componentstatuses"
"configmaps"
"controllerrevisions"
"cronjobs"
"cronjobs/status"
"daemonsets"
"daemonsets/status"
"deployments"
"deployments/scale"
"deployments/status"
"endpoints"
"events"
"jobs"
"jobs/status"
"limitranges"
"namespaces"
"namespaces/finalize"
"namespaces/status"
"nodes"
"nodes/proxy"
"nodes/status"
"persistentvolumeclaims"
"persistentvolumeclaims/status"
"persistentvolumes"
"persistentvolumes/status"
"pods"
"pods/attach"
"pods/binding"
"pods/ephemeralcontainers"
"pods/eviction"
"pods/exec"
"pods/log"
"pods/portforward"
"pods/proxy"
"pods/status"
"podtemplates"
"replicasets"
"replicasets/scale"
"replicasets/status"
"replicationcontrollers"
"replicationcontrollers/scale"
"replicationcontrollers/status"
"resourcequotas"
"resourcequotas/status"
"rolebindings"
"roles"
"secrets"
"serviceaccounts"
"serviceaccounts/token"
"services"
"services/proxy"
"services/status"
"statefulsets"
"statefulsets/scale"
"statefulsets/status"
In cluster authentication
- This method of authentication uses the pod-based identity of the Entitle-Agent’s Pod.
- When you installed Entitle, you had to create a K8S service account for Entitle-Agent. Entitle will use it to manage the EKS on which it resides. Derived from it: if there are X clusters you wish to manage, you will need an Entitle-Agent pod for each of them, and each one of them will manage its cluster.
The prerequisites below are only related to EKS. If you wish to integrate a different Kubernetes type with Entitle, continue to the next step - Setup Kubernetes to Work with Entitle.
EKS Prerequisites
Prerequisites
Restrict IAM role session name
- Make sure that when users assume roles in your organization, their session names are their emails. For more information, visit Amazon's blog.
- The policy should look as shown below (the Condition segment is the most important segment in the policy):
{
      "Version": "2012-10-17",
      "Statement": [
        {
          "Effect": "Allow",
          "Principal": {
            "AWS": "arn:aws:iam::<AccountNumber>:root"
          },
          "Action": "sts:AssumeRole",
          "Condition": {
            "StringEquals": {
              "sts:RoleSessionName": "${aws:username}"
            }
          }
        }
      ]
    }
Edit aws-auth file
- Entitle needs to configure the
aws-authfile (Amazon's add user role user guide). To make the configmap editable, run the following commands:
aws eks update-kubeconfig --name <ENTER_CLUSTER_NAME> --region <ENTER_CLUSTER_REGION>
kubectl -n kube-system edit configmap aws-auth- The configmap should be in the following format:
# Please edit the object below. Lines beginning with a '#' will be ignored,
# and an empty file will abort the edit. If an error occurs while saving this file will be
# reopened with the relevant failures.
#
apiVersion: v1
data:
  mapAccounts: |
    []
  mapRoles: |
		[]
  mapUsers: |
    []
kind: ConfigMap
metadata:
  creationTimestamp: "2022-08-22T14:37:33Z"
  name: aws-auth
  namespace: kube-system
  resourceVersion: "71240450"
uid: 5ca5278b-a553-4617-8e65-d858c400dd72- Add the following to the mapRoles section:
    - groups:
      - system:bootstrappers
      - system:nodes
      rolearn: arn:aws:iam::<ENTER_USER_ACCOUNT_ID>:role/<ENTER_ROLE_NAME_YOUR_USERS_ASSUME>
username: <ENTER_HERE_PREFIX>:{{SessionName}}- The configmap should look as follows:
# Please edit the object below. Lines beginning with a '#' will be ignored,
# and an empty file will abort the edit. If an error occurs while saving this file will be
# reopened with the relevant failures.
#
apiVersion: v1
data:
  mapAccounts: |
    []
  mapRoles: |
    - groups:
      - system:bootstrappers
      - system:nodes
      rolearn: arn:aws:iam::<ENTER_USER_ACCOUNT_ID>:role/<ENTER_ROLE_NAME_YOUR_USERS_ASSUME>
      username: <ENTER_HERE_PREFIX>:{{SessionName}}
  mapUsers: |
    []
kind: ConfigMap
metadata:
  creationTimestamp: "2022-08-22T14:37:33Z"
  name: aws-auth
  namespace: kube-system
  resourceVersion: "71240450"
uid: 5ca5278b-a553-4617-8e65-d858c400dd72- These actions will connect every user assuming the role to a K8S user called:
<ENTER_HERE_PREFIX>:{{SessionName}}.
Provide Entitle with cluster management privileges
- Create the following file:
apiVersion: rbac.authorization.k8s.io/v1
kind: ClusterRoleBinding
metadata:
  name: entitle-cluster-admin
subjects:
  - kind: ServiceAccount
    name: entitle-agent-sa
    namespace: entitle
roleRef:
  apiGroup: rbac.authorization.k8s.io
  kind: ClusterRole
name: cluster-admin- Run the following command:
kubectl apply -f entitle-cluster-admin.yamlSet up Kubernetes to work with Entitle
The following steps are related to EKS only. If you wish to integrate a different Kubernetes type with Entitle, continue to the next step - Resource types.
Resource types (optional)
- The default roles Entitle will fetch in the integrations are
rolesandcluster roles. - In case you wish to manage more resource types with Entitle, you can select those from the list below:
Resource Types
"bindings"
"clusterrolebindings"
"clusterroles"
"componentstatuses"
"configmaps"
"controllerrevisions"
"cronjobs"
"cronjobs/status"
"daemonsets"
"daemonsets/status"
"deployments"
"deployments/scale"
"deployments/status"
"endpoints"
"events"
"jobs"
"jobs/status"
"limitranges"
"namespaces"
"namespaces/finalize"
"namespaces/status"
"nodes"
"nodes/proxy"
"nodes/status"
"persistentvolumeclaims"
"persistentvolumeclaims/status"
"persistentvolumes"
"persistentvolumes/status"
"pods"
"pods/attach"
"pods/binding"
"pods/ephemeralcontainers"
"pods/eviction"
"pods/exec"
"pods/log"
"pods/portforward"
"pods/proxy"
"pods/status"
"podtemplates"
"replicasets"
"replicasets/scale"
"replicasets/status"
"replicationcontrollers"
"replicationcontrollers/scale"
"replicationcontrollers/status"
"resourcequotas"
"resourcequotas/status"
"rolebindings"
"roles"
"secrets"
"serviceaccounts"
"serviceaccounts/token"
"services"
"services/proxy"
"services/status"
"statefulsets"
"statefulsets/scale"
"statefulsets/status"
Create the Kubernetes integration in Entitle
- Log in to Entitle and go to the Integrations page.
- Click Add Integration.
- In the Application field, enter Kubernetes.
- In the Save on dropdown, select Entitle cloud or your hosted agent.
- According to the type of authentication you choose, under Connection, fill in the configuration fields.
Configuration JSON
{
    "host": "<YOUR_HOST>",
    "token": "<SERVICE_ACCOUNT_TOKEN>",
    "ssl_ca_cert_content": "<SSL_CA_CERT_CONTENT>",
    "user_prefix": "<USER_PREFIX>",
    "options": {
        "resource_types": ["<RESOURCE_TYPES_LIST>"]
    }
}
{
"user_prefix": "<ENTER_USER_PREFIX>",
"options": {
"resource_types": ["<ENTER_LIST_OF_RESOURCE_TYPES>"]
}
}- Click Save.
What's next?Make sure your setup is complete by testing your integration.
Updated 3 months ago
