Personal access token integration | Entitle
General guidelines
- In this process, you will generate a PAT on GitHub and then use the token as part of Entitle's New Integration configuration process.
Set up GitHub personal access token to work with Entitle
Generate a new token
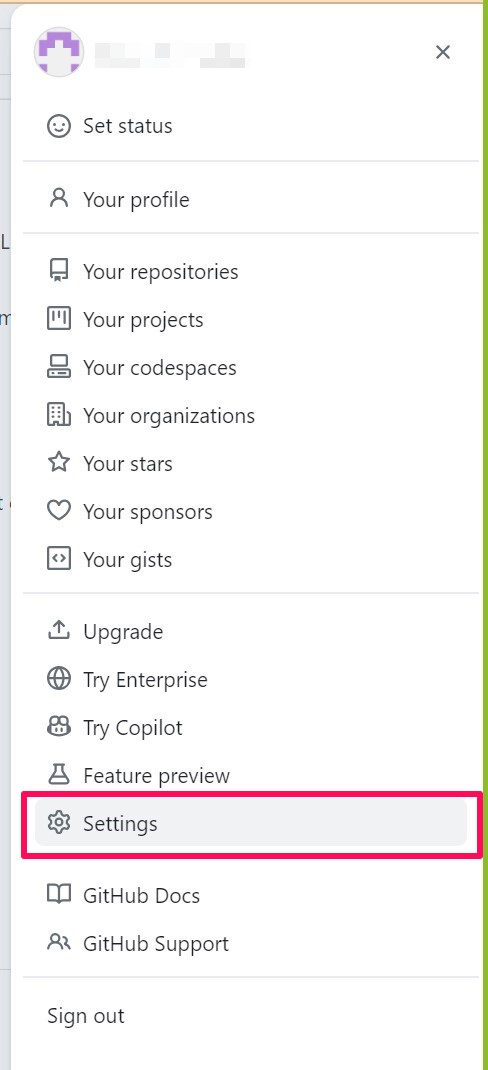
- Log into GitHub with an Admin account, and click on Settings in the left-side bar.
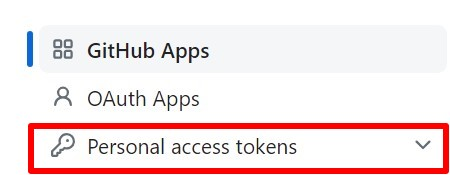
- Under the Integrations tab at the end of the bar, click on Applications, and then choose Personal Access Tokens from the three integration options available.

- Here you will find two versions for you to choose from, which allow you to generate your Personal Access Token: the Beta and the Classic Versions. After choosing, click on Generate New Token.
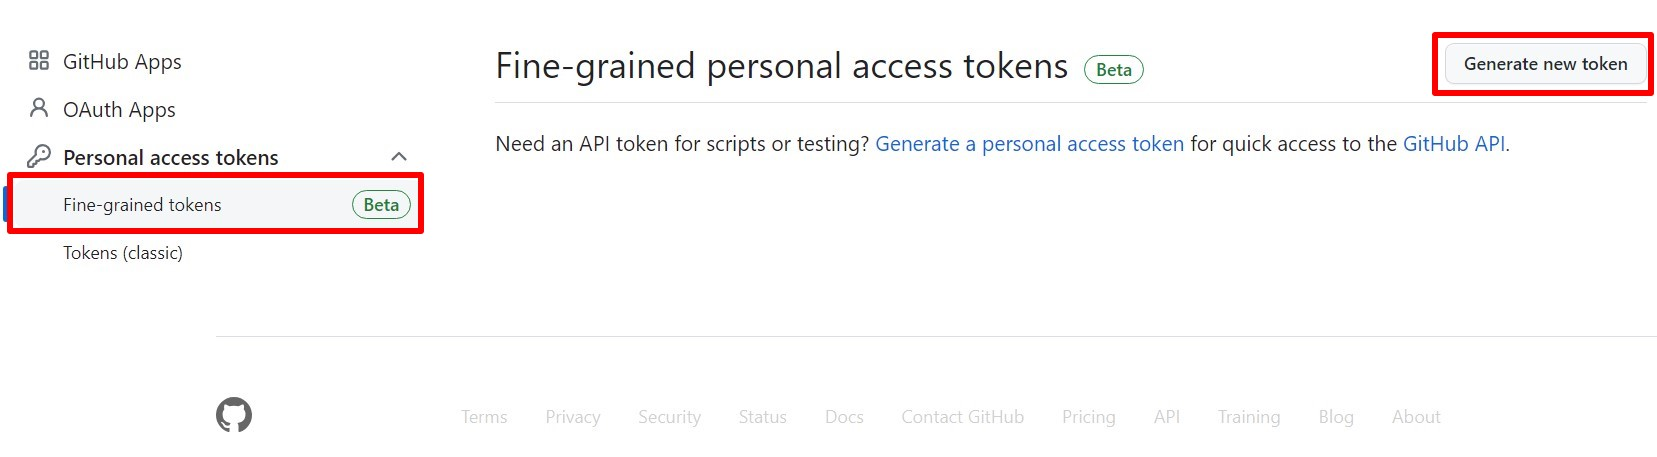
Beta Version

Classic Version
- In the window that opens up, fill in the the following:
- Pick a Note (the name of the token).
- Pick an Expiration (
no expirationis recommended). - Select scopes:
- repo (to manage access to all the repositories including private ones).
- write:org (to manage members of the organization and teams).
Then, click Generate token at the bottom of the page.

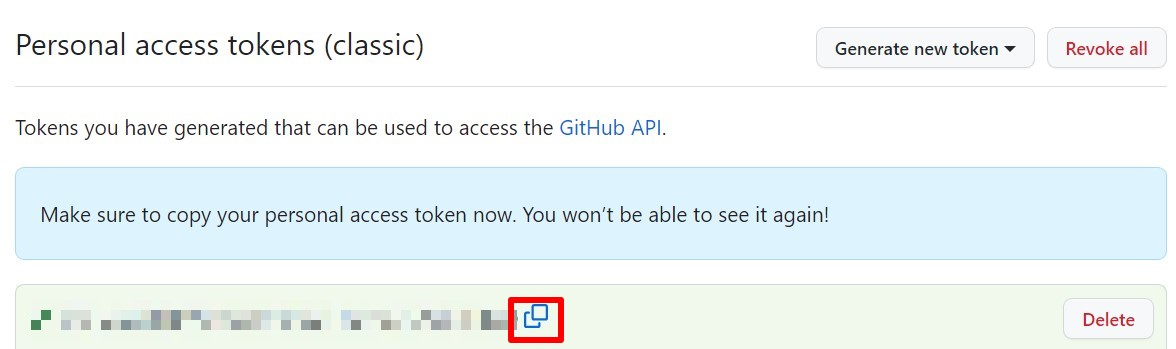
-
After using the classic version (for example), copy your token and keep it for later.
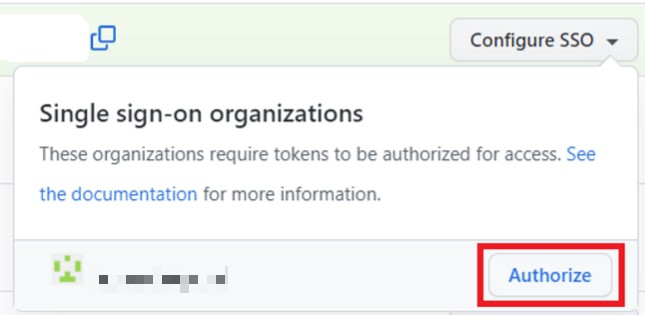
- If you have SSO enabled, click Authorize:
Creating the integration in Entitle
- Log in to Entitle and go to the Integrations page.
- After clicking the Add Integration button, type GitHub PAT integration in the Application field.
- Don’t forget to set the Save on field with your configuration, i.e. your own hosted agent or Entitle’s cloud.
- Also, make sure that the Connection field is set to Personal Access Token.
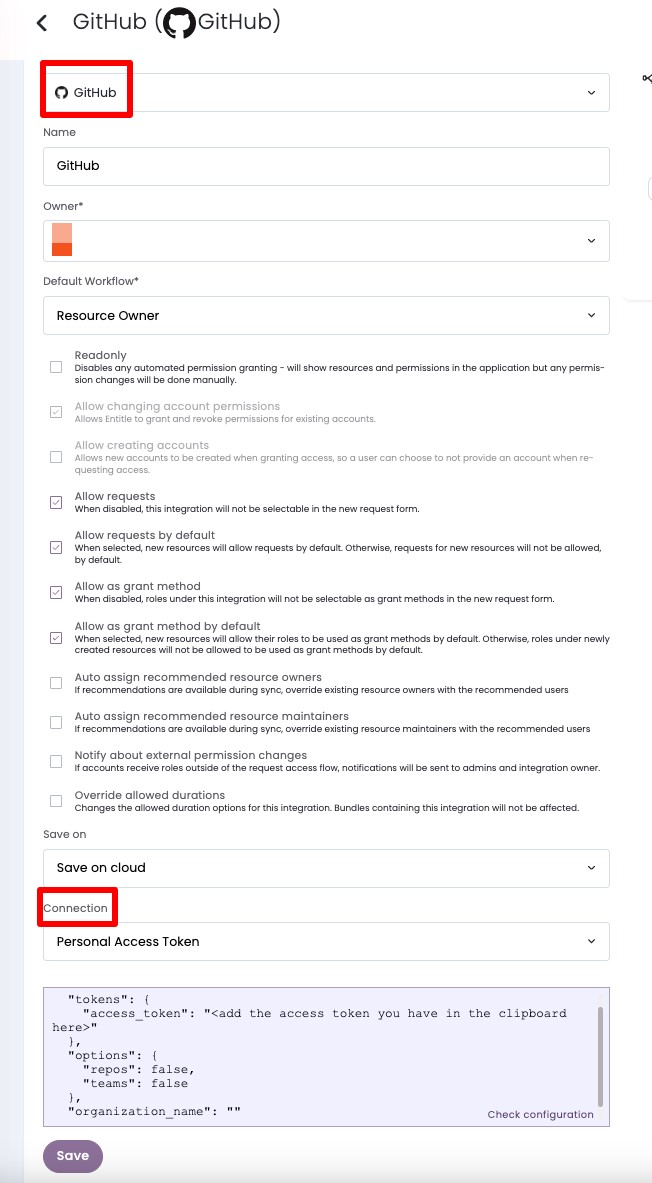
- In the connection JSON
access_tokenfield, paste the values from the Generate a New Token stage. - In the
optionsfield, add your chosen resources mentioned in the Overview section here.Example connection JSON{ "tokens": { "access_token": "<add the access token you have in the clipboard here>" }, "options": { "repos": false, "teams": false }, "organization_name": "" } - Click Save.
Should you need to allowlist this integration, these are the IP addresses from which Entitle's service reaches the integration:
- Entitle EU (Cloud deployment)
- 34.243.199.171
- 54.216.133.226
- Entitle US (Pathfinder deployment)
- 52.45.229.219
- 54.88.235.213
- 3.224.15.134
- Entitle CA (Pathfinder deployment)
- 35.182.218.208
- 15.156.179.153
Updated 3 months ago
Did this page help you?
