Bitbucket | Entitle
Manage and automate access to your organization's Bitbucket workspaces and repositories with Entitle. With this integration, you can grant and revoke repository permissions on demand, enforce least-privilege access policies, and audit access across your codebase.
Entitle can also use Jira credentials to look up user email addresses and automatically match Bitbucket users to identities for accurate identity resolution across access requests, reviews, and audit logs.
Prerequisites
- Bitbucket workspace admin user
- Atlassian account
- Entitle admin user
Should you need to allowlist this integration, these are the IP addresses from which Entitle's service reaches the integration:
- Entitle EU (Cloud deployment)
- 34.243.199.171
- 54.216.133.226
- Entitle US (Pathfinder deployment)
- 52.45.229.219
- 54.88.235.213
- 3.224.15.134
- Entitle CA (Pathfinder deployment)
- 35.182.218.208
- 15.156.179.153
Process
Create a Bitbucket API token in Atlassian
-
Go to Atlassian API Tokens and click Create API token with scopes.
-
Set your preferred name and expiration for the token, then click Next.
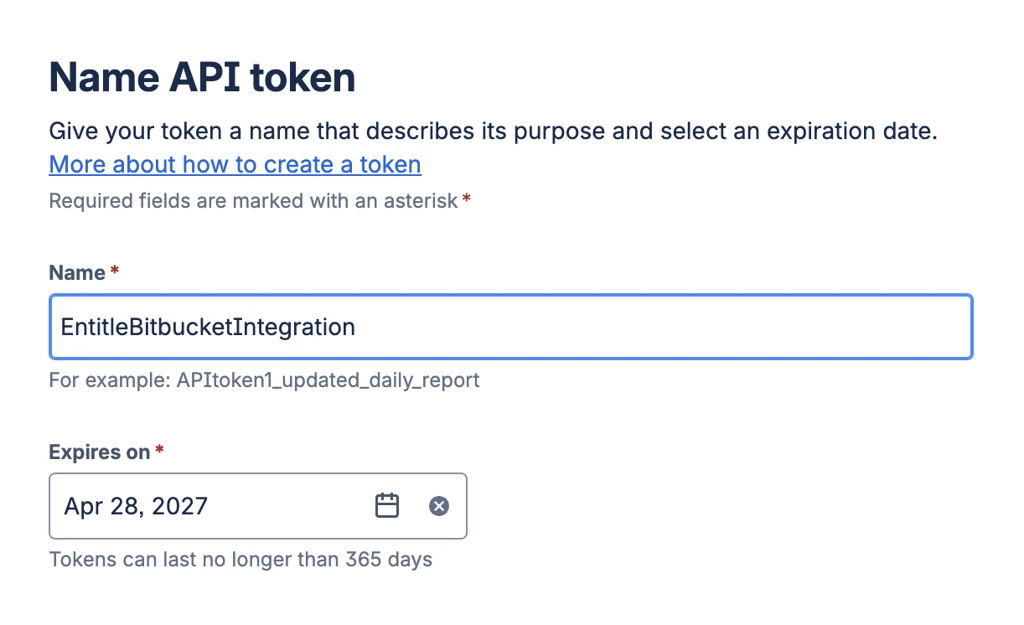
-
Select Bitbucket as the API token app, then click Next.
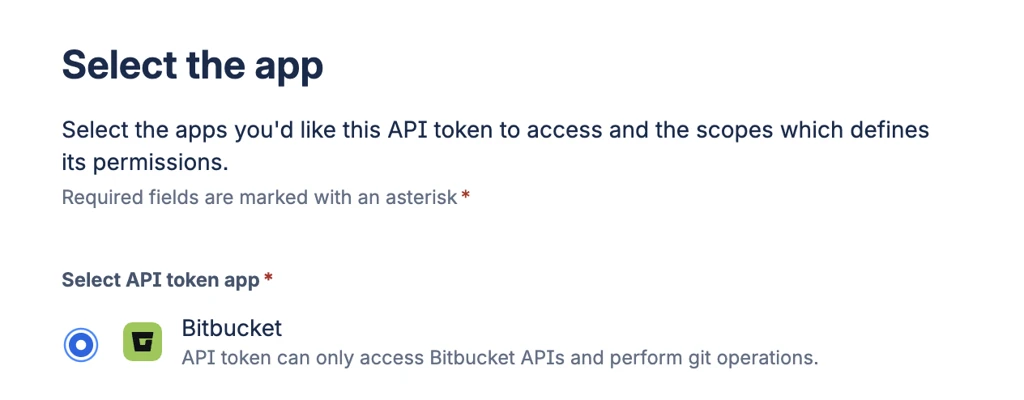
-
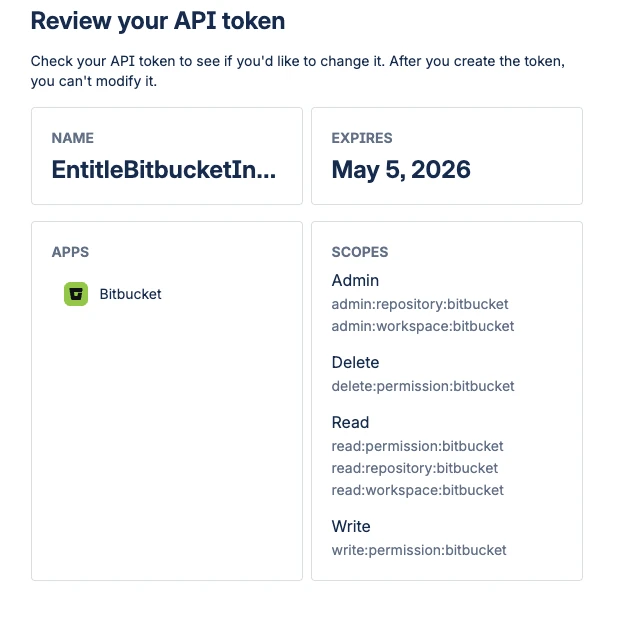
Grant the token the following scopes, then click Next:
admin:workspace:bitbucket admin:repository:bitbucket read:workspace:bitbucket read:repository:bitbucket read:permission:bitbucket write:permission:bitbucket delete:permission:bitbucket -
Confirm your API token details, then click Create token.
-
Copy the token. You will enter it in the
app_tokenfield in the integration JSON, as described in Configure the integration in Entitle.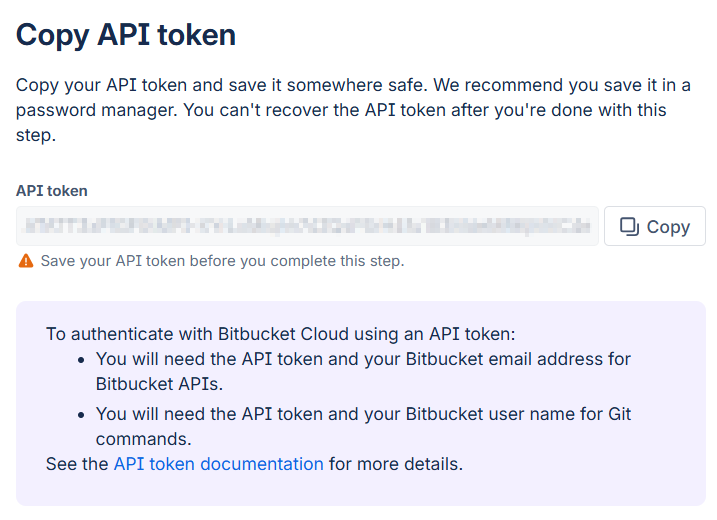
-
Copy your email from the Atlassian Email page. You will enter it in the
emailfield in the integration JSON, as described in Configure the integration in Entitle.
Configure email-based matching (Optional)
To enable email-based matching, create a Jira API token and collect your Jira URL and username.
- Go to Atlassian API Tokens and click Create API token with scopes.
- Set your preferred name and expiration for the token, then click Next.
- Select Jira as the API token app, then click Next.
- Select the scope
read:jira-user, then click Next. - Confirm your API token details, then click Create token.
- Copy the token. You will enter it in the
jira_credentials.keyfield in the integration JSON. - Collect your Atlassian subdomain and username. You will enter them in the
jira_credentials.urlandjira_credentials.userfields in the integration JSON.
Configure the integration in Entitle
-
In Entitle, go to Integrations and click Add integration.
-
Choose Bitbucket under Application.
-
Enter the integration details:
Field Description Name Enter a display name for the integration. Owner Select the Entitle user who is responsible for managing this integration. Default Approval Workflow Select the approval workflow that applies to access requests for this integration, if no other workflows apply.
-
Select integration behavior options:
Option Behavior Readonly Select to disable any automated permission granting - will show resources and permissions in the application but any permission changes will be done manually. Allow changing account permissions Select to allow Entitle to grant and revoke permissions. When deselected, Entitle can track but not modify permissions. Allow creating accounts Allows new accounts to be created when granting access, so a user can choose to not provide an account when requesting access. Allow users to edit accounts Users will be able to edit their account for this integration. Requestable Select to allow end-users to request access for resources in this integration. When deselected, this integration is not available under New request. Requestable by default When selected, new resources will allow requests by default. Otherwise, requests for new resources will not be allowed, by default. Auto assign recommended resource owners If recommendations are available during sync, override existing resource owners with the recommended users Auto assign recommended resource maintainers If recommendations are available during sync, override existing resource maintainers with the recommended users Notify about external permission changes If accounts receive roles outside of the request access flow, notifications will be sent to admins and integration owner. Override allowed durations Changes the allowed duration options for this integration. Bundles containing this integration will not be affected.
-
Select the location to save the integration connection settings under Save on.
-
Under Connection, populate the JSON configuration.
Example JSON{ "email": "<EMAIL>", "app_token": "<APP_TOKEN>", "jira_credentials": { "url": "https://<YOUR_SUBDOMAIN>.atlassian.net", "key": "<API_TOKEN>", "user": "[email protected]" } }- Enter the Bitbucket API token in the
app_tokenfield. - (Optional) Populate the
jira_credentialsobject. Enter the Jira API token in thekeyfield.
- Enter the Bitbucket API token in the
-
Click Check configuration to test the integration.
-
Click Save.
Integration troubleshooting
Integration sync time varies based on the number of resources, roles, and entitlements in the third-party system.
- In Entitle, navigate to Integrations.
- Confirm the date/time of the Last sync on the integration card. This indicates the last time Entitle pulled all resources, roles, and entitlements from the third-party system.
- Select the integration and check the Last sync indicator next to Resources. This indicates the last time Entitle pulled the resources from the third-party system.
- Expand Audit logs to review integration activity and errors.
Updated 10 days ago
