Entitle for Teams | Entitle
Overview
Microsoft Teams is a proprietary business communication platform developed by Microsoft as part of the Microsoft 365 family of products. Teams offer workspace chat and video conferencing, file storage, and application integration.
Entitle can be added as an app on Microsoft Teams. This will require an admin to configure the integration between Entitle and Teams through the Entitle web app. Then, the admin needs to add the Entitle app to the list of available apps in your organization to allow end users to install it to Teams.
Important informationThe Microsoft Teams integration require a one-to-one match between the Entitle UPN of a user and their Teams UPN. Otherwise, the integration will not be able to authorize correctly when a user tries to use the Entitle app in Teams.
Integrate Teams with Entitle
Only Entitle admins can configure the integration with Teams.
-
Log in to Entitle and navigate to the Org settings page.
-
In the Integrations section, click Add and choose Teams from the list.

-
Grant your consent in the Azure portal.
- User.Read, profile, email: Access the current user's basic information, such as name and email.
- Access as a user: Entitle's application includes a secured iFrame. To sign in users securely, Entitle accesses Microsoft APIs on the user's behalf after consent is granted.
- offline_access: Allows access to user data when the user it not actively using the Entitle application.
Entitle can access only the data permitted by these scopes and cannot access content outside the application's scope, such as messages sent outside of Entitle.
The Teams app is now integrated with Entitle.
Upload the Entitle app to your org’s app catalog
- This step can only be performed by an Entitle admin. However, in some cases, users may be able to upload the app themselves, depending on the implemented Teams policy.
- This step is required to enable end-users to install the Entitle app from their app catalog in Teams.
- If you are setting up an Entitle on-premise deployment, contact Entitle's representatives to obtain a custom app manifest for your tenant.
- Download Entitle's app manifest:
You can determine which region you're using based on the URL:
- Entitle EU region: https://app.entitle.io
- Entitle US region: https://app.entitle.io
- Entitle CA region: https://ca.entitle.io
-
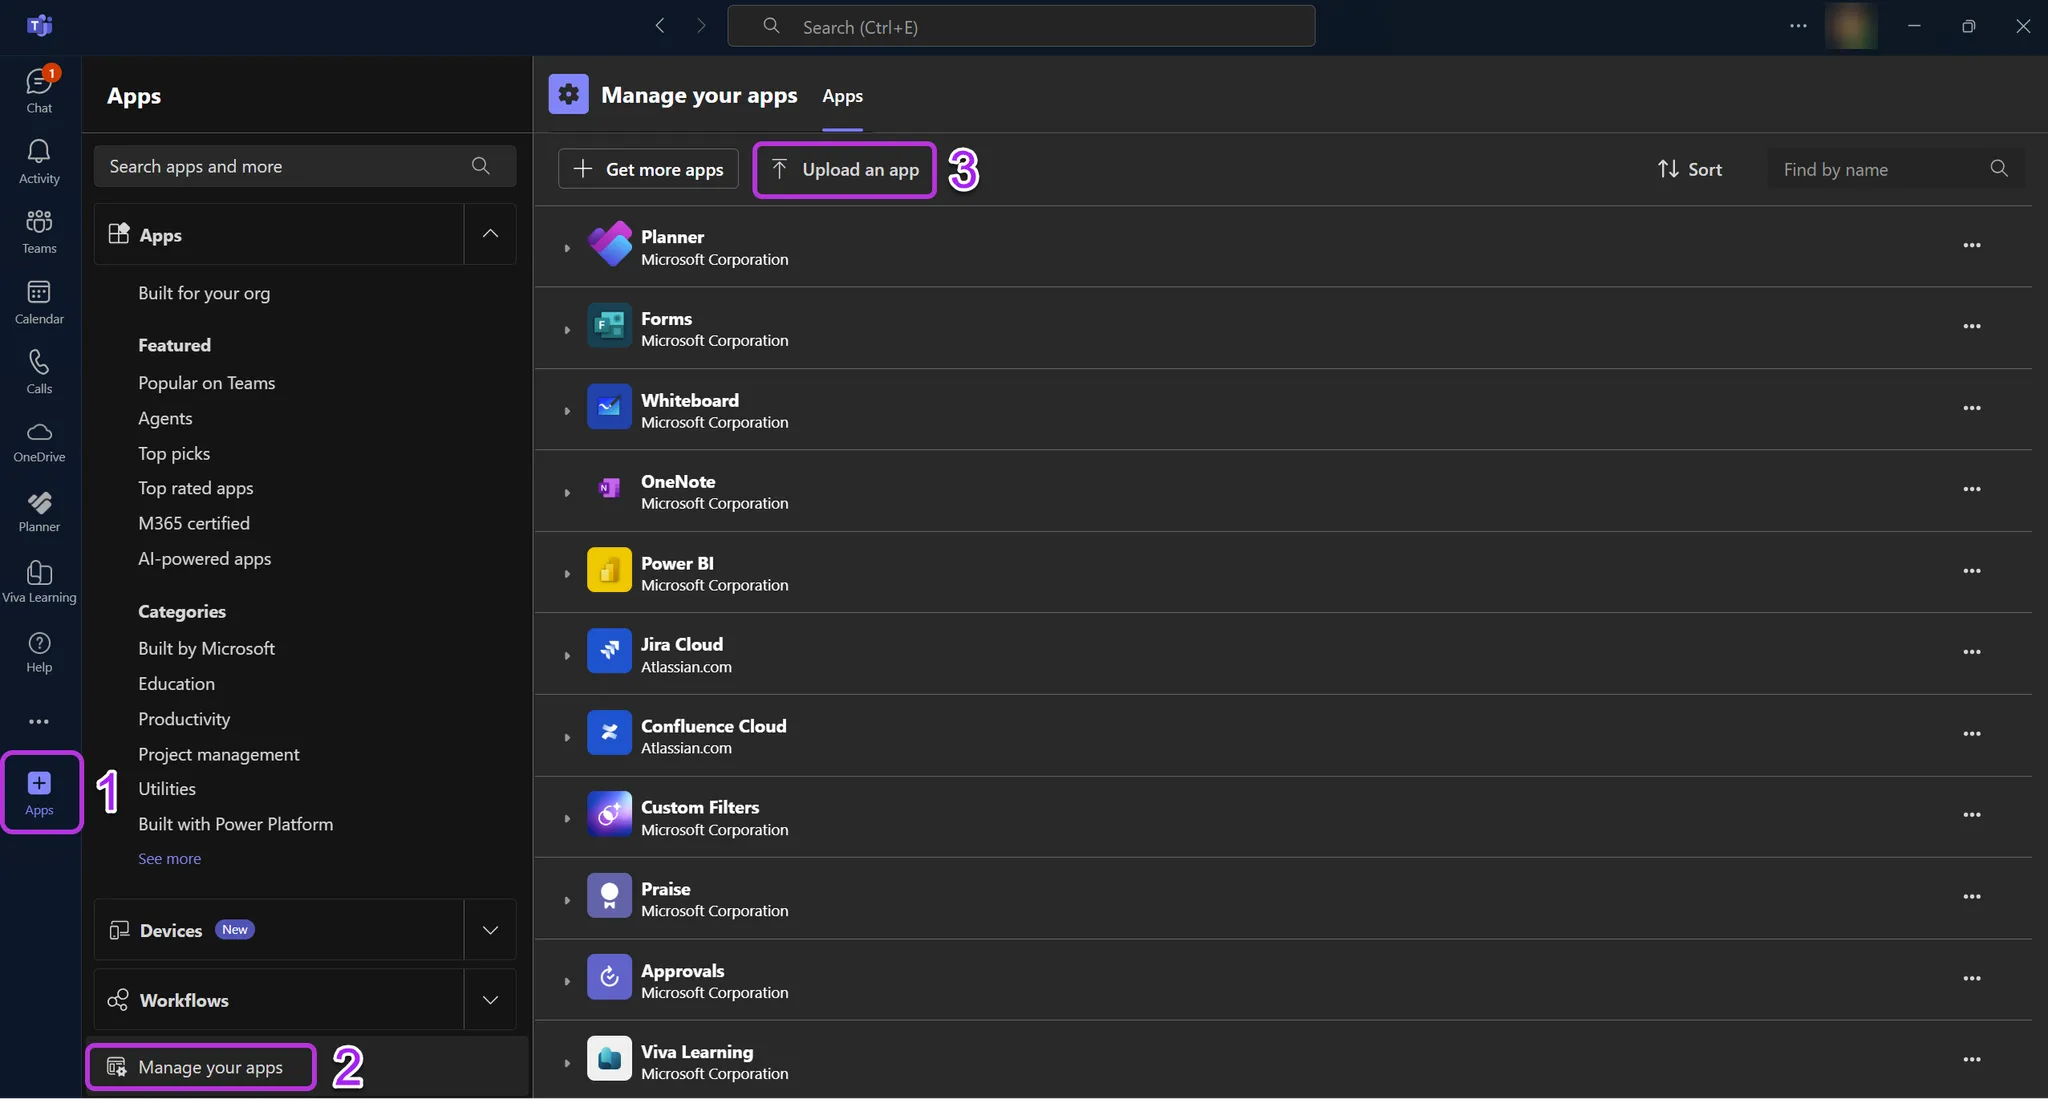
In the left-side navigation bar in Teams, click Apps.
-
On the Apps screen, select Manage your apps.
-
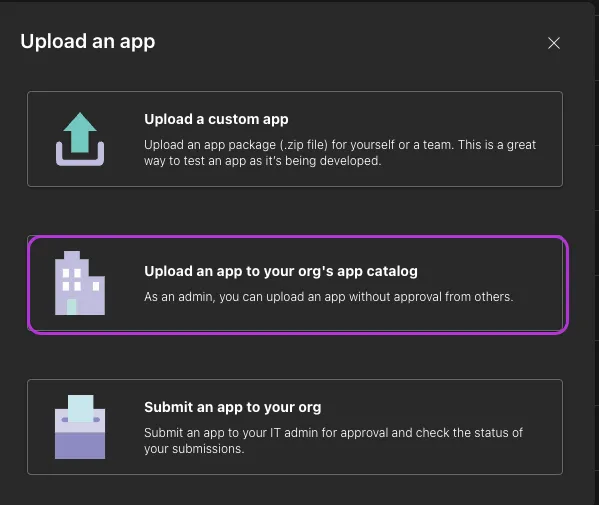
Select Upload an app.
-
Select the Upload an app to your org’s app catalog option, and upload the manifest you previously downloaded.
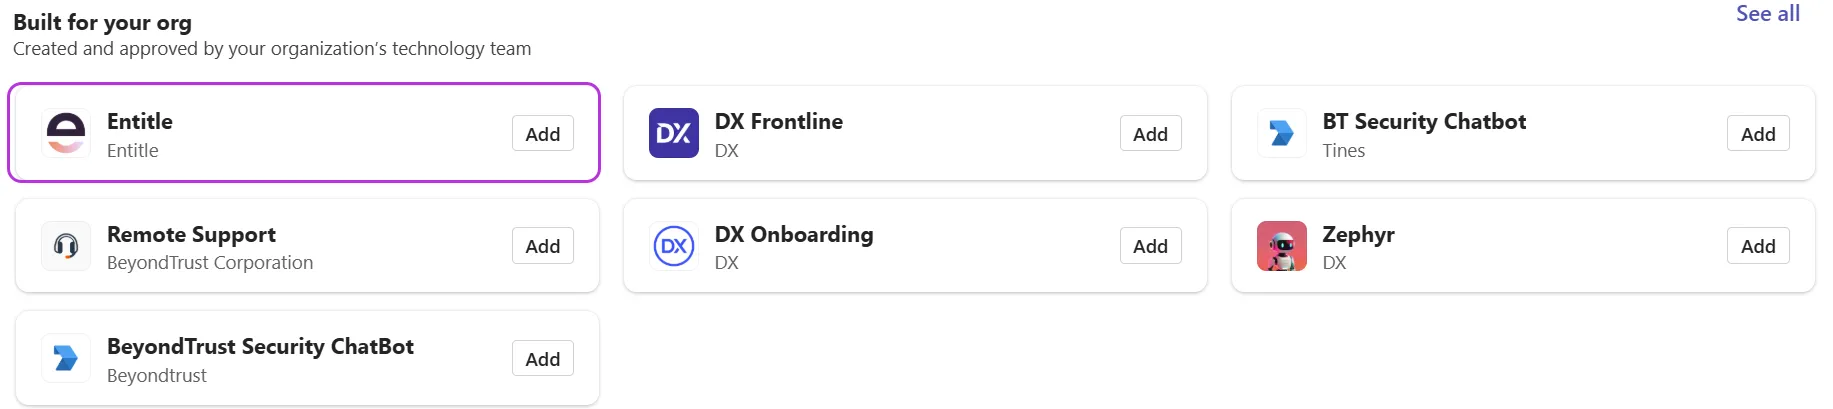
The Entitle app will appear on your organization’s apps catalog on the Apps screen.
Install the Entitle app to Teams
This step is mandatory to receive notifications through the Entitle app in Teams.
- In the left-side navigation bar in Teams, click Apps.
- You should see the Entitle app in your org’s app catalog. Click Add > Add.
In case the Entitle app does not appear in the org's app catalog:
- Make sure the user who uploads the app is an org admin.
- Search for the Entitle app in this portal and upload it again. This step allows you to control which users are exposed to the app and able to install it. Review the list of users before proceeding.
- Once the user(s) logs in to Teams again, the Entitle app should appear in the Apps screen.
To guidance on how to perform the following actions with the Entitle app on Teams:
- Receive notifications and updates
- View files that were shared with you
- Create a new permission request
- View and manage your Entitle user profile
Updated 3 months ago
