Security and compliance | U-Series
The Security and Compliance page focuses on protecting your organization with trust, and BeyondTrust delivers it.
Our appliance is built with industry-leading security and compliance standards to safeguard your most critical assets. From robust encryption and hardened architecture to comprehensive audit capabilities, BeyondTrust ensures you meet regulatory requirements while maintaining the highest level of protection.
This topic includes the following sections:
- Certificate Management
- Security Protocols
- Client Connections
- Local Computer Policy
- Data Encryption Key
Certificate Management
Certificate Management has been redesigned for a better experience in this version. While the end result remains the same, the way you configure, import, view, and delete certificates is now simpler and more intuitive.
The biggest change is the updated Appliance web interface, which eliminates the need for Remote Desktop or Microsoft Management Console (MMC). This streamlined approach makes certificate updates faster and easier. MMC is still supported, but the new interface covers all the scenarios Appliance users have asked for.
View a certificate
-
From the left menu, click
 .
.
The Security and Compliance page displays. -
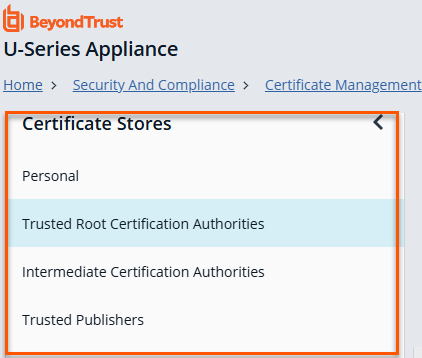
Click the Certificate Management card.
-
From the Certificate Stores panel, click any store in the list to view a certificate.
-
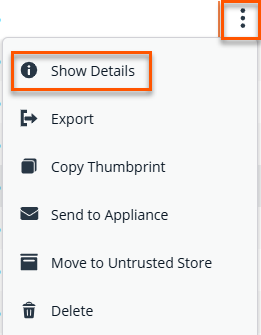
In the table grid, right-click the vertical ellipsis.
-
Click Show Details.
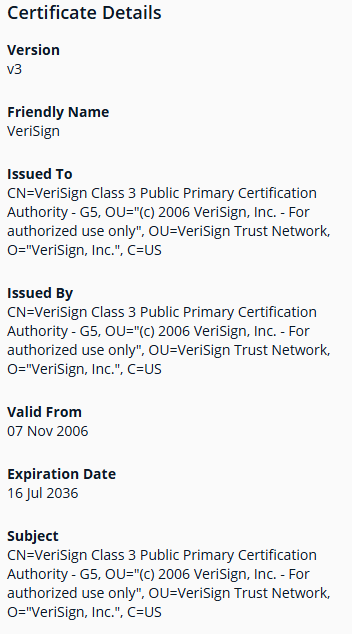
-
The Certificate Details panel displays.
Import a certificate
- From the left menu, click .
The Security and Compliance page displays. - Click the Certificate Management card.
- Click Import Certificate.
The Select Certificate panel displays.The acceptable formats are Personal Information Exchange (PFX) or Privacy Enhanced Mail (PEM) format, and the maximum file size is 2 megabytes (MB).
- Click the Select Certificate panel to select a certificate file.
- Click Open.
- Click Next.
- Select the certificate(s) to import from the list.
- Click Finalize Import.
The certificate imports to Certificate Store.
Export a certificate
-
From the left menu, click
.
The Security and Compliance page displays. -
Click the Certificate Management card.
-
From the Certificate Stores panel, click any store in the list.
-
In the table grid, right-click the vertical ellipsis.
-
Click Export.
The Export Certificate panel displays.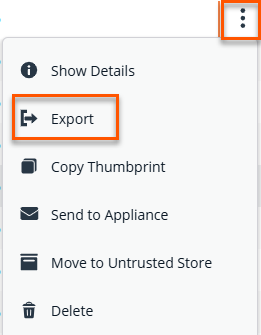
-
Select the format to use (PFX or PEM).
-
Provide and confirm a password.
-
Click Export and Download Certificate.
The PFX file is downloaded to your default Download folder.
Delete a certificate
-
From the left menu, click
.
The Security and Compliance page displays. -
Click the Certificate Management card.
-
From the Certificate Stores panel, click a certificate in the table grid to delete.
-
In the table grid, right-click the vertical ellipsis.
-
Click Delete.
A Confirmation dialog box appears.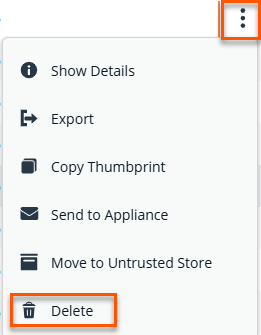
There are some certificates you are not able to delete based on the type of certificate. The following messages display:
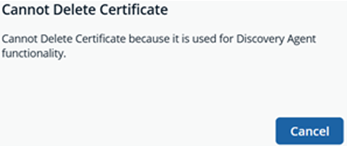
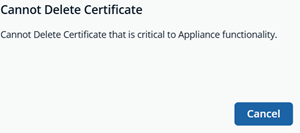
Click Confirm.
Move a certificate
- From the left menu, click .
The Security and Compliance page displays. - Click the Certificate Management card.
- From the Certificate Stores panel, click a certificate in the table grid to move.
There are some certificates you are not able to move based on the type of certificate. The following message displays:
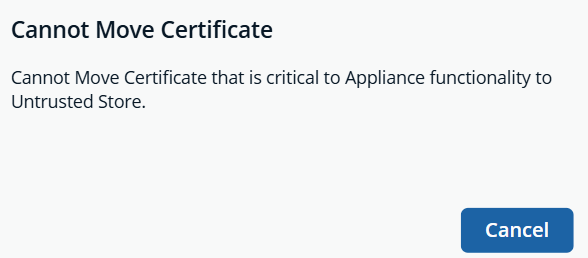
- From the Confirmation dialog box, click Confirm.
Generate certificates
- From the left menu, click .
The Security and Compliance page displays. - Click the Certificate Management card.
- Click Generate Certificate. Choose from any one of the following:
- Machine Named SSL Certificates-Regenerates the SSL certificate to match the current appliance network name and update binding for the Default Web Site in IIS.
- Appliance Internal Certificates-Regenerates the localhost and btldCredCert for internal appliance certificates.
- BeyondInsight EMS Client Certificate-Regenerates the eEyeEmsClient certificate.
- Certificate Signing Request-Regenerates a certificate signing request by populating information in a form. This request is used to issue new certificates.
Send a certificate to a remote computer
Prerequisite
- Exchange API keys between source and target. This is performed on the Integrations > Appliance API Keys page. For more information on how to register a remote appliance, see Register a remote appliance.
Send certificate to remote computer
- From the left menu, click .
The Security and Compliance page displays. - Click the Certificate Management card.
- From the Certificate Stores panel, locate the certificate to send.
- From the table grid, right-click the ellipsis and select Send to Appliance.
- Select the target computer. If there is no target computer, then you can register with the provided go to Appliance API Keys link.
- Click Next.
- Click Finalize.
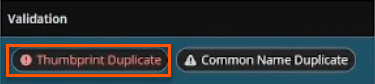
Important informationYou are not able to send the same certificate thumbprint information to the target computer. The following error message displays: Operation is not permitted. One or more certificates have thumbprint duplication detected on the target appliance.
This is confirmed by the Validation column of the table.
Certificate management for mirroring between the two high availability (HA) nodes
The HA feature uses SQL mirroring, which relies on certificates to secure communication between endpoints. In this version, we introduced enhancements to simplify certificate management:
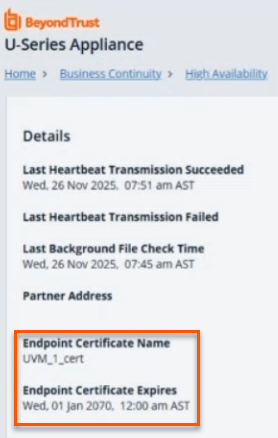
Certificate Details on HA Page
The HA page now displays the certificate currently used for mirroring, along with its expiration date. For new installations, a default certificate is generated with a long expiration period.
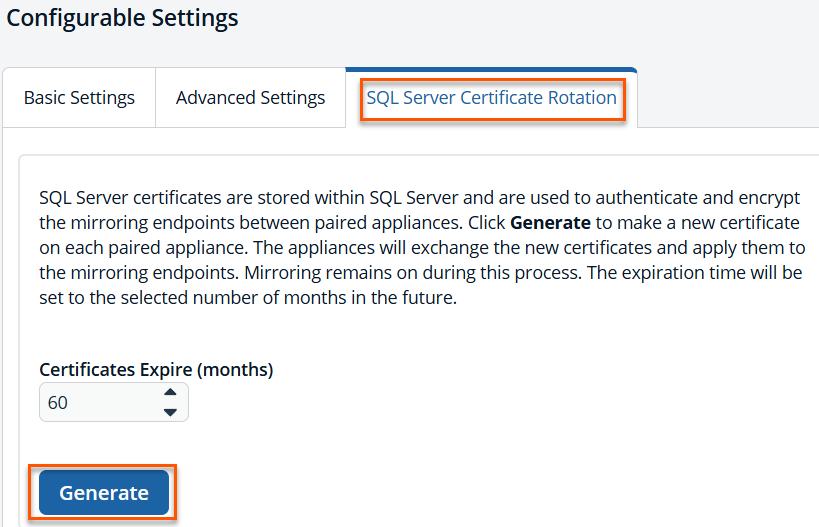
Certificate Rotation Tab
A new SQL Server Certificate Rotation tab allows you to control certificate expiration. You can set a shorter validity period if required. The range is 1 to 300 months. The default value is 60.
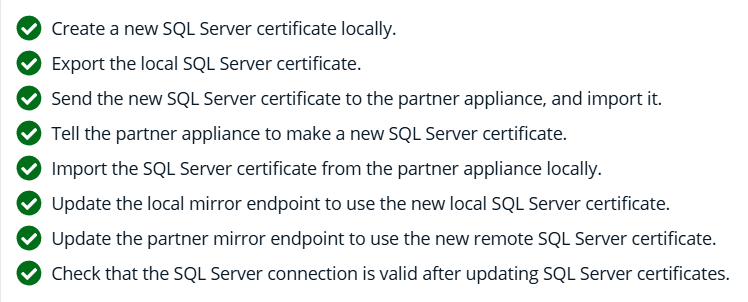
When you click Generate, the following occurs:
- A new certificate is generated on both appliances in the HA pair.
- Endpoint configurations are updated automatically to use the new certificates.
- The process occurs live with no downtime and does not disrupt HA or mirroring.
Real-Time Feedback
The interface provides real-time status updates during the rotation process, which typically completes in under 10 seconds. After completion, the HA page reflects the new certificate and its updated expiration date.
Upload revoke certificates to the appliance
You now can upload a Certificate Revocation List (CRL) and revoked certificates on the appliance.
Feature summary:
- A new Revoked Certificates option on the Certificates page (calculated view).
- Import Certificate Revocation List action via slide-out panel.
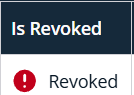
- A new Is Revoked column in certificate browsing views.
Prerequisites
- Access to the appliance UI with appropriate admin permissions.
- A valid CRL file (that is, a valid crl file in DER or PEM format).
- Network access to the appliance management interface.
- Knowledge of the issuing CA and certificate lifecycle.
Key Concepts
| Feature name | Description |
|---|---|
| Certificate Revocation List (CRL) | A list published by a CA identifying certificates that are no longer trusted. |
| Calculated View | The Revoked Certificates node aggregates certificates present on the appliance that match entries in the uploaded CRL. |
| Revocation Status | The Is Revoked column exposes per-certificate revocation status within browsing views. |
Upload a CRL to the appliance
-
From the left menu, click
.
The Security and Compliance page displays. -
Click the Certificate Management card.
-
From the Certificate Stores panel, select Revoked Certificates.
-
Click Import Certificate Revocation List.
The Import Certificate Revocation List panel displays.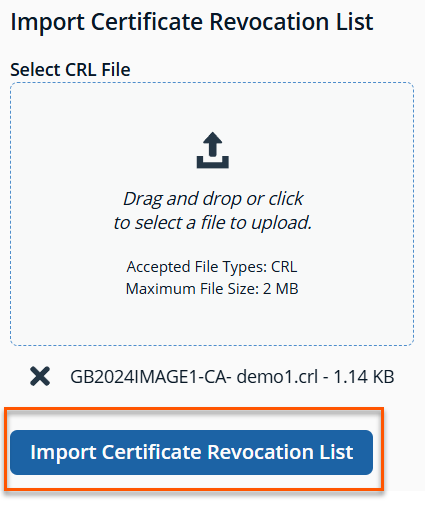
-
Select a valid .crl file. Click Open.
-
Click Import Certificate Revocation List.
The revoked certificate appears in the Revoked Certificates section. You can confirm the addition to a revoked certificate by reviewing the Is Revoked column in the table.
Configure Password Safe on the U-Series Appliance
To set up Password Safe on the U-Series Appliance, you must turn on the Password Safe Web Portal feature.
- If you use Password Safe, all credentials are stored in the database using an AES-256 block cipher by RijndaelManaged.
- For more information, see Password Safe Web Portal.
Security Protocols
Set a security protocol
- From the left menu, click .
The Security and Compliance page displays. - Click the Security Protocols card.
- Under Security Protocols, select the security protocol that applies to your environment.
- Click Update Security Protocols.
Client Connections
Enable SSL authentication
- From the left menu, click .
The Security and Compliance page displays. - Click the Client Connections card.
- Under Event Service Security, toggle the SSL (Secure Socket Layer) and Client Certificate Authentication Required option to enable it.
Important informationWe do not recommend disabling SSL certificate authentication. SSL authentication should be disabled only in certain rare circumstances, such as during testing.
Enable HTTP Strict Transport Security (HSTS)
You can apply extra security to the U-Series Appliance website by using HSTS technology.
- From the left sidebar, under Security and Compliance, click Client Connections.
- Under HSTS (HTTP Strict Transport Security) toggle the option to enable it.
Enable Host Headers Restriction State (HHRS)
You can apply extra security to the U-Series Appliance website by enabling HHRS to restrict appliance requests to specific host names. This prevents host header injection vulnerability.
- From the left menu, click .
The Security and Compliance page displays. - Click the Client Connections card.
- Under HHRS (Host Headers Restriction State) toggle the option to enable it.
- Enter a comma-separated list of appliance names.
- Click Update Host Readers.
Local Computer Policy
Check FIPS compliance
Federated Information Processing Standard (FIPS) is a US and Canadian government standard that defines a minimum set of security requirements for cryptographic systems. When you enable FIPS Mode in your local computer policy, it enforces Windows to use FIPS compliant algorithms for encryption, hashing, and signing.
To enable FIPS Mode, take the following steps:
- From the left menu, click .
The Security and Compliance page displays. - Click the Local Computer Policy card.
- Expand the FIPS Compliance section.
- Click the toggle to enable FIPS Mode.
- Click Update FIPS Settings.
Important informationYou must reboot the U-Series Appliance for this setting to take effect.
Data Encryption Key
Download and upload a crypto key
- Using a web browser, enter <IP>/appliance in the address field.
- Enter the credentials and click Log In.
- From the left menu, click .
The Security and Compliance page displays. - Click the Data Encryption Key card.
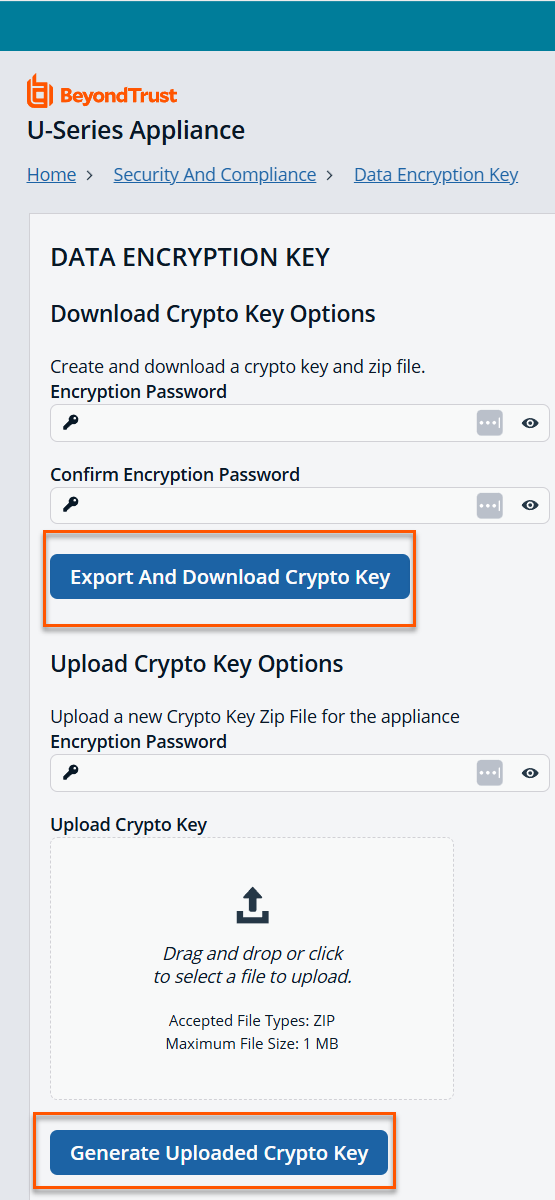
- To download a crypto key:
- Under Download Crypto Key Options, create an encryption password and confirm it.
- Click Export and Download Crypto Key. The crypto key zip file is created and downloaded to your system.
- To upload a crypto key:
- Under Upload Crypto Key Options, enter the encryption password.
- Drag and drop the crypto key zip file into the drop area or click the button to browse to the zip file.
- Click Generate Uploaded Crypto Key.
Updated 2 months ago
