
PingOne | Insights
Learn how to create a PingOne connector in BeyondTrust Identity Security Insights.
Prerequisites
Before you configure the PingOne connector, ensure the following requirements are met.
PingOne access
- You have administration privileges in your PingOne environment.
- You can create Worker applications under Connections > Applications.
- You can assign roles to applications (Read-Only role required).
Identity Security Insights access
- Administrator access to Identity Security Insights.
- Your Insights site is provisioned and active.
ImportantThird-party documentation is subject to change. Updates might not be reflected in BeyondTrust documentation. For the most up-to-date information, refer to PingOne documentation.
Step 1: Create a worker application in PingOne
Ensure you are logged into PingOne as a user with administration privileges.
- In your PingOne dashboard, navigate to Connections > Applications.
- Click the Add Application button.
- Provide a human-readable name for the new application.
- Select Worker for the application type.
- Click Configure to create your application.
Step 2: Assign the Read-Only role
- In your new application, navigate to Roles and click Grant Roles.
- Select Remove All.
- Click Save.
- Click Grant Roles, and use the search field to find Read-Only.
- Select Select All.
- Click Save.
Verify Read-Only roles are the only roles granted to the application.
Step 3: Retrieve connection credentials
- Toggle the Application to On.
- Navigate to Configuration for this application and expand General.
- Copy and save the following values. You will need them in the next step:
- Client ID
- Client Secret
- Environment ID
Final step: Create a connector in Insights
- From Insights Home, select
 > Connectors.
The Connectors page displays. - Click Total configured.
- Click Create Connector and select PingOne from the list.
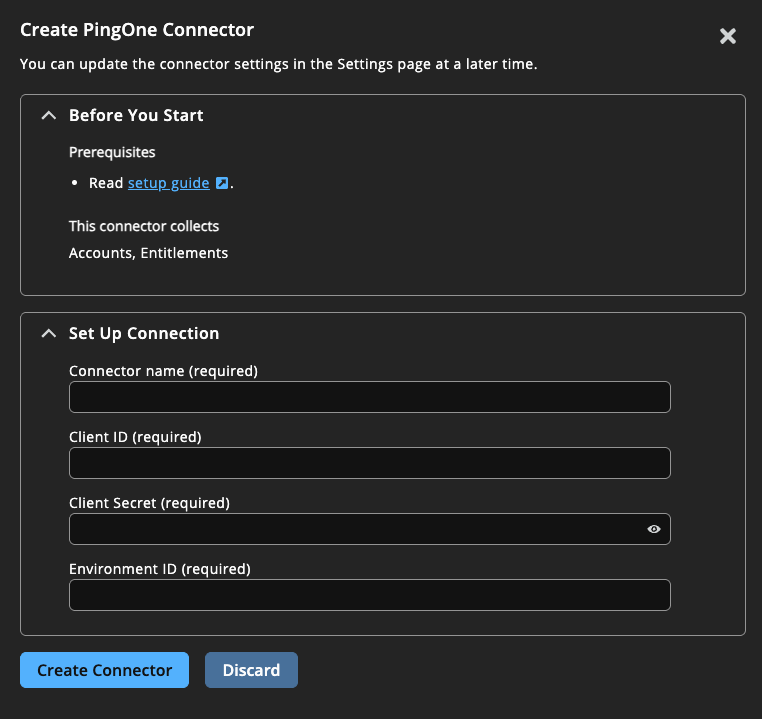
- Provide the following information to connect to PingOne:
- Name: A human-readable name for your Ping connector.
- Client ID: Paste the Client ID. See Step 3.
- Client Secret: Paste the Client Secret. See Step 3.
- Environment ID: Paste the Environment ID. See Step 3.
- Click Create Connector.
Navigate to the Configured Connectors panel (Menu > Connectors > Total Configured) to confirm the connector is successfully created and review any connector settings.
Updated 2 months ago
