Manage cells with AD Bridge Cell Manager | AD Bridge
Using AD Bridge Cell Manager, you can:
- Delegate control of a cell
- Change permissions for a cell
- Add cells, view cells
- Associate cells with OUs to provide users and groups with Linux and Unix access
- Connect to another domain and filter cells to reduce clutter
Start AD Bridge Cell Manager from the Management Console
To start AD Bridge Cell Manager:
- In the BeyondTrust Management Console, expand Enterprise Console and click Diagnostics & Migration.
- Under Tasks, click Launch Cell Manager.
Alternatively, start Cell Manager from the Start menu. Select Start > All Programs > BeyondTrustAD Bridge > AD Bridge Cell Manager.
Assign users to manage AD Bridge cells
Use AD Bridge Cell Manager to create an access control list (ACL) that allows users or groups without administrative privileges to manage AD Bridge Cells.
For example, you can assign permissions to particular users to add users or remove users from a cell. This procedure applies to Named Cells.
For more information on delegating control in a Default Cell, see Working with AD Bridge Cells.
-
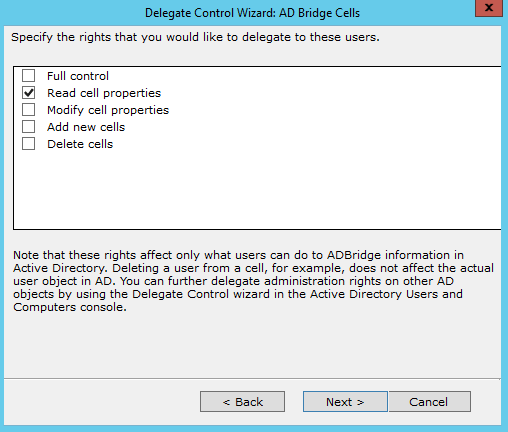
In Cell Manager, right-click a cell, and then select Delegate Control.
-
Click Start.
-
Click Add, and then choose the users or groups that you are delegating permissions to.
-
Click Next, and then select the permissions that you want to assign.
-
Review the information that you entered, and then click Finish.
Change permissions of a cell, group, or user
To change the permissions of a cell, a group, or a user:
- In the AD Bridge Cell Manager console tree or in the details pane, right-click the object that you want to change permissions for, and then click Properties.
- Click Permissions.
- Change the permissions, and then click OK.
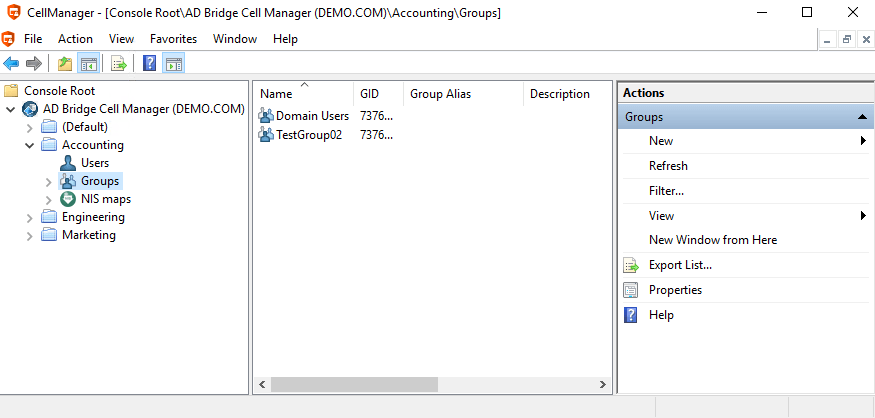
Add a user or group to a cell using the AD Bridge Cell Manager
Default attributes are used when you add a user or group to a cell using AD Bridge Cell Manager. You can change the properties later using Active Directory Users and Computers.
For more information, see Manage users and groups.
- In Cell Manager, right-click a cell, select New.
- Select User or Group.
- Click OK.
- Enter Search for the user or group that you want to add, and then click OK.
Filter cells in AD Bridge Cell Manager
Use filtering to set the maximum number of cells to display and show only the cells that match a pattern.
- In AD Bridge Cell Manager, right-click the top-level Cell Manager domain node, and then click Filter.
- Set the filtering values that you want to use:
- Maximum number of cells to display: Enter the number of cells to display. The default is 300.
- Only show cells that match pattern.
- Interpret pattern as regular expression.
- Click OK.
Connect to a different domain
Even though users and groups imported from a different domain appear in AD Bridge Cell Manager, you cannot modify their settings from outside their original domain.
To modify the settings of a user or group imported from another domain, use Cell Manager to connect to that domain, and then make the changes that you want.
- In Cell Manager, right-click the top-level Cell Manager domain node, and then click Connect To Domain.
- In the Domain box, type the domain. Alternatively, click Browse, and then locate the domain.
Updated 7 days ago
